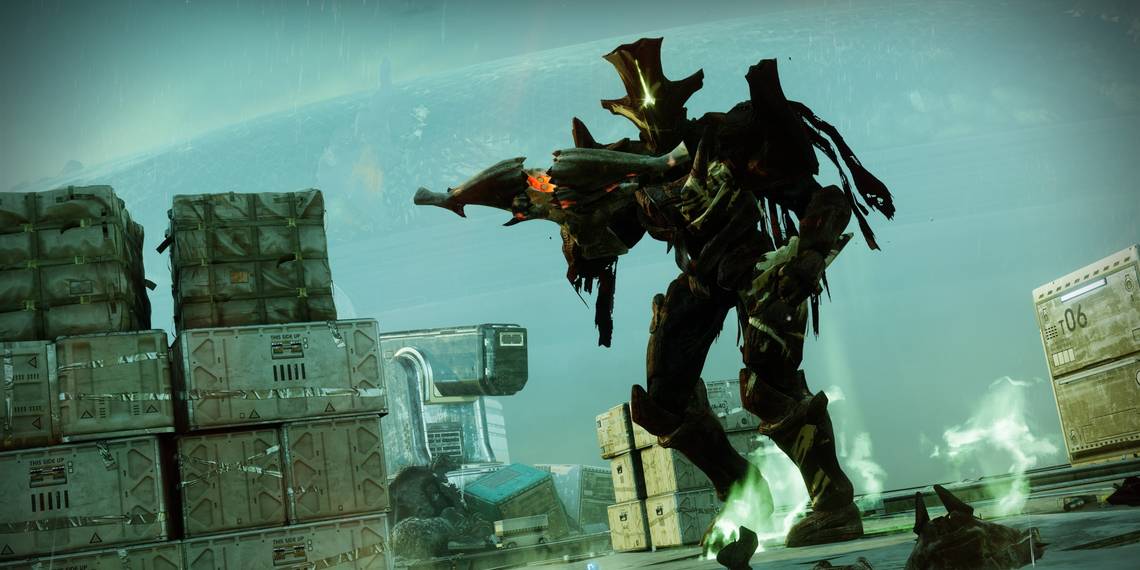
Every new season in Destiny 2 introduces a new matchmade activity for Guardians to farm. In Season of the Deep, players will be returning to Titan and assisting Sloane's operation by participating in the Salvage activity. Players will work alongside the Drifter to stop the Hive's various rituals and thwart Xivu Arath's plans.
The activity itself harkens back to older mission design seen during Shadowkeep's seasons. Players will be given a random set of jobs to complete aboard the rig before descending into the depths of Titan. This guide will showcase how to complete this activity's various jobs, defeat its final boss, and quickly showcase the rewards you can expect from participating in Season of the Deep's core seasonal activity.
Salvage Activity Guide

Salvage is similar to the Sundial and Menagerie activities from previous years. This activity requires your fireteam to complete three random jobs before descending into the depths of Titan to slay a boss. As with Defiant Battlegrounds introduced last season, the Salvage activity features elemental Surges and Threats that alter incoming and outgoing damage. No Champions are present in Salvage, so feel free to bring any loadout. Strand is particularly useful here for dealing with the high enemy density and navigating the large combat arenas.
Reach A Job Site
After clearing out a small group of Hive, your fireteam will be tasked with one of five random jobs:
- Site Security: Defend three salvage piles from waves of Hive enemies.
- Site Reliability: Prevent the Hive from reaching the ritual portal.
- Ordnance Disposal: Destroy ritual crystals and defeat Ritual Wizards.
- Engineering: Repair salvage cranes by escorting parts.
- Ordnance Disposal: Disarm Fallen explosives.

Site Security requires your team to defend three different points of interest against waves of Hive forces. Each salvage pile will be marked on your HUD with a shield icon. The diamond surrounding the icon is the defense point's HP. If this drops to zero, the activity timer will greatly decrease. If all three break, you'll fail the objective and need to complete another task. Since this is a six-player activity, it's best to split your team into pairs and defend each section. Hive ships will denote the enemy's spawn locations. Kill any Hive that spawn in, and this objective should finish itself in a couple of minutes.

Site Reliability requires you to defend a Hive ritual portal from a constant stream of Hive enemies. You'll want to keep an eye out for Thrall and Cursed Thrall, as these enemies will beeline it to the portal the second they spawn. Other enemies seem to focus more on killing you than sacrificing themselves. The whole fireteam can anchor near the portal and kill the Hive as they approach. Kill any Hive you see, stay alive, and watch out for Thralls.

Ordnance Disposal is a two-part job. The first section requires you to defeat Taken Ogres to receive a weapon pickup. This weapon will let you destroy ritual crystals that dot the rig. You'll need roughly three to four of these weapons to break every crystal, so split your team up to kill the Ogres quickly. Once all the crystals break, a few Ritual Wizards will spawn. Kill all the Wizards to finish the encounter. They're quite tanky so feel free to use your Super or Heavy ammo here.

Engineering is the easiest job of the bunch. After the Drifter or Sloane declares a nearby device inoperable, multiple crane fuses will be marked on your HUD. Grab a fuse and escort it to a destroyed object to repair it. Repeat this process a few times to complete the encounter.
During the Engineering encounter, you can melee while holding a crane fuse to fling yourself forward. Strand users can also use the Grapple grenade to quickly navigate the rig while carrying a fuse.

Ordnance Disposal is a fairly short task. The Fallen will begin spawning various explosive devices around the arena. Head to any marked devices on your HUD and deactivate them. You'll gain five seconds for each device deactivated and lose ten seconds for every device that explodes. Disable around a dozen explosives to finish the job.
Locate The Disruption

Drifter will locate a signal at the bottom of the ocean and ask you to investigate. You'll be teleported to an underground portion of Titan, right above the depths of the ocean. Drop into the body of water and descend. You'll move quite slowly while underwater, only able to strafe and jump around.
While you're underwater, you'll have to monitor the pressure of your suit. This pressure meter on your HUD will slowly deplete each second, but you can repressurize your suit by walking into floating oxygen bubbles. Touching one will fully repressurize your suit. Walk by any bubbles you see and follow the path. It'll take you straight to the final boss.
Defeat Azshradat

Azshradat is a two-part fight that requires your fireteam to obtain buffs from certain plates in the arena. Be sure your fireteam uses a Rally Flag before you start. This will stock up your ammo reserves and fill your Super meter.
Defeating Runekeepers


When the fight begins, Azshradat will project a dome around themselves and spawn four Runekeepers. A symbol will float above the center of the arena. You must stand on the plate matching this symbol to damage the Runekeepers. For example, the above image showcases the 'A' symbol. You would look around the arena for a plate that's projecting the same 'A' symbol and stand on it.
If done correctly, you'll gain the Heinous Rite buff while atop the plate, allowing you to damage the Runekeeper. Kill all four Runekeepers to remove Azshradat's immunity bubble. Plate symbols randomize every 20 seconds, so keep an eye on the symbols around the arena during this part.
Fighting Azshradat

Azshradat's shield behaves the same as the Runekeepers you just killed. Look at the symbol floating near the center, stand on the matching plate, then damage the boss. This will break its immunity shield and allow you to deal permanent damage. Bear in mind that once the shield is broken, you can step off the plate and continue to damage Azshradat. Use your Heavy weapon, Super, and other abilities to melt this boss' health bar.
After around 35 seconds of the runes appearing, Azshradat will refresh all runes in the arena and become immune once again. Repeat this process as many times as necessary until the boss is slain. Open the chest at the middle of the arena to claim your loot. The chest typically drops one weapon from Season of the Deep's selection of Taken-themed guns. If you have a Salvage Key, it will automatically be consumed and cause this chest to drop an additional weapon or armor piece.
Salvage Keys

Salvage Keys and Deep Dive Keys are not the same item. These keys are used for different activities. Both keys drop from ritual activities and the Season Pass.
Salvage Keys are a consumable item obtained from the Season Pass, Deep Dive clears, vendor rewards at the H.E.L.M., and occasionally from ritual activities—Vanguard Ops, Crucible, and Gambit matches. Similar to last season's Defiant Keys, you may only carry a limited number of Salvage Keys at any given moment. These keys are automatically used when opening the end-of-mission chest, granting additional seasonal rewards when used.
Deep Engram Focusing

Completing Salvage missions will grant a small boost to your reputation with the Sonar Station, this season's dedicated vendor aboard the H.E.L.M. Every rank you earn with the Sonar Station will grant one Deep Engram. This is a seasonal Engram that can be decrypted into any Season of the Deep weapons or armor pieces. Weapons include both the Taken guns from core seasonal content (Salvage and Deep Dive) as well as the reissued Reckoning guns from this season's new fishing activity.
Beyond reputation, you may also earn Deep Engrams through the Season Pass, the Sonar Station's reward track, and by opening Salvage or Deep Dive chests—provided you've unlocked the correct vendor upgrade.