Quick Links
While Dead Island 2 is most certainly a game that is filled with zombie slaying opportunities, it is also safe to say that exploration is just as big a part of the game. You will be unlocking doors, finding secret nooks and crannies, and generally searching every map from top to bottom to locate all the events and key items.
But as you explore in the early game, you are going to be left with a number of questions. Like, ‘Where do I find these safe keys?’ or ‘What is up with these fuses?’ There are also a number of systems and mechanics that are extremely easy to miss. That’s where we come in. We’ll provide you with everything you need to start your zombie-slaying adventure off on the right foot.
Updated May 9, 2023: We've updated this article to include a video guide that shows you our top tips for getting started in Dead Island 2.
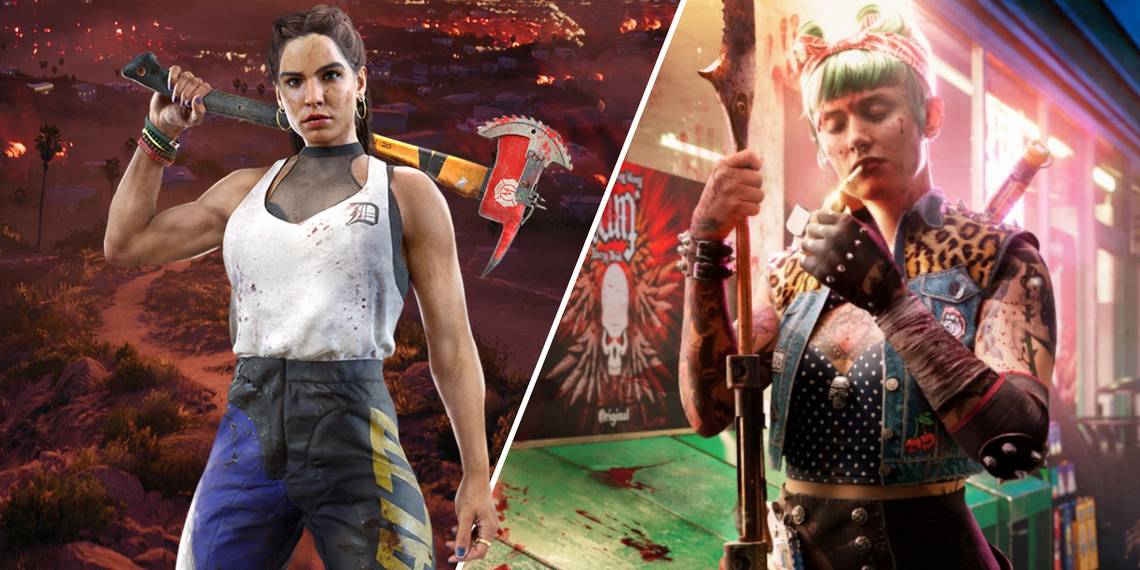
Choose Your Slayer Wisely

When the game begins, you will be given a chance to pick your Slayer. For all intents and purposes, these characters work as different class archetypes. While the stats are important (especially their lowest stat, which sits at a disastrous one star), you want to pay especially close attention to their skill cards.
However, while all this is important, there is one other element that you need to consider: these characters are not silent. Though they are all smart-asses to some degree, they do have strong, well-established personalities.
Another thing to consider when choosing your Slayer is that one third of them start with the block (Carla and Ryan), while the other two thirds of the cast start with the dodge. Both of these defensive skills are effective, but the block is more effective in tight spaces, while the dodge is more effective in open spaces. But don’t allow yourself to be overcome by FOMO. You will eventually unlock the other defensive mechanic as well.
There are other differences sprinkled throughout as well, like Bruno starting with the Flying Kick instead of the Drop Kick. But all these differences will resolve themselves over the course of the game, as everyone will unlock the alternate skills.
Early Game Economy

A quick and easy source of money early in the game is selling your first aid kits. At the beginning of the game, when you don’t have much in the way of money, yet you are going to want to buy those sweet, sweet fuses from Carlos, so you are going to want to get some quick money. Well, you can only hold five First Aid Kits at a time anyway, and you will encounter plenty as you are out and about. And they give you a hundred bucks per kit.
Another thing to keep in mind is that you can only carry 99 of any given crafting material. So, if you are already holding a ton of scrap, you will want to sell a decent chunk before you head out for the next mission. If you fill up, you are just going to have to leave it behind anyway. So, lighten your load, and cash in.
Finally, weapons are the most valuable source of funds. Unfortunately, you won’t be able to sell the common stuff, so you aren’t going to be able to start making money this way until you start encountering uncommon weapons. Once you do, however, you will officially be able to cash in.
On the topic of saving money: don’t buy weapons. You will be able to find so many weapons during your travels, most of them far better than you can buy from Carlos. If you want to spend money on weapons, use that money to repair your damaged rare weapons.
Be On The Lookout For Shortcuts

Dead Island 2 will feature a number of instances where doors will be sealed, or other obstructions will block off a path. Well, typically during story missions you will have the opportunity to remedy this and to open these areas up.
So, when you are working through a story mission, make sure you are looking all around, and exploring every nook. Especially if the quest marker is telling you to go one way, yet there is a path leading in the opposite direction. Inevitably, you will return to these areas for side missions, or to unlock areas that had been left behind your first time around. Exploring them will be way more convenient if you take the time to open up those shortcuts!
Don’t Ignore The Challenges

If you stop stomping zombies long enough to take a gander at the menu, you will find the challenges section. This is filled with everything from challenges for killing a certain amount of zombies simultaneously with the shuriken Curveball to collecting a set number of blueprints. Naturally, completing these challenges will yield rewards.
While some of the challenges provide pretty tepid rewards, others provide substantial benefits. How substantial? We are talking about permanent stat boosts and blueprints. Those are some incredible benefits. Now, the bigger rewards are attached to the longer-term goals, but it is wise to give them a gander on occasion. This will help you know which of these challenges you are on track to complete, and maybe help guide you toward the challenges you have been neglecting.
Take Advantage Of The Quiet Moments

One of Dead Island 2’s favorite tricks is to plop you into a desolate environment that is eerily silent. Typically, this leads directly to you reaching an objective marker, and then zombies flooding the scene—ready to chew your face off. However, while these moments are most certainly eerie and unsettling, they are also an incredible opportunity to scope out the area for treasure.
One of the best examples of this is when you reach Ocean Avenue. The whole map is, more or less, empty. This means you can go collect documents lying around the map, identify landmarks, and generally get a feel for the area. Once you hit that checkpoint, the area will never be this peaceful again. So take advantage of those tension-building quiet moments to explore the map.
What To Do With All Those Locked Doors And Safes

As you loot and plunder your way through the fabulous homes of Hell-A, you are going to find a ton of locked doors, locked safes, and doors that seemingly have no way to be unlocked. We know that we spent a lot of time in the early going searching for the keys to get into these places. However, that was not time well spent. Most of the keys you are looking for will only become available later through side missions.
If you are looking for fuses, on the other hand, you will start to be able to purchase them when you unlock shopkeepers. This is the only way to acquire fuses.
There is a notable exception, though. Some cars, chests, and vaults will be opened by killing zombies in the area. Typically, it isn’t hard to tell when the key can be found on a nearby zombie, as you will be told that you need the “electrician’s key” or the “coach’s key”. If the key belongs to a class of worker, as opposed to a named NPC, it is more likely that you will be able to find it on one of the zombies shambling around in the nearby area. However, if you look, and can’t find them, they may not appear until later in the game.
After you start unlocking the special classes of zombies, they will start to populate every map you have explored. If you are looking for a specific zombie to unlock a specific safe or door, and one of these spawn locations appear on the map near said locked safe or door, there is a good chance that is the zombie you are looking for.
Run, Slayer, Run!

While we don’t suggest ignoring zombies too often, as they do provide some experience, and killing them will help you complete challenges, you are going to be doing a ton of backtracking. During that time, it is often going to be better to just sprint from point to point.
The zombies never stop coming. You are never going to be able to completely clear them out. So, don’t feel bad running past gaggles of ghouls while looking for something specific. There will be plenty of opportunities to kill zombies later!
Loot And Reloot

Even if you didn’t play the first title in the Dead Island series, it probably won’t take long for you to figure out that a big part of the game is checking every box, crate, drawer, and bag you encounter.
This is also true after zombies have attacked. Sometimes these scripted moments will cause them to burst out of doors that were previously locked. So, once you clear a bunch of zombies out in a setpiece moment, check the area again.
Also, while zombies will return to areas you had, essentially, cleared out earlier, items will as well. So, when you are returning to previously explored sections of the map, you can loot things that you had already looted. Over time, you will learn which places have the best stuff, it doesn’t hurt to take a slight detour to grab some of the rarer ingredients.
The chests that contain rare weapons (usually concealed in areas that require fuses) do not regenerate. Too bad.
Chem Bombs Are Great For Exploration

The Chem Bomb is one of the first Curveballs you will obtain in Dead Island 2. However, while you will quickly amass an arsenal of potent Curveballs that far outclass it in combat, it is truly an invaluable method for clearing up most hazards. The Chem Bomb puts out fires, and removes caustic puddles, which makes it utterly invaluable.
It is very easy for the Chem Bomb to get lost in the shuffle of Curveballs, but it is way more convenient to go into your inventory section to swap it out for a better Curveball in intense battles, then it is to have to constantly pick up jerrycans to nullify hazards. When you are exploring, always have your Chem Bombs on hand. They will make your life so much easier.
The Magic Weapon Locker

During your run as a Slayer, you are going to find that you are frequently full-up on weapons. Of course, you shouldn’t be afraid to break down weapons into their component pieces, as you will always have a steady supply of weapons, but you will, inevitably, be left in a position where you may want to hold onto all the weapons in your arsenal and more at some point.
Thankfully, your weapon locker will hold onto the weapons that you leave behind as long as they aren’t common weapons. So, when you run into a situation where you are fully stocked, don’t be afraid to leave something behind. It will be waiting for you in your safe house the next time you return to base.