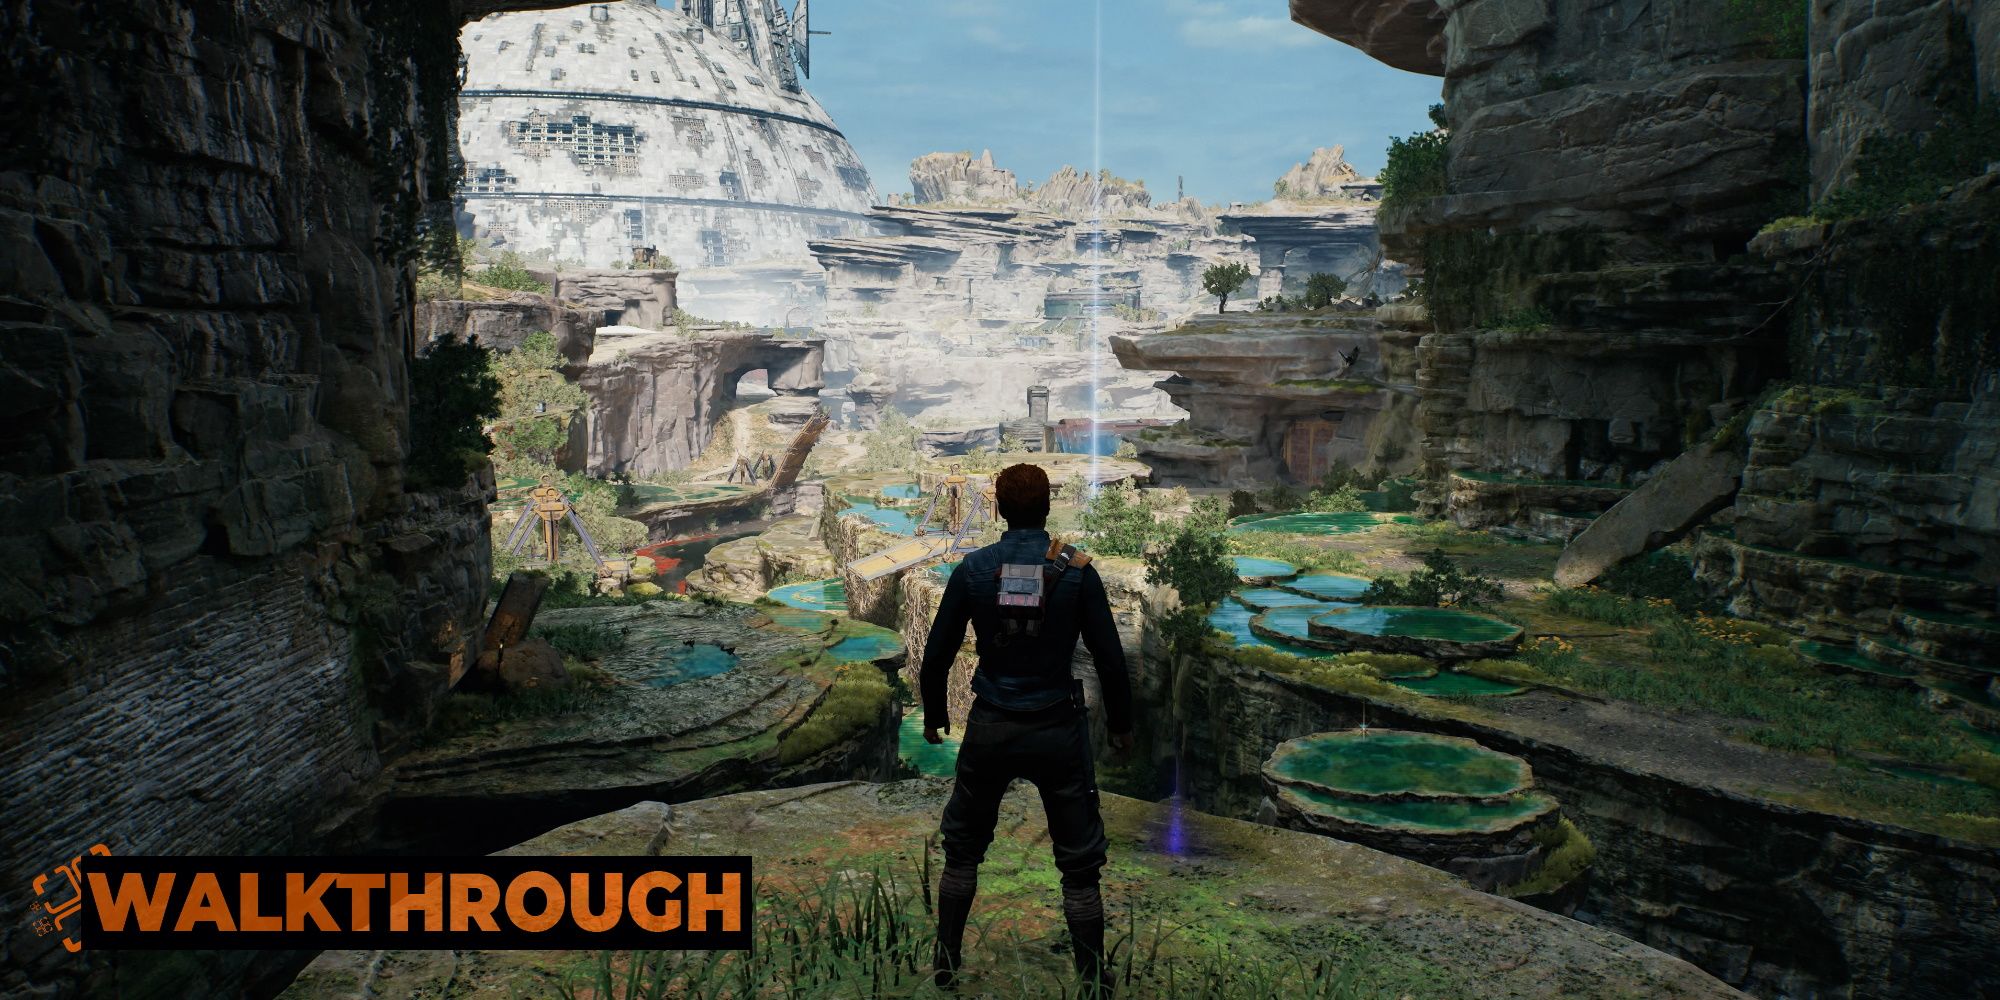
The last part of Star Wars Jedi: Survivor's second chapter will see you push through multiple areas, traverse a wide assortment of puzzles, and take out squadrons of Stormtroopers. Along the way, there is a ton of treasure to be had as well, of course.
We will provide you with solutions to the puzzles you encounter, and give you tips on how to traverse the world and where to go. Naturally, we will also point you in the direction of the many goodies you can swipe along the way. Prepare yourself, as there is a lot to cover here.
Basalt Rift
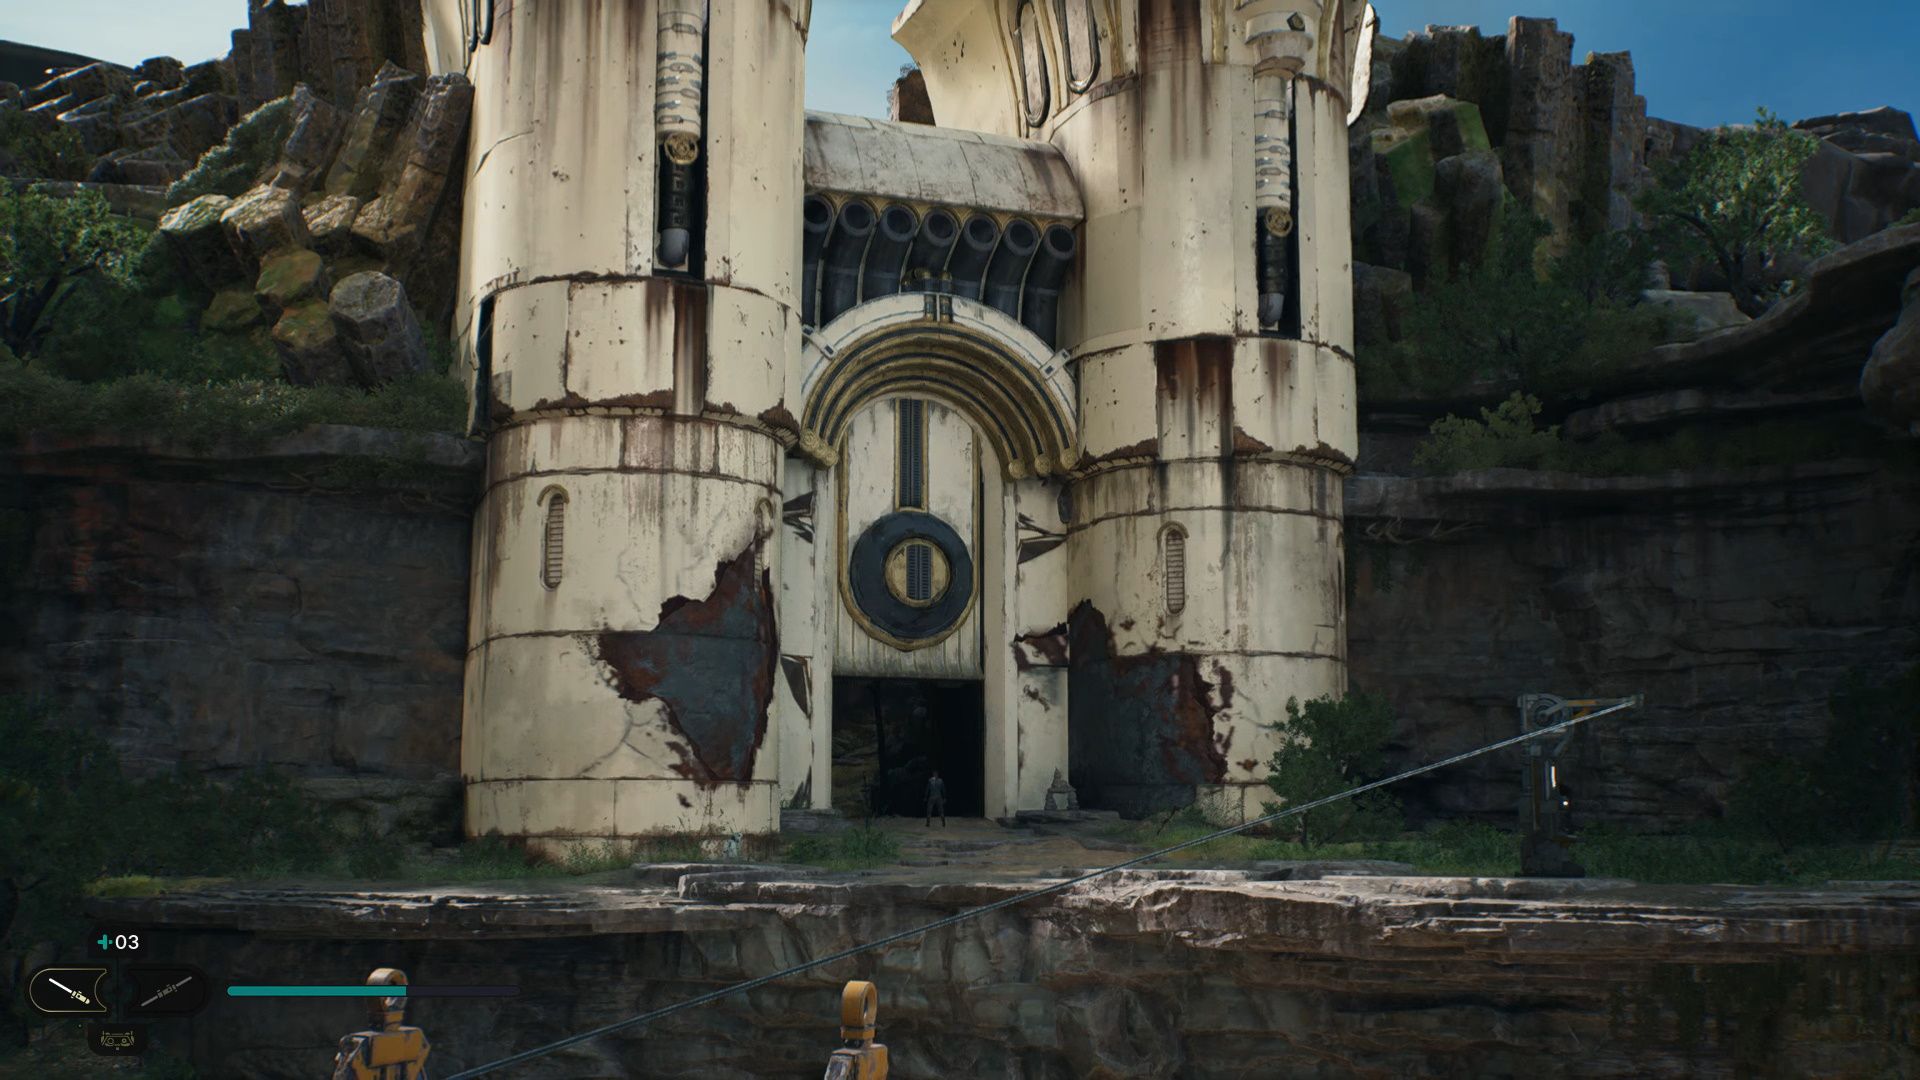
You'll find the Forest Gate in the northeast section of the map. Opening the gate will formally begin the "Reach The Forest Array" objective. Once you enter through it, you will pretty much immediately come across one of those terminals that fires a grappling hook. However, a giant basalt column jutting out of the side of a rock wall will block it.

Run alongside the wall on your right, kill the aggressive Rawkas, which will charge at your with their hard heads, then knock down all the small stone pillars. This will cause a large section of stone to fall, creating a bridge for you. Before you leave this area, grab the Priorite Shard. Now, cross the bridge and Force Push the column back into the wall, and you will be able to fire the grappling hook.
Once you slide across the grappling line, you will take out another bird. Scan the rock formation to acquire the "Basalt Pillars" Databank Update. Now, you need to get up that stream, but if you try running up it, you will keep sliding down. Run on the walls instead. Once you get across, instead of slipping through the narrow crack in the wall, turn and face the way you just came. Now, run along the wall on your left, this will curve around and drop you on the section above. Get the Priorite Shard. Now hop back down and slip through the crack.
Run down the earthen ramp, and jump across the gaps, from boulder to boulder, before clinging to the vine wall with your grappling hook. Just follow the wooden planks, they will guide you. Once you get up to the cliff top, you will find that there is a meditation spot. Up ahead, there will be a path on your left and another on your right. You won't be able to progress along the left path yet, so head to the right.
Fight the Stormtroopers and scan the Drop Ship for a Databank Update. Head inside the cave, grapple along the ceiling and drop down on the Stormtroopers. There is a Force Echo here to interact with. Continue along the path, kill a few more Stormtroopers, and then activate the grappling hook shortcut. Now, slide down the river, hop over the gap, and prepare to fight the Bilemaw.
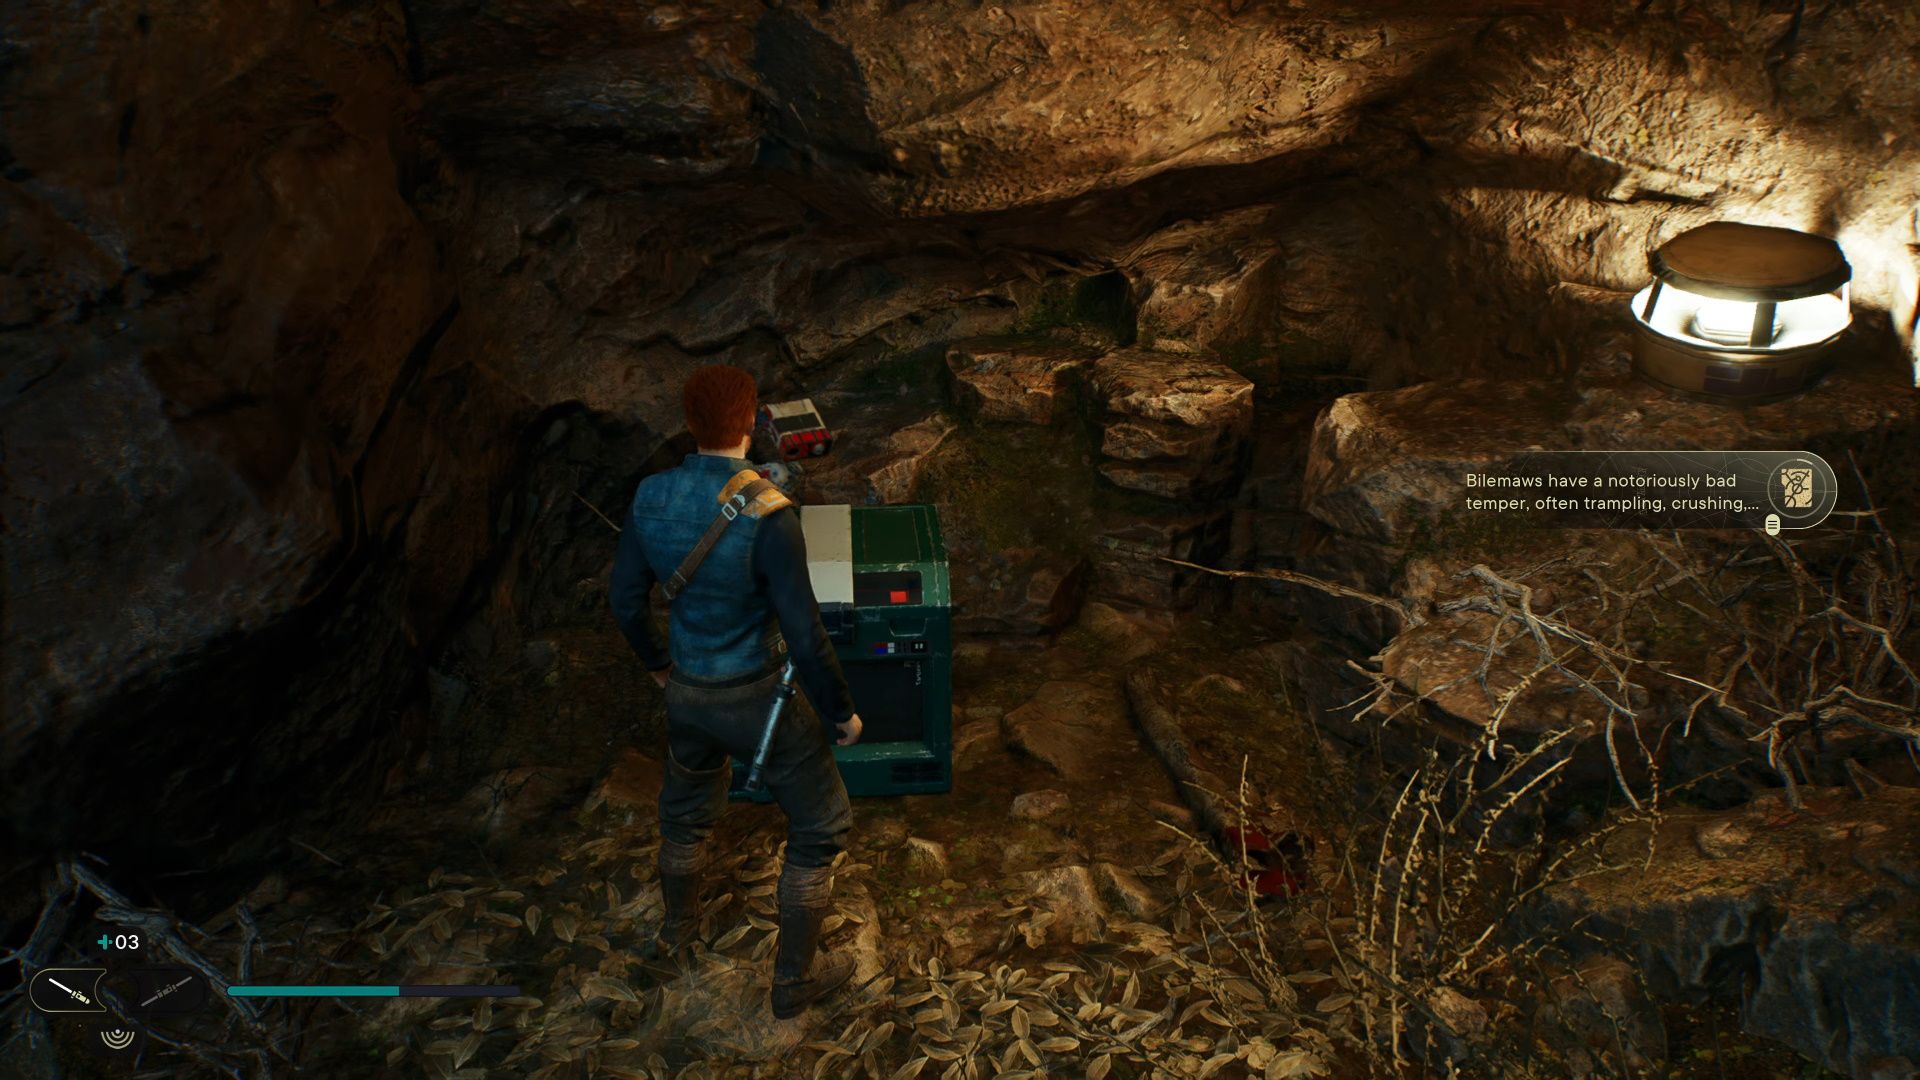
Just parry their bite attacks, and dodge their bile-spewing attack as well as their invincible stomp attack. Once you take care of this giant creature, scan the dead Stormtrooper for the "Bilemaw's Revenge" Databank Update. Open the chest to get the Hunter Pants for Cal. Now, at the edge of the nearby cliff are a few planks. Stand on them and yank out the pillars with your Force Pull. You are going to scale this stone spire by pulling out these pillars before climbing around the vine-covered walls.
You will now run into Toa. Talk to her and advise her to head back to Greez's bar. Before you leave this area, scan the giant hunk of metal leaning against the wall. You will get another Databank Update. Now, advance forward, and cut down the stone pillar. This opens up a shortcut back to the meditation point from before.
Mogu Fight
As you follow the path, a giant pillar will drop on the path. For the main path head downward, and attack the group of Stormtroopers. If you jump over the fallen pillar instead of heading down the main path, you will see a Mogu on your left and a broken bridge on your right. The broken bridge will take you to a Jedi Trial, but that is a little too involved to cover as an aside here. However, we can help you with the Mogu.
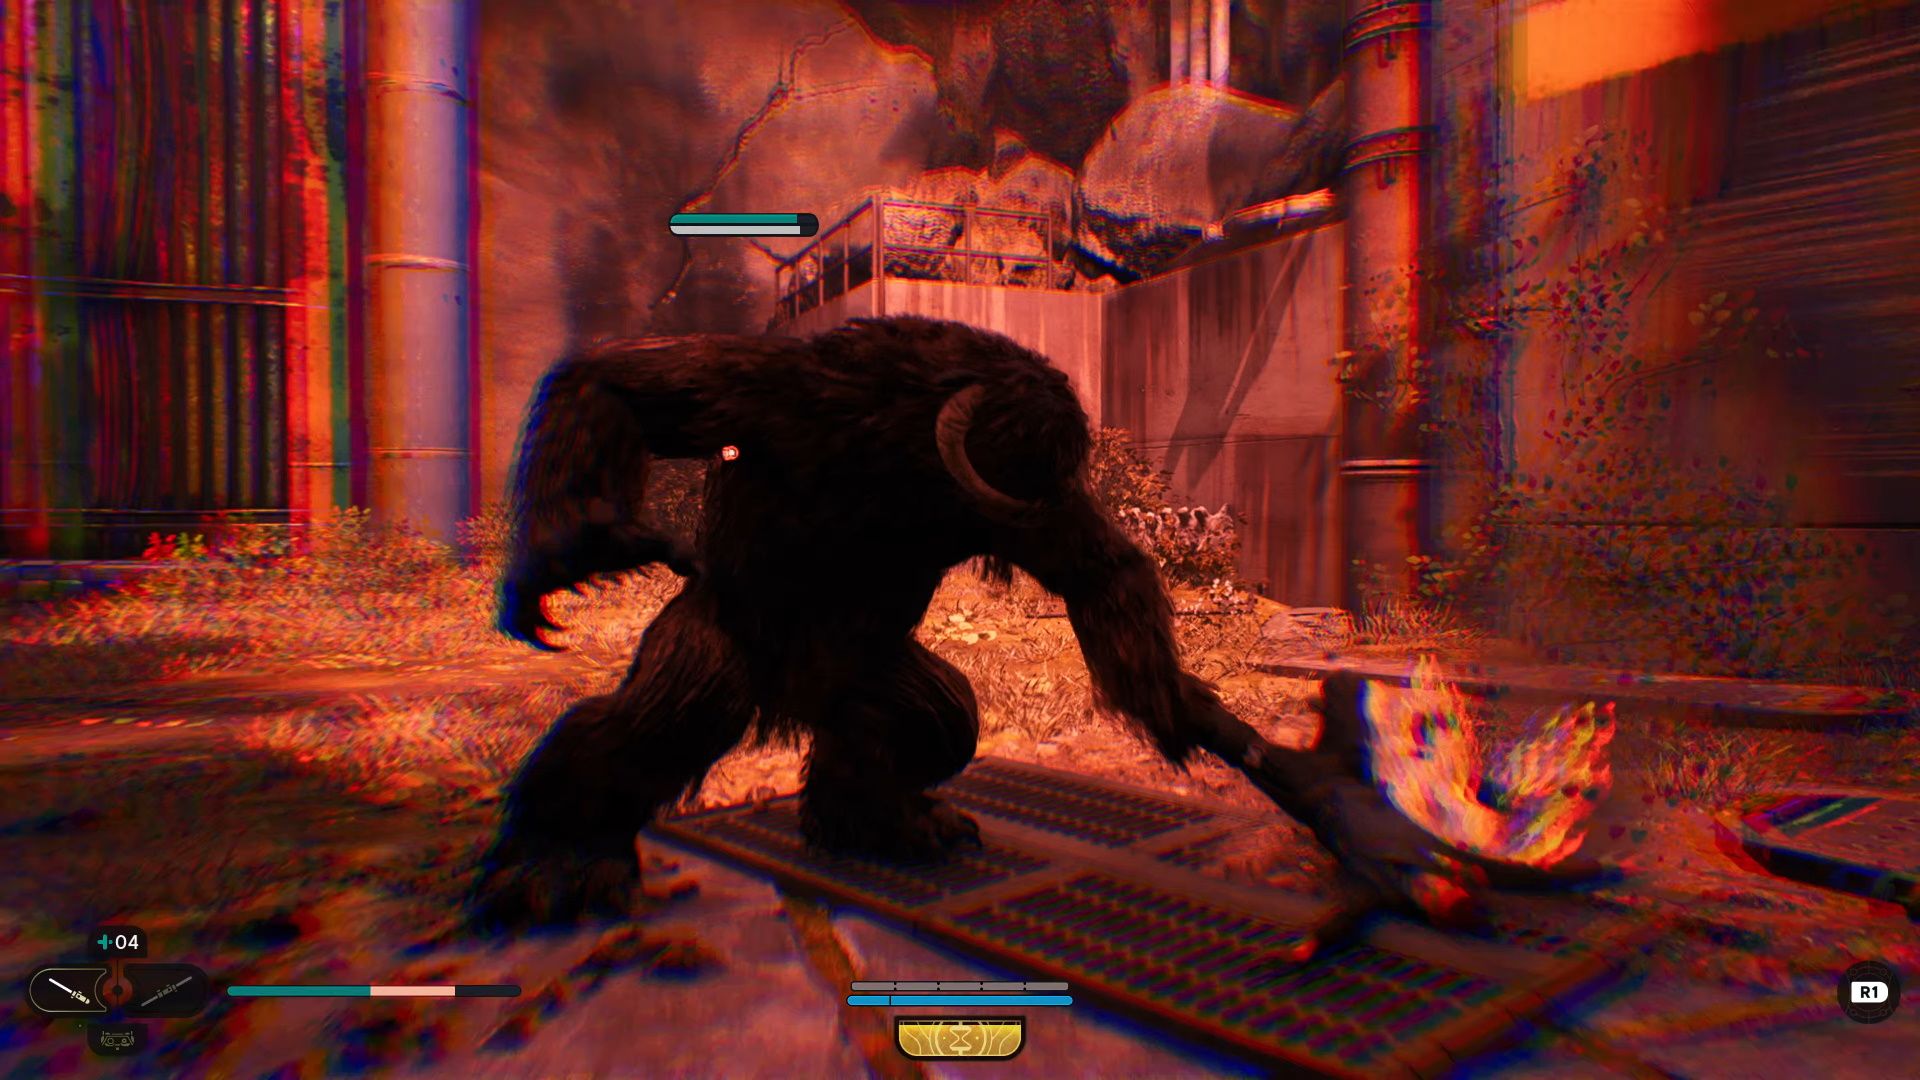
This enemy is pretty tough; if you do decide to fight it, the thing to keep in mind is that it has three unblockable attacks, a two-armed backhand, a grab, and a ground pound attack. Two of these are defeated by jumping away. So, that is what you should do whenever you see the Mogu glowing red. You really don't want to get grabbed. It is an intensely damaging attack. If you kill the Mogu, run up the wall and get to the platform above. There is a Datadisc and a Stim Upgrade up here.
Back on the main path, take out the troopers, and then open the chest to get the Crew Cut haircut, then scan the nearby crate for the "Short Straw" Databank Update. Head further down, have BD-1 scan the bog on your way down, and get another Databank Update. Head to the cave down below, take out the Rawkas and open the chest to get the Diligence Pommel.
Once you leave the cave, you will see a Scavenger Droid, take it out for a Priorite Shard. Now, above the sleeping Bilemaw, pull out the pillars. Jump across them quickly, as they will begin to recede back into the stone walls. Once you get to the top, you will head down a path that will introduce you to this next area's primary obstacle. These little blue things make will kill Cal if he sticks around them for too long. So, once you enter the area that is flooded with them, look for the cavern ceiling with vines, and climb above and over them.
Forest Array
Partway through climbing, there will be an area to drop down to and grab a Datadisc. Continue climbing the ceiling after grabbing it, and you will eventually get to a metal beam. Climb across it, and get to the section above the deadly mites. From here, jump onto the metal platform, and walk along the metal plant before leaping to the wall and running along it. Jump down to the base below, and you will be a meditation point.
After saving, head to the left. There is a metal plank overhang, if you look below, you will see a Datadisc below you. You can jump down and get it and then jump back to safety. Continue jumping from metal structure to metal structure. Eventually, you will run read into a grate wall, climb to the right along a beam, and hop to another grate-clad wall.
You will now see a giant bird in the distance. Before you continue forward, find the grappling hook terminal, and open up a shortcut back to the Meditation Point. Near the shortcut, there is a path that leads down. You will run into a locked door down here.

Beside the locked door, there are some planks, jump off of them and cling to the grating. Now, climb up and around. You will pass under that giant bird. The beast will eventually stomp and you will lose your grip. Quickly climb up once you drop down. Look for a bunch of exposed pipes nearby. Scan the area around them with BD-1 to get the "Epic Molting" Databank Update. Next to this spot, there are walls for you to run on. Once you get across, open the door.
You will now have to face off against a Mogu. If you fought the optional one earlier, you will know exactly how to handle this creature. Once you finish it off, run to the other end of the bridge, and scan the exposed machinery at the end for the "Auxiliary Array Telescope" Databank Update. Now, climb the grating up and around.
Open the chest once you get above, and you will receive the "Diligence" lightsaber switch. From here, drop into the circular chamber below. Take the sphere from the wall and slot it into the strange U-shaped "Orb Amplifier" device. This will fire a laser, which will part the sea of deadly mites. Make sure to scan this device with BD-1 to get a Databank Update.
Bilemaw Den


Follow the laser, and it will lead you into another room. Jump onto the platform in the center of the room, swing on the pole above, and climb up to the forested area above. Follow the path in the forest, indiscriminately kill some Stormtroopers, and you will run into a forking path. Go to the left first, this will see you Force Push a metal plank down. It will lead you to a chest that contains the "Swooper" head for BD. Keep following this route, swing across some poles, and you will climb up to find a Force Echo that will give you the Fortification perk.

Jump down, and you will be back at the forking path. Take the right path this time, and you will quickly run into another Force Echo. Interact with it and you will get the ability to confuse giant creatures. There is a Meditation point here as well. Up ahead there will be a Bilemaw that you can confuse, using it to kill the nearby Stormtroopers. After you clear out this area, explore it to find a chest containing the "Tactical Material".
Return To The Forest Array
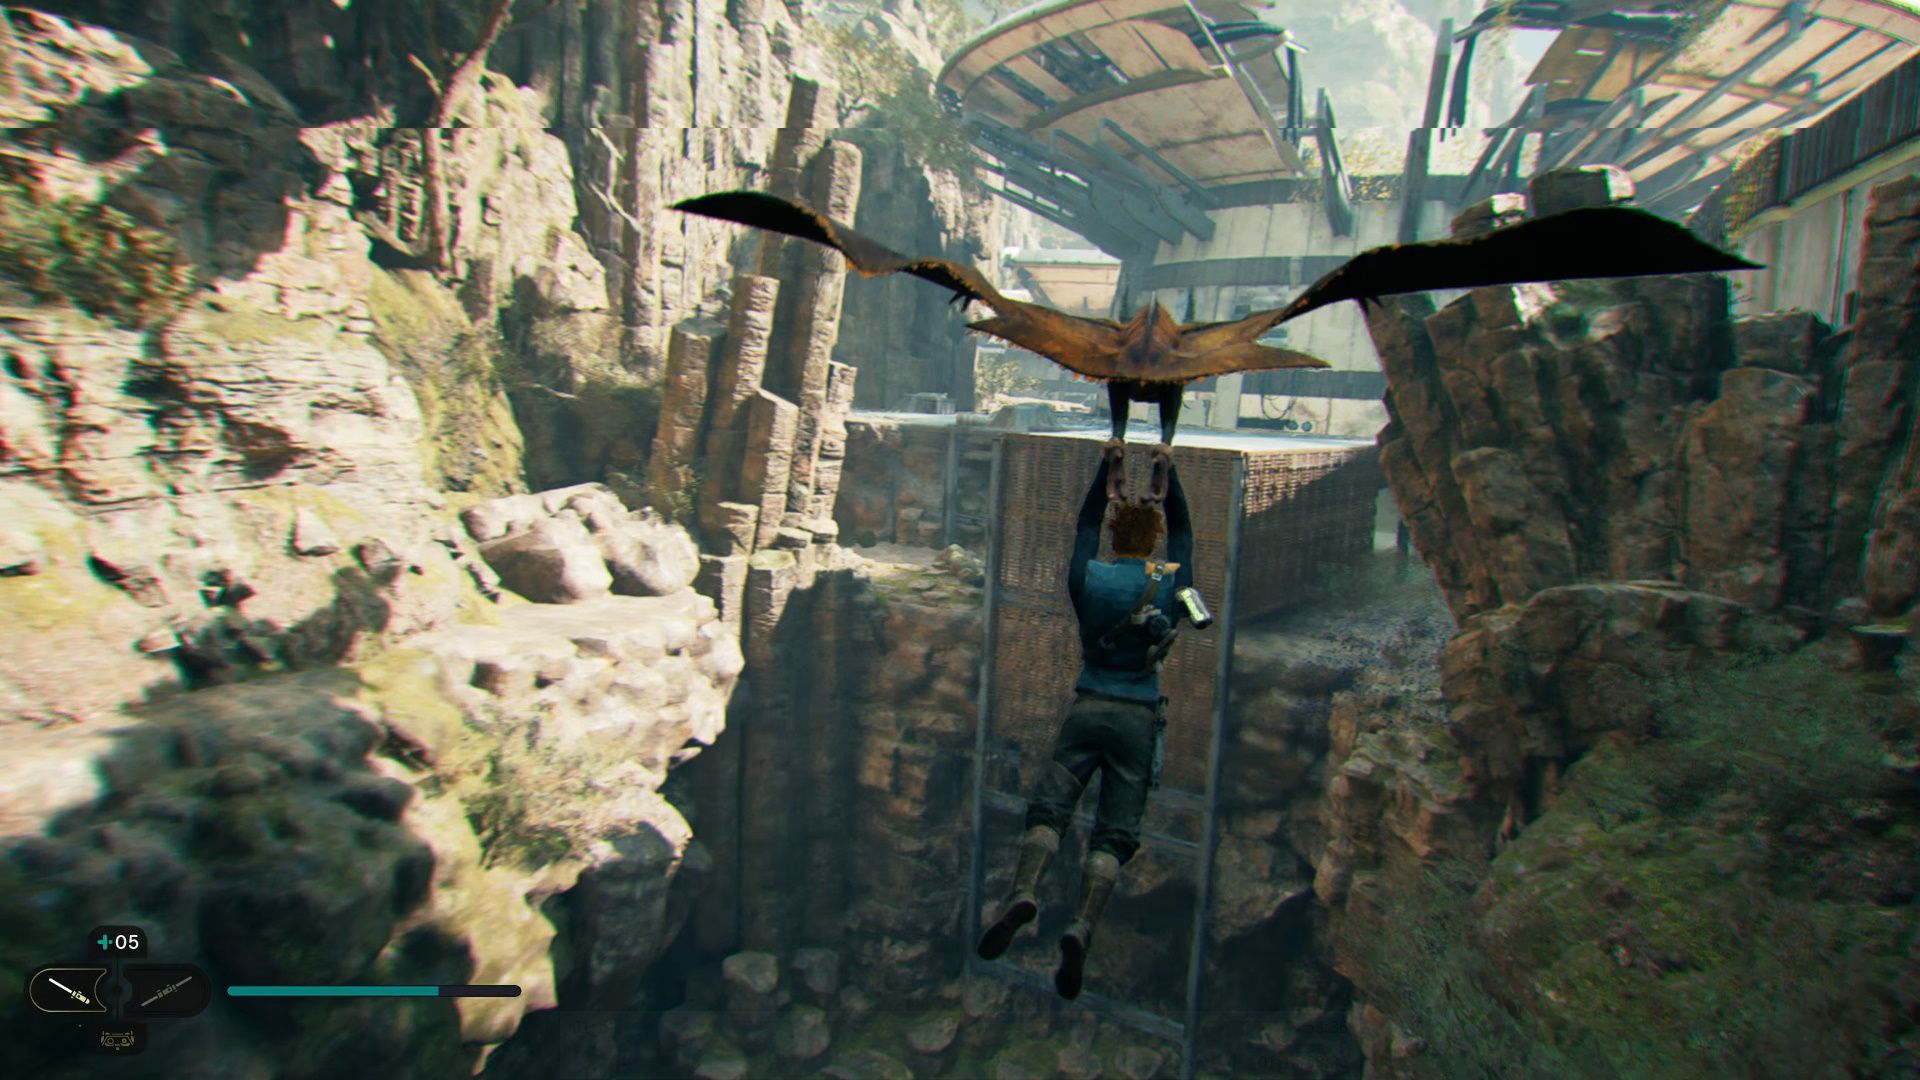
Look for a large root, climb on it, and then onto the vine-covered wall. Once you get up top, you will tame a Relter (the giant bat-thing). You can use the Relter to glide down through the valley. You will be able to guide it to a large grate-covered wall. Climb up, kill a few Stormtroopers, run up the giant circular wall, then ride another Relter down and into the area with the giant laser.

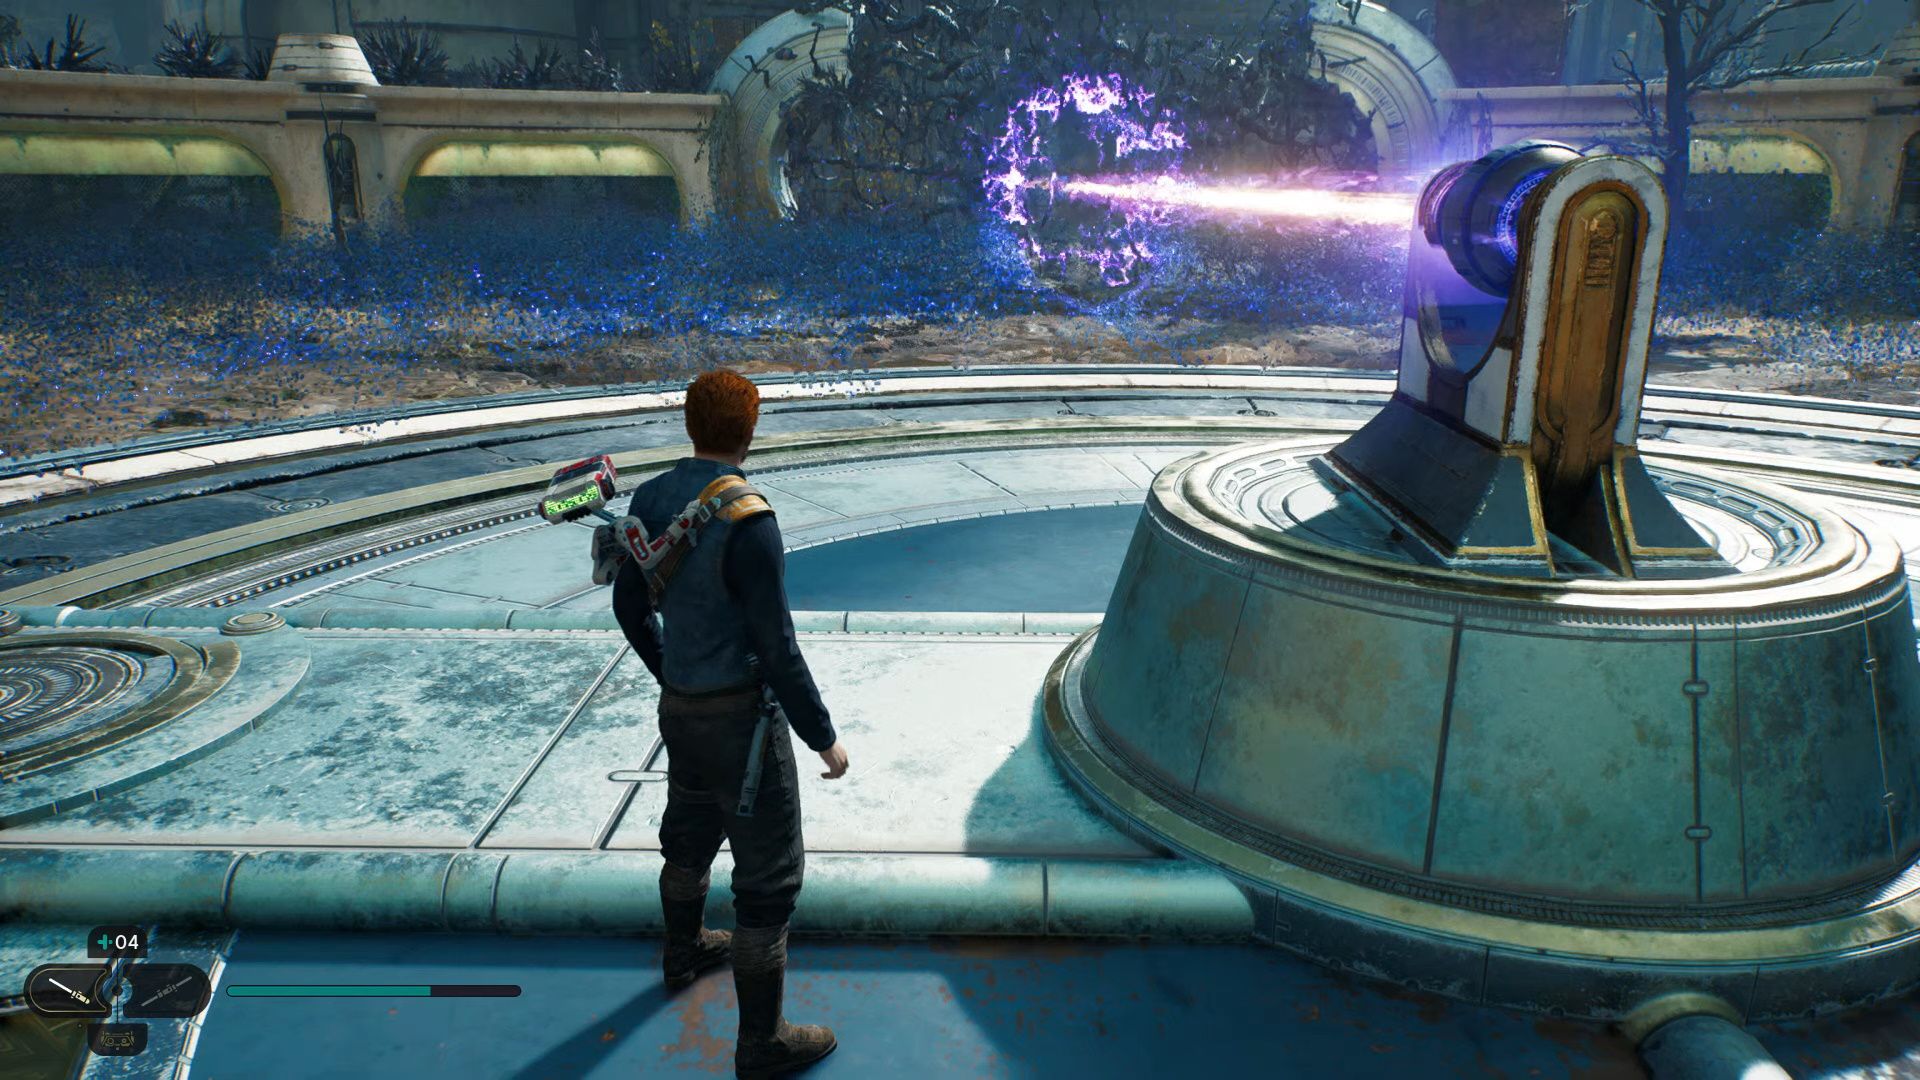
There are large switches positioned on the plate with the giant laser. Use these to change where it is firing. Point it at the mess of black roots, and it will blow past them, clearing a path for you. However, before you leave this area, make sure to get the "Diligence" lightsaber grip from the chest. There will also be a Datadisc on the ground as you leave. At the end of the laser will be a section of grating you have climbed before, but now with those black roots gone, you will be able to progress. Follow it, open up the chest, and get the Hunter Material. You will glide down with a Relter into an area with more Stormtroopers and a Bilemaw, after you take them out head upward and you will encounter your final puzzle.
Open the door, and you will be overlooking that laser from before. Pull the orb from it, and bring it to the Orb Holder. This will create a bridge (just like before in that Jedi temple). Once you cross the bridge, take the orb again with your Force Pull, and then throw it into the Orb Holder across the way. You will know if you have the angle correct, as the path marker for the orb will turn purple. Now, enter the elevator, and you will be taken to a Meditation Point. Save here, as you are about to battle a boss. For assistance with this fearsome foe, follow the link below!

