Quick Links
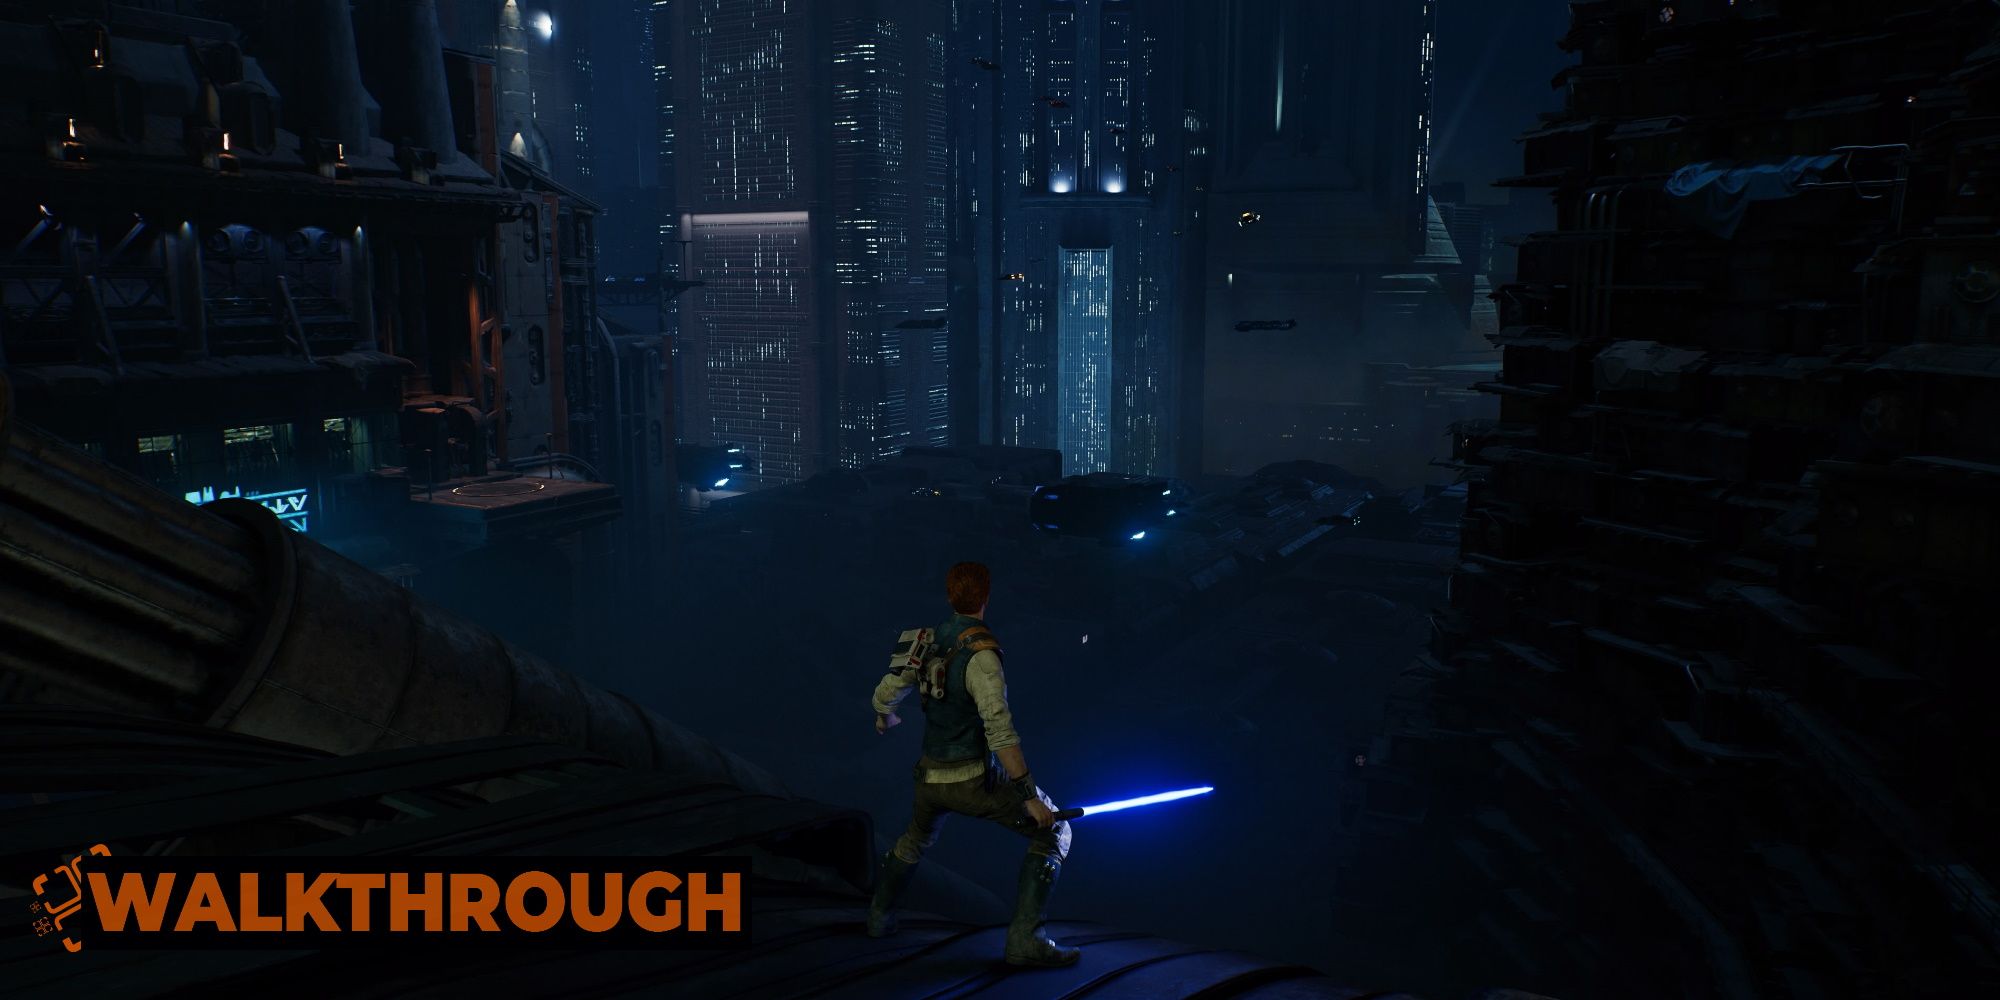
The opening section of Star Wars Jedi: Survivor sets the tone. Being the very first segment in the game, you can expect some liberal tutorialization is Coruscant. What may surprise you, however, is how many collectibles line Survivor’s first world. From Priorite Shards hidden in dark corners, to chests placed on alternate pathways, Survivor's first stage is making one thing clear: you’re going to be looking for collectibles from start to finish.
We’ll take you through the entirety of Coruscant. This will include pointing you in the direction of the treasures you will encounter along the way, as well as giving you tips on how to fight the different enemies you will encounter.
Introduction Section
After being dragged around Coruscant by a pushy droid, you will engage in a little verbal back and forth with a corrupt senator before exchanging more than words with his Stormtroopers. This first fight acts as a tutorial, so just follow the basic instructions on the screen. Remember that your most potent tool in Jedi Survivor is the parry, so you may as well get acquainted with it here.
Once you finish off the fodder, you will end up doing some classic video gamey climbing before, inevitably, dropping down and into The Rooftops area of Coruscant.
The Rooftops

You will drop into a room. Grab the chest to your left, you will obtain the Patience Emitter. There is a set of doors that are gently glowing red, but you won’t be able to open them. Instead, force push the door open. Now, head down along the rooftops, and fight the Stormtroopers.
Always get BD-1 to scan anything he can, as any Datalog will provide you with a little experience.
From here, you’ll double jump over a gap, and scale a wall by climbing the grating, walk across a pole, then hop up to reach your first Meditation Point. You will now be forced to learn the (very mediocre) Lunging Strike attack.
While we would advise you to spend money on making Cal more durable, it is worth noting that the Lunging Strike does get substantially better once you purchase the second upgrade.

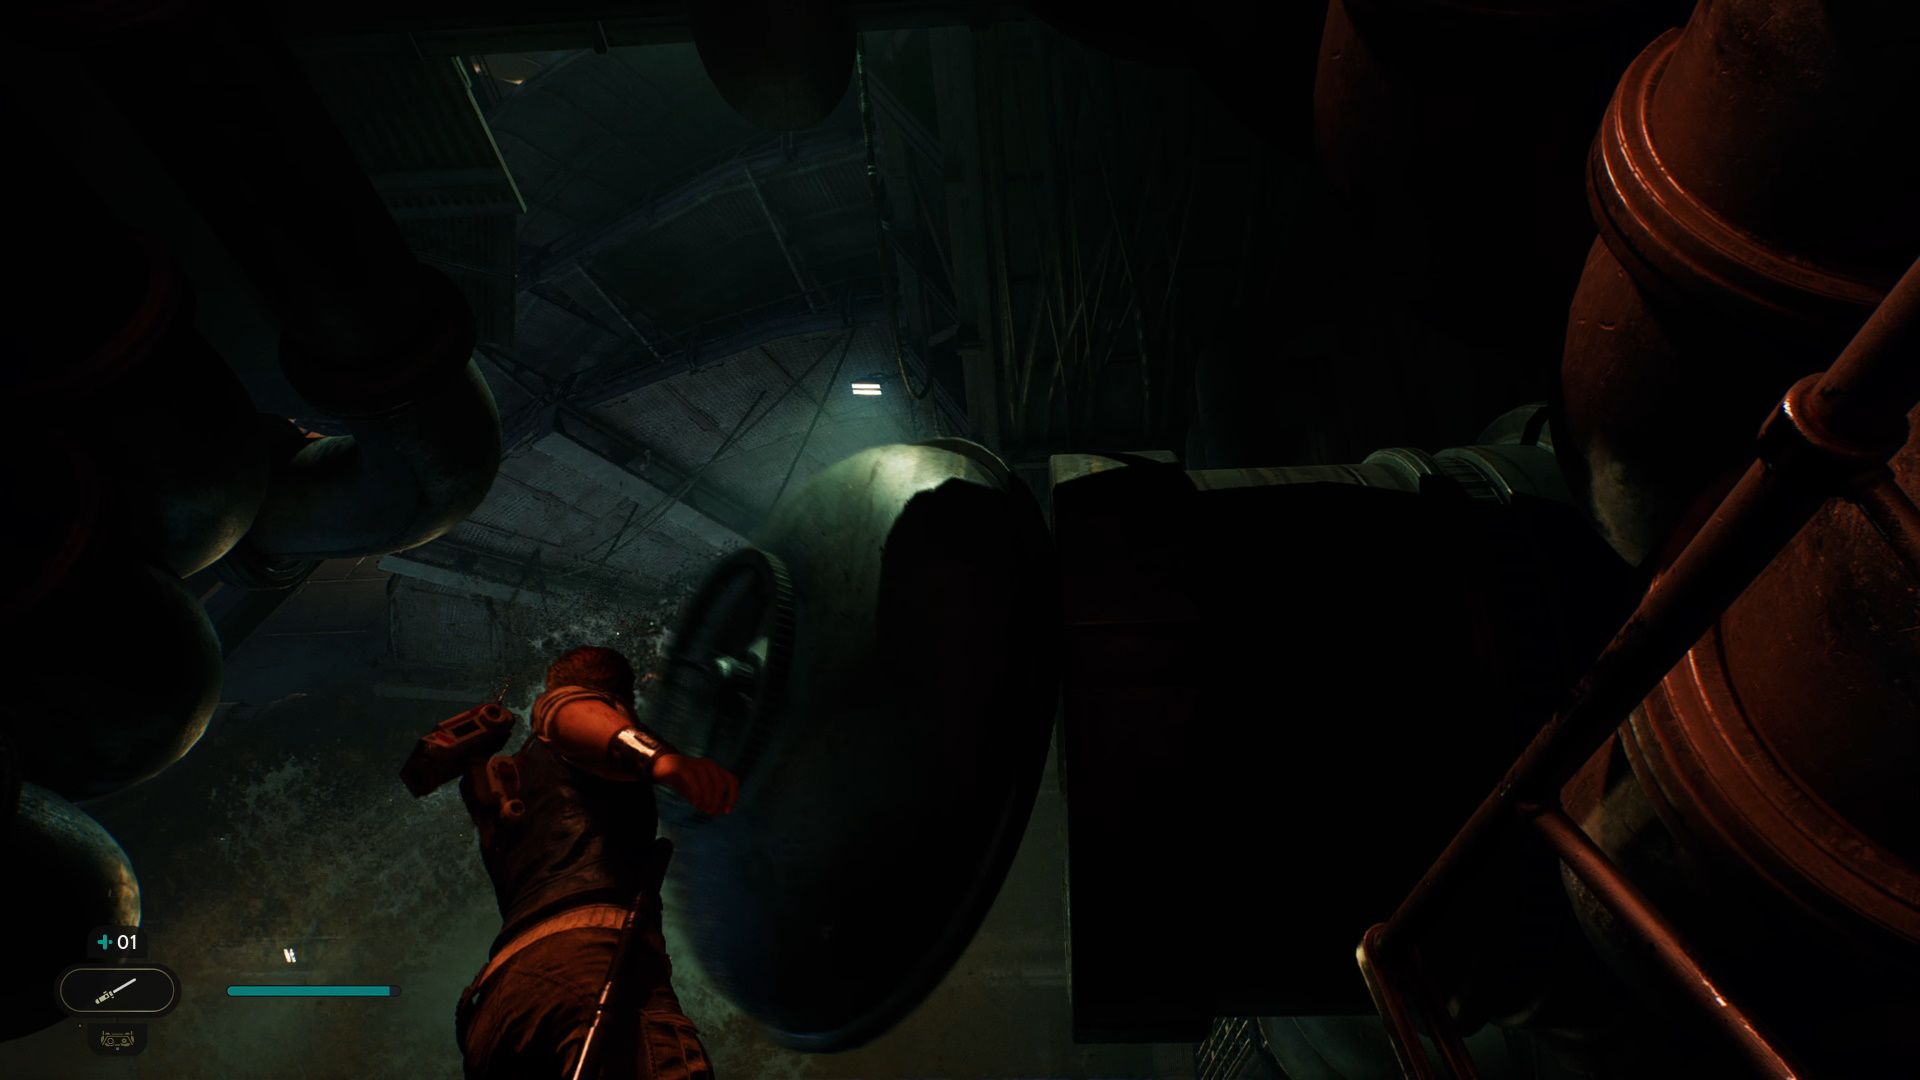
Head to the locked door on your left and have BD-1 hack it. Once you head through the door, you will see that there is a large amount of water flowing out of a pipe. Use your Force Push to block the water, jump over the gaps, and get the Patience Switch. Now head back. There is a Force Echo nearby (on your right), make sure to absorb it for the easy experience points. Now, find the large bit of grating running up the wall, scale it, and take out the Stormtroopers up above. There is something to scan up here. Have BD-1 scan it to obtain the “Squatter Camp” Databank Update.
With your back facing the way you came, take a left. Follow this path until you hit a dead end. You will find your first Priorite Shard here. Now head back and take the right, use your force pull to clear the path. You will fight some more Stormtroopers. Follow the main path forward. You will do some more climbing, though this time you’ll be climbing the ceiling.
You are going to deflect some blaster shots back at some Stormtroopers and try out your second lightsaber stance: The Double-Bladed Stance. After you finish deflecting the assault blaster shots at the Stormtrooper, you will need to Force Pull a panel so that you can climb up the wall.
Once you get to the top, you will reunite with Bode. As you progress forward, you will encounter a structure with a rope. Cut the rope, and it will dangle down to the section below you. This is a shortcut back to the meditation point. You’re going to encounter a bunch of these in the game. Make your life easy and keep your eyes peeled for them.
Have BD-1 hack the terminal, firing a grappling hook that will be blocked by a large, yellow crate. Now, get Bode to sever the cable holding the crate, sending it to the surface below. Once it is out of the way, have BD-1 hack the terminal again, firing a grappling line across the way. This is going to be another thing you do frequently to create shortcuts. Travel on the cable to the Renovation Site across the gap.
Renovation Site
Run across the wall, and you will land in an area with a giant slope that is too slippery to scale. There is a Priorite Shard to the left of this slope. Run up the wall to the right of it and grab the grating to scale up the rest of the way.
Get Bode to cut down the cable, have BD-1 hack the terminal, and get the Coruscant paint for BD-1 from the chest inside the room. Then, climb the cable to the top. You’ll now get the jump on some Stormtroopers. One of them has a giant, rapid-firing blaster rifle, so you may want to switch to your double-bladed lightsaber before engaging. Once you clear them out, use the terminal to raise a bridge with another trio of Stormtroopers.
Once you pass over the bridge, you will see a giant, glowing sign. Get Bode to turn it, then run across the surface of it. There is a terminal to your left, have BD-1 scan it to get the “Local Directory” Databank Update. You will reach another Meditation Point. After resting, set forward and run across another sign.
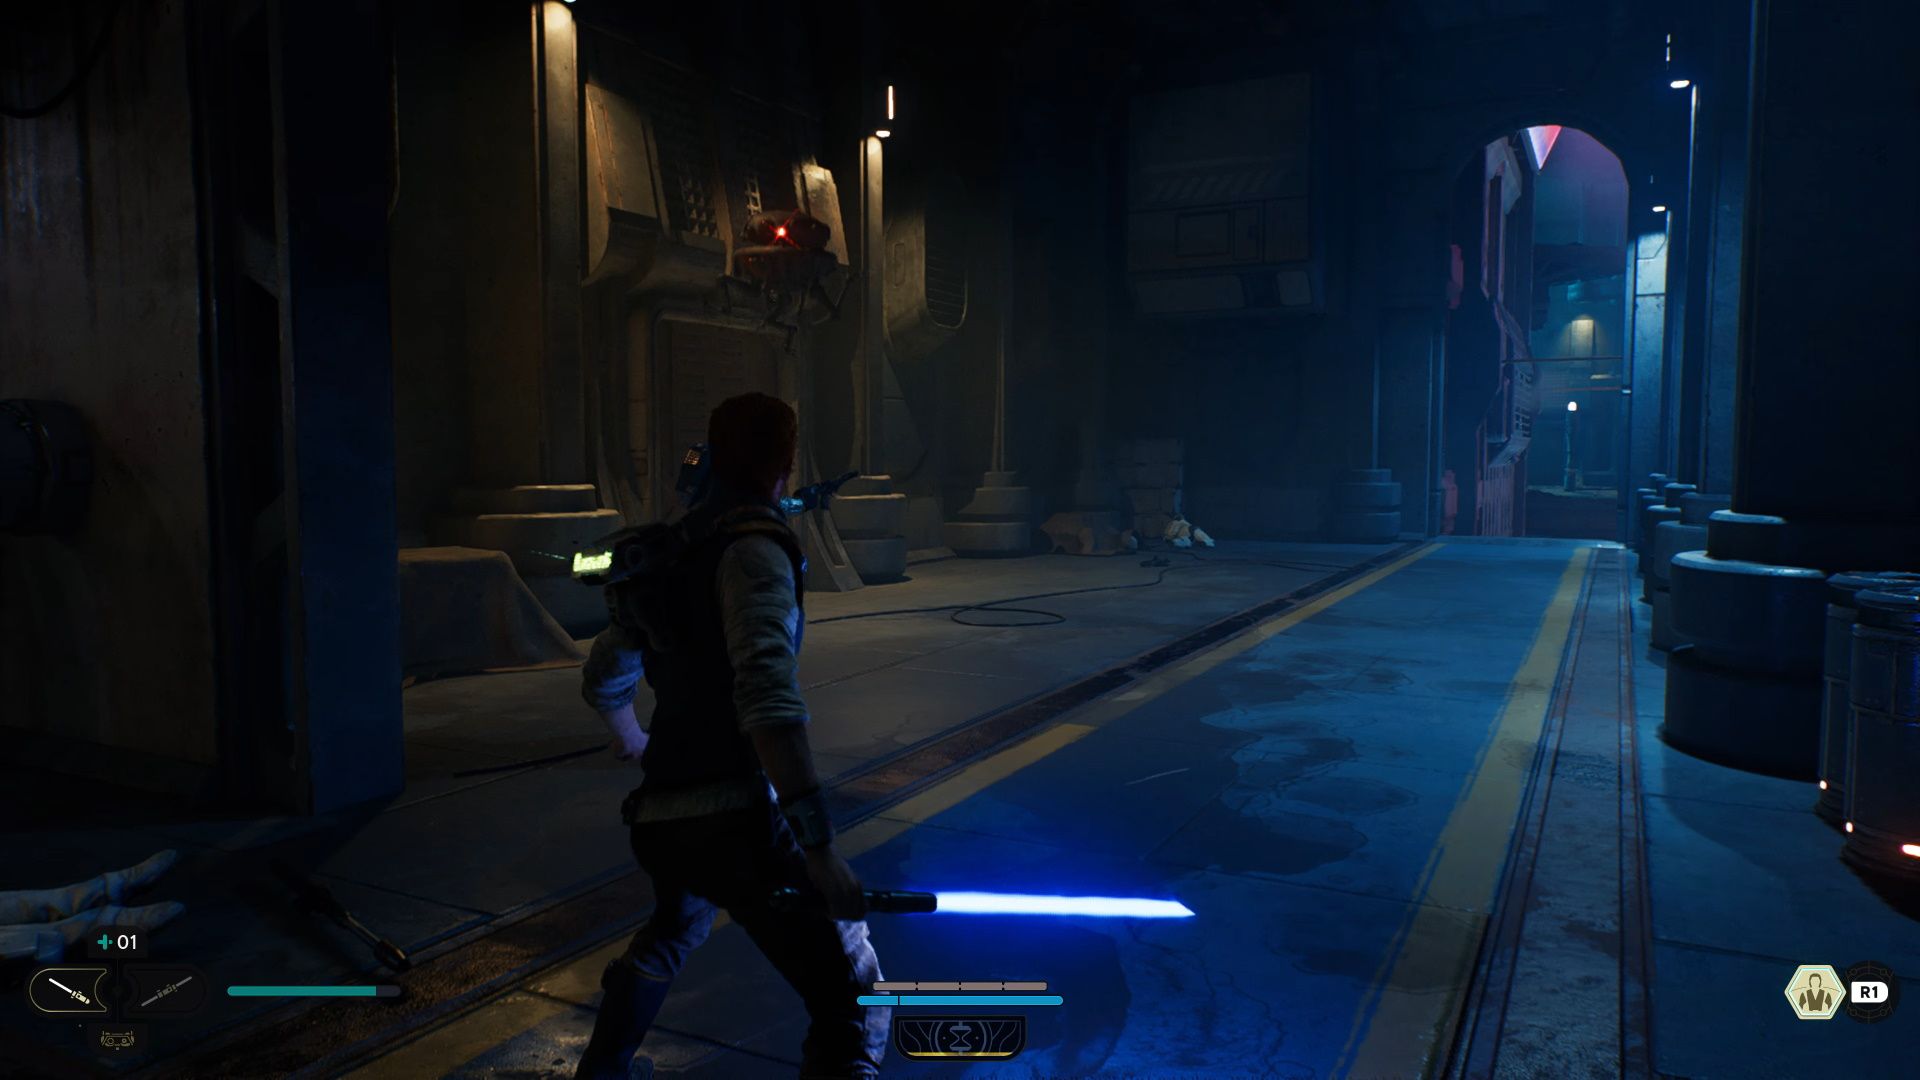
Open the door, and take out the Probe Droid. Just wait for the beeping sound; once you hear it, get ready to deflect the blast. Scan the noodle shop stall, and get another Databank Update. Now, fight your way through another couple of Stormtroopers. You’ll come out on a rooftop, jump across the pipe dangling off of the building and try to jump to the other side.


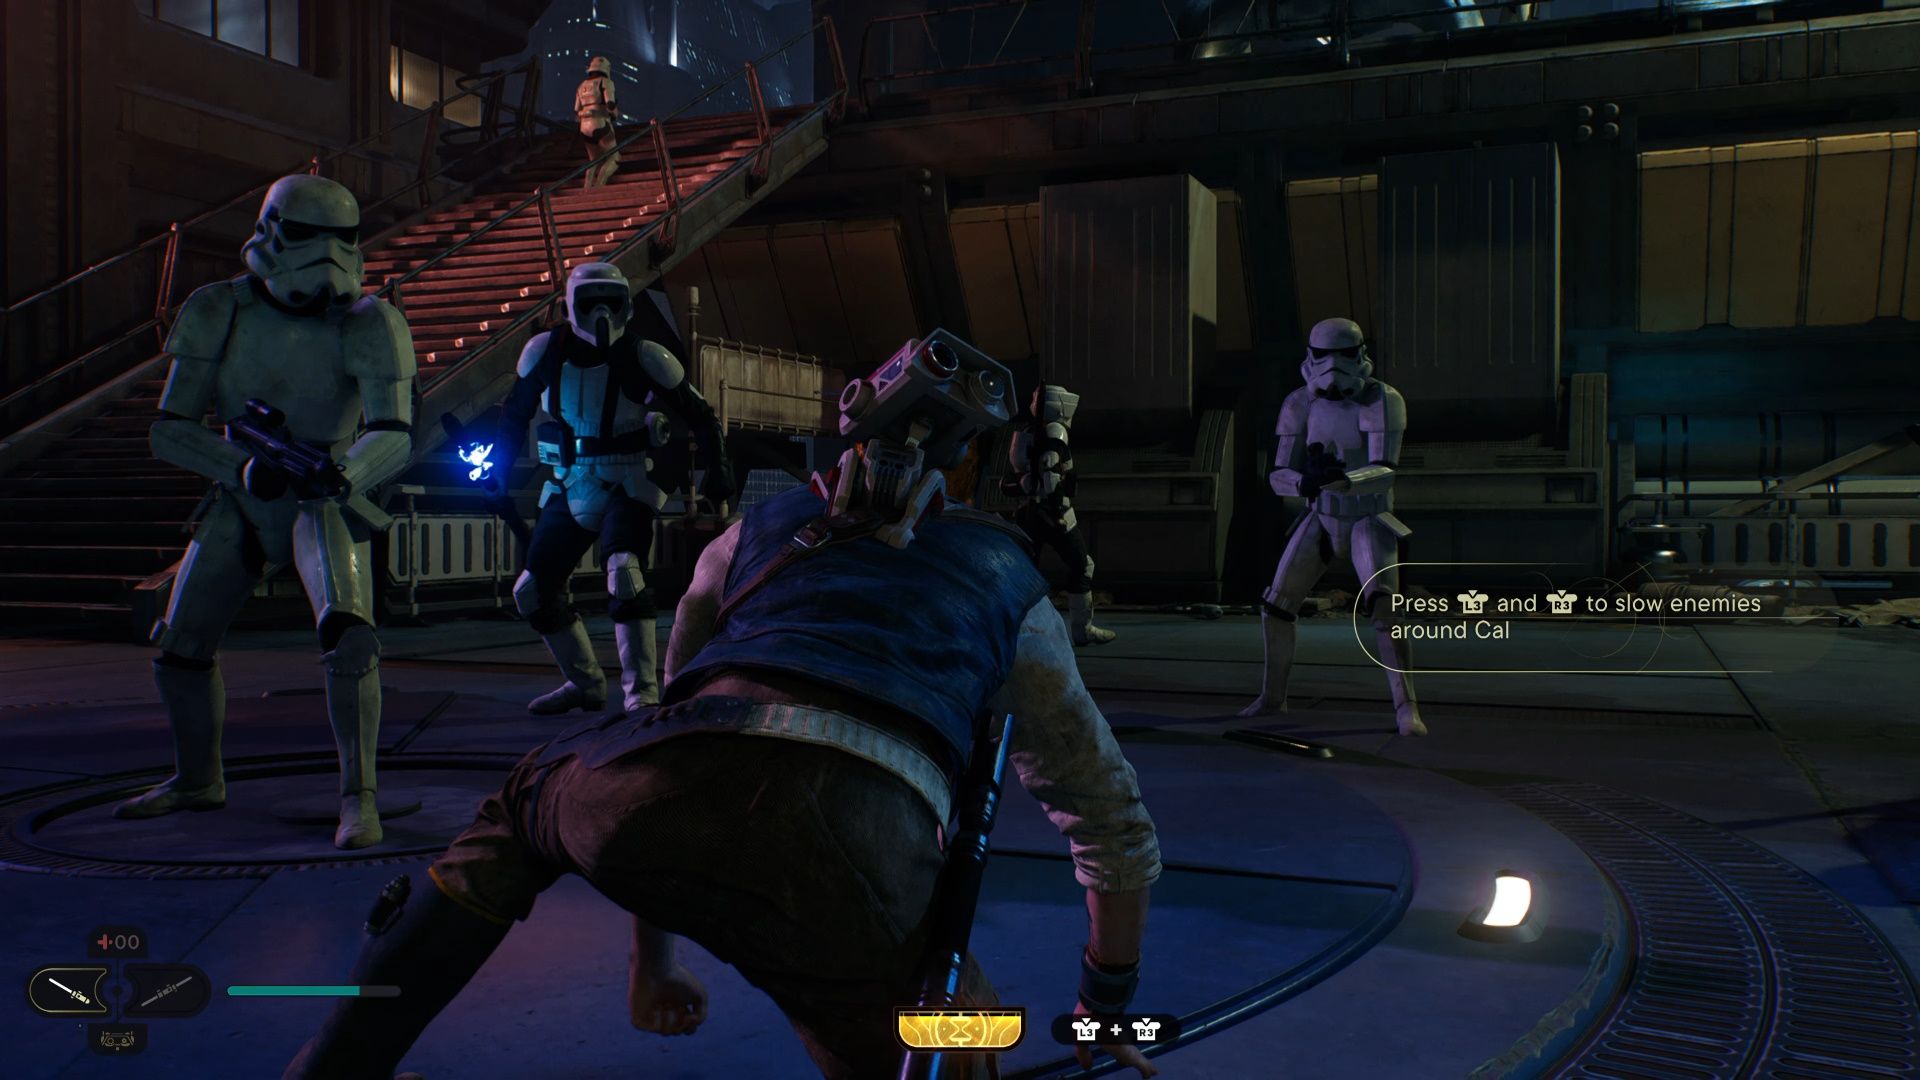
The pipe will fall, and you will plop down in front of an entire squadron of Stormtroopers. The game will now teach you about freezing time with The Force. Use this to mop up the baddies. Once you take them out don’t go back the way you came. Instead, head up the stairs, take your first left, hop across the gap by swinging from the pole, and grab the hidden Priorite Shard.
Have Bode knock the grate down, force push the giant block so that it is under the grate, and climb up. You will now climb along the ceiling, then run across a curved screen. Once you get to the end, instead of continuing forward on the main path, turn around, and run across the two screens, going back the way you just came. This will lead you to another chest. Open it to get the Patience Grip.
Run back across the two signs, to get back to where you were before. With your back to those signs, there is another sign to your left to run across, then a pole to swing on. Once you land, you will use your Force Pull to grab the rope off in the distance, swing across the gap, and climb onto the grating cladding the walls.
Climb up from there, take out a few Stormtroopers, and there will be a door you can unlock to create a shortcut. Now, head down the stairs, and you will crawl through one of those tight spaces, and enter directly into a mid-boss battle

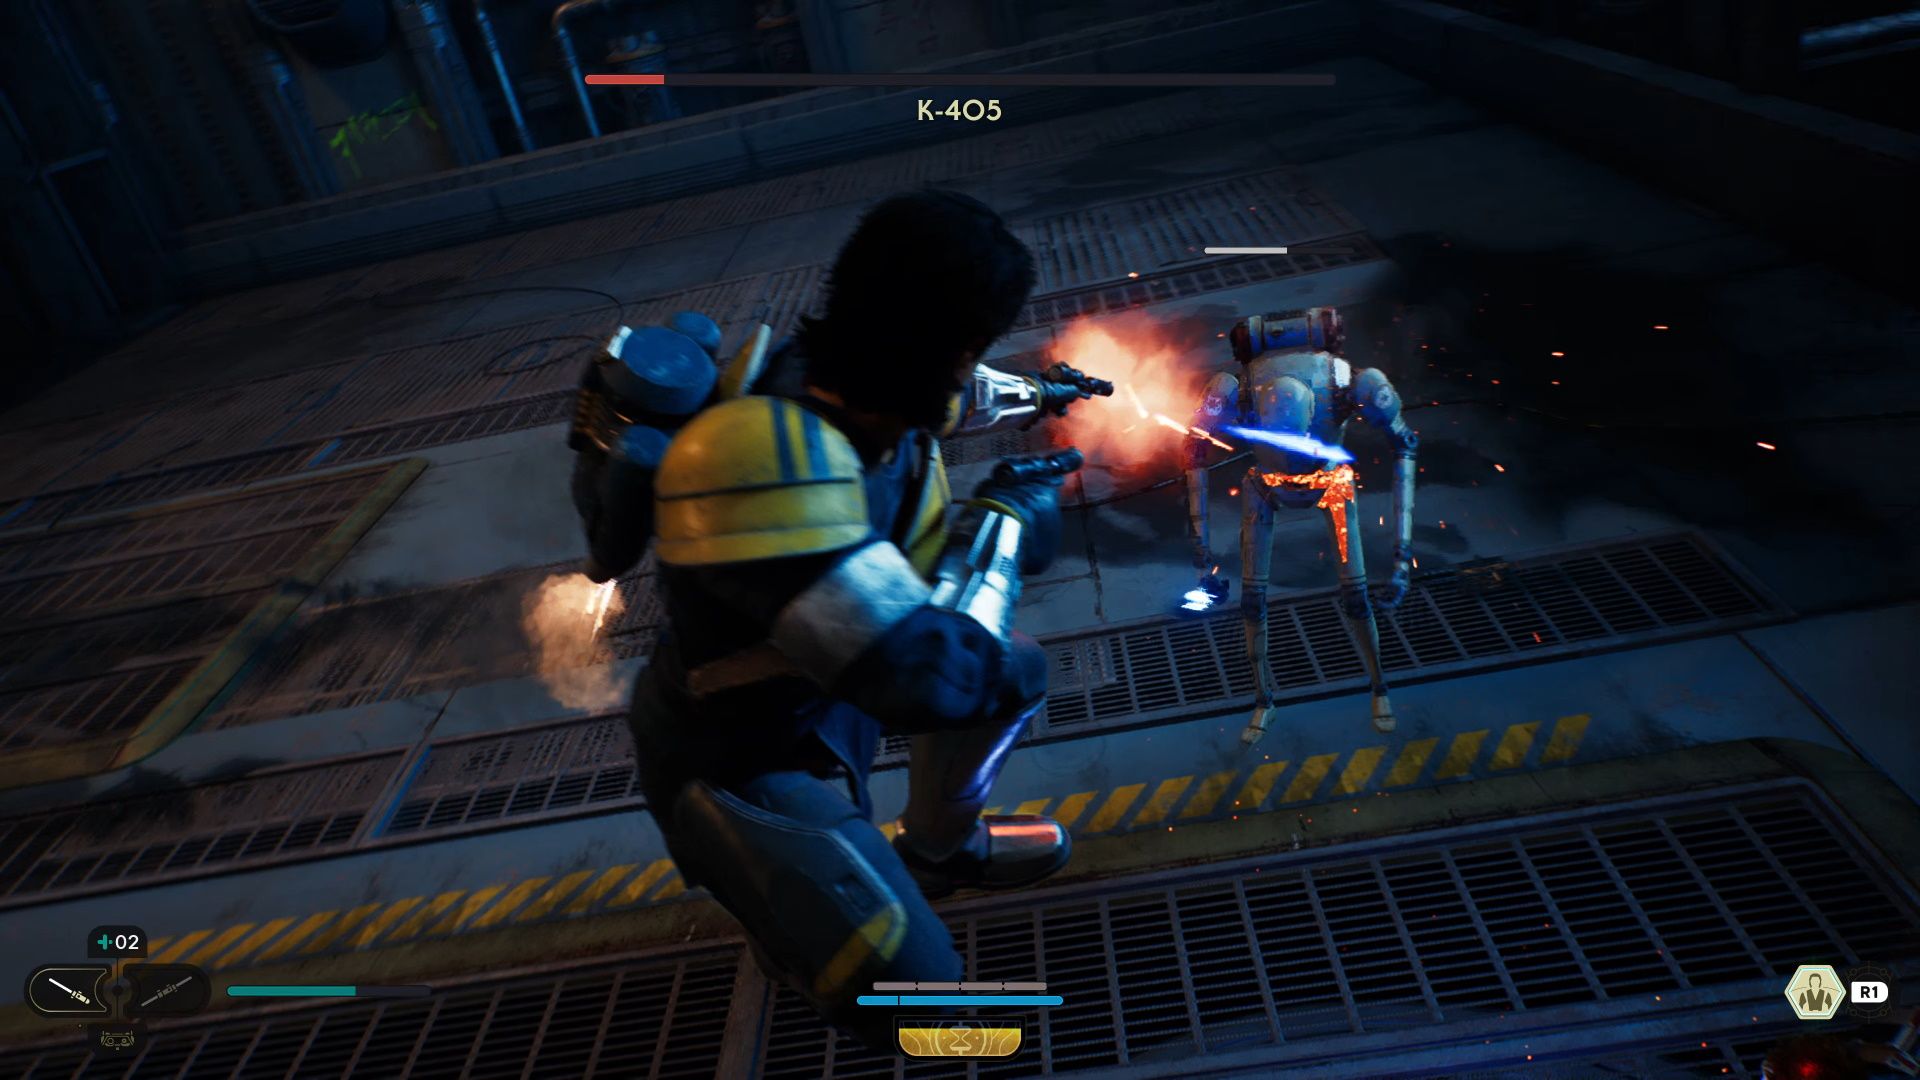
Once you come down the steps, there will be a Priorite Shard sitting underneath them. Grab it. Now, squeeze through the gap and fight K-405. This is technically your first boss fight, but between his slow, predictable attacks, and the ability to stun him with Bode, you aren’t likely going to have much of a problem. Just dodge when you see him glow red.
You will now get a grappling hook. Grapple up above, and use the terminal to swing the structure on the crane around. Jump to the structure, and grapple your way along the main path. You will drop down to the meditation point, but now you will have two walls suspended there that you can run across. You will combine your grappling hook with the wall running to cross the gap. Once on the other side, you’ll reunite with your buddies. There is a grappling hook shortcut back to a meditation point. Unlock it. You will now be in the Coruscant Undercity.
Coruscant Undercity
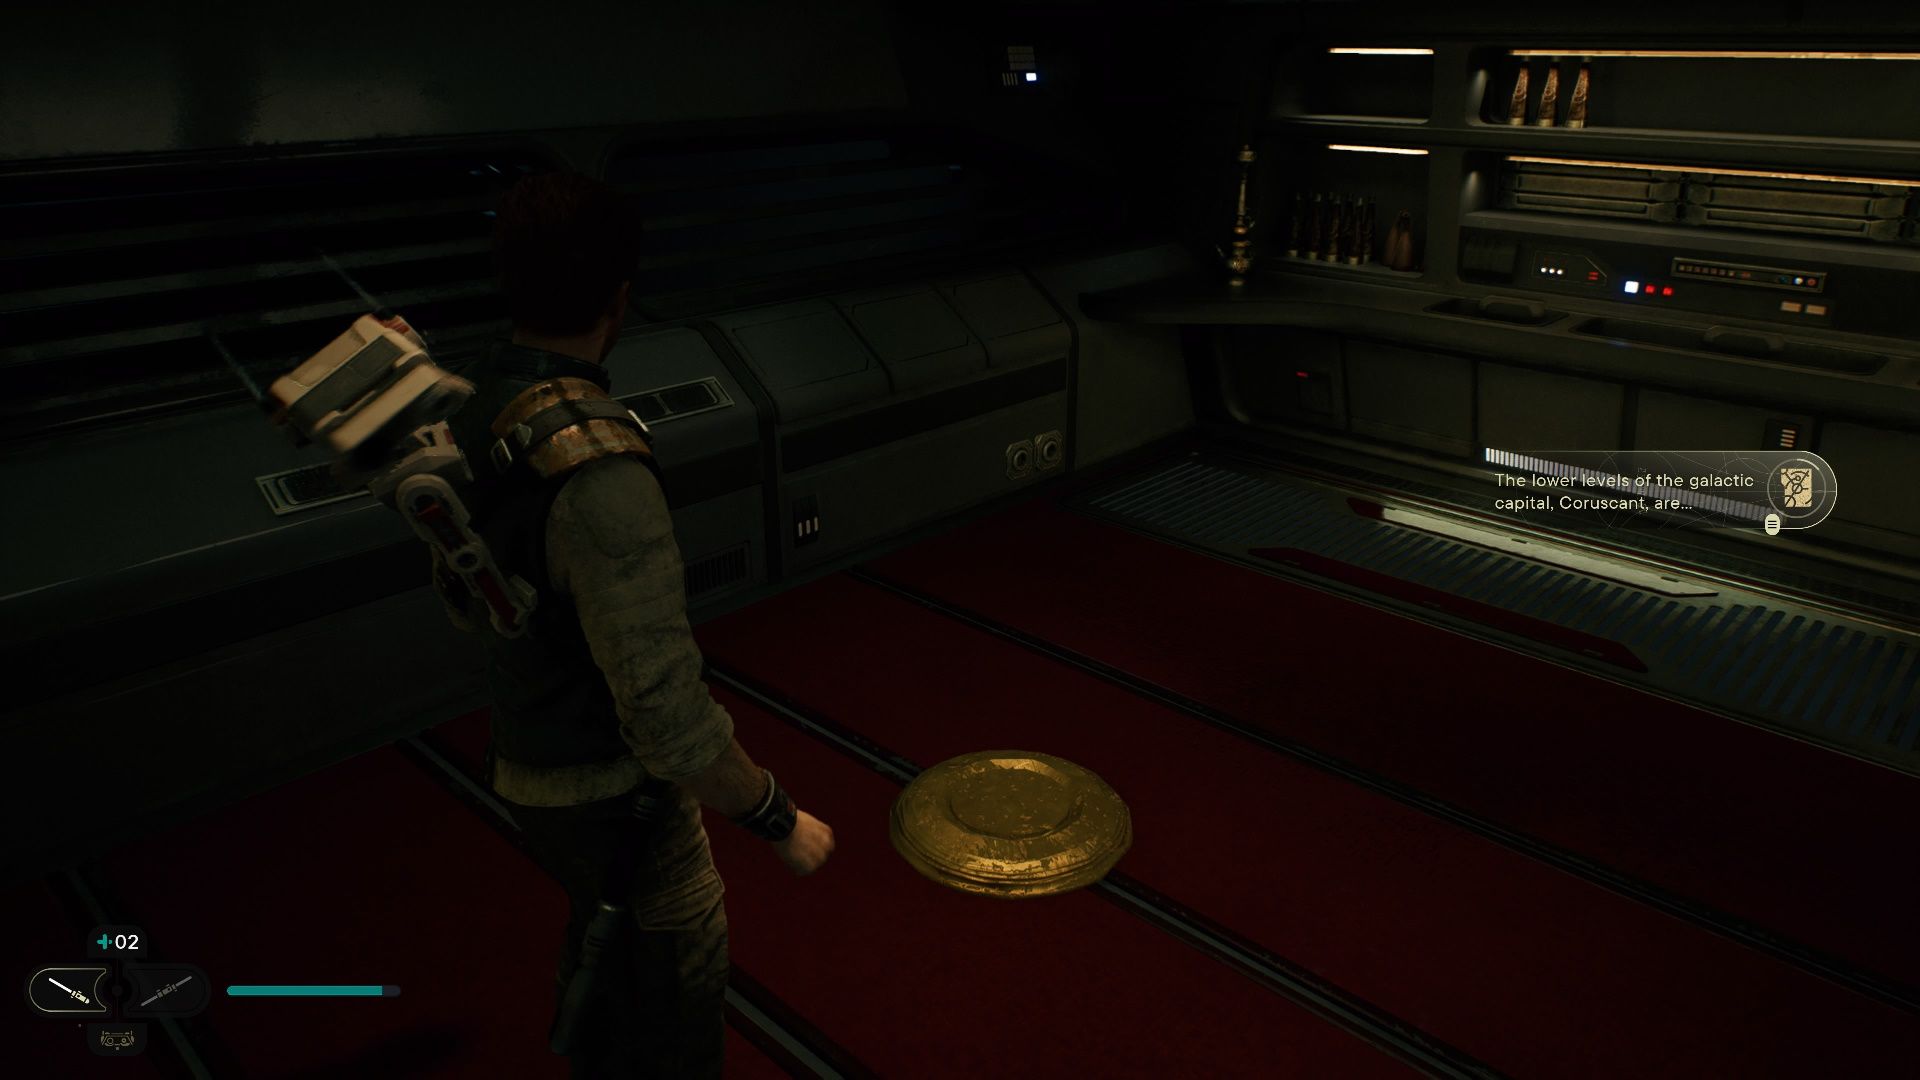
When you get to the yacht, use your Force push to get the bent piping out of your way. Beyond that, just scamper across the grating, and use your newly acquired grappling hook to get around the area. Once you manage to lower the yacht, hop down, and explore it. After a cutscene, you will be able to check the yacht out. Examine the shelf behind the desk and the gold round object on the ground for the two databank entries. Leave the yacht, view another cutscene, and you will fall into the Undercity Meats area.
Undercity Meats
You will fall onto a conveyor belt. Run away from the furnace, and grapple up above. You will jump up a wall, kill a probe droid, and the main path will be to your left. Ignore it for now, and jump up the wall in front of you. This will lead to a fight with a Security Droid. You won’t have Bode with you this time, but this is still a very predictable and easy-to-beat enemy. Once you kill him, open the chest and get a stim pack upgrade
Back on the main path, you’ll fight two Probe Droids, and then square off against a Purge Trooper. Once in the dark room with the hanging meat cubes, head for the illuminated hallway off to the left side of the room, you will claim an essence here. Move onto the next area, grapple to the meat block, which will carry you across the gap, and drop down to fight the stormtroopers. In the next room, scan the Turbo Dogs with BD-1. Grapple up above, to the pole, then turn around, run along the wall, and grab the Coruscant paint for your lightsaber from the chest.
Boss Battle - The Ninth Sister
You are going to fight the Ninth Sister. The thing to remember with her is that many of her unblockable attacks are pretty linear, so constantly strafing will help minimize her effectiveness. Beyond that, make sure to parry her wide slashing attacks and overhead swipes.
In her second phase, she will become unhittable when she holds her hand to her head. Just parry her lumbering overhead attacks until she breaks out of this stance. She will also start to use a jumping attack. Keep parrying these attacks, and unload on her once you stun her.
Once you get her down to a third of her health, she will enter into a third phase. You will unlock the Dual Stance at this point. This allows for faster attacks and is fantastic for one-on-one fights. Here she will get the ability to pound the ground, creating a shockwave. This is a fast attack and hits very hard. So, prepare for it and jump over the shockwave.
Beyond that, just keep strafing, wearing down her stamina by blocking attacks, and wearing her down by unloading on her when she is staggered.
For more advice on how to overcome the Ninth Sister, as well as a detailed breakdown of her attacks, you can read our full guide on how to beat her here.
Couscant Skylines
Once you have finished off the Ninth Sister, the path to the end of the stage gets pretty linear. Hack the terminal to stop the flames from blocking your path. Then squeeze through one of those tight gaps. There will be a mediation point here. Use it, and follow some stairs down into a hallway. You’ll encounter a Gonk droid here, have BD-1 scan it for another Databank Update.
From there, take the elevator, follow the spiraling stairs around, wall-run across some wanted signs, fight some Stormtroopers (and a Purge Trooper), climb a rope, do some more climbing, and you will get to a section where you need to slide down some coils. There are two of them here. You will need to jump between the coils midway, otherwise, you will fall to your death. However, falling to your death isn’t particularly serious in Survivor, so if you mess this up the first time it isn’t a big deal.
After this section, there is a set of doors, but don’t enter through them right away. Look for the Priorite Shard that is to the left of these doors! It is nigh-invisible and easy to miss. After this, you will reunite with your remaining crew, and fight your way through a bunch of Stormtroopers. Once you clear them out, board your ship and leave Coruscant.

