The galaxy far, far away is littered with dangers that lurk around every corner. It's not just the Empire you should fear, as each planet seems to be teeming with its own ecosystem of hostile wildlife. Thankfully, in Star Wars Jedi: Survivor, Cal Kestis is a seasoned warrior with the intellect and skill to deflect the worst.
Like most games these days, it takes a studious player to really uncover the best within a given title. If you've savored every aspect of Jedi: Survivor, you likely know everything there is to know. But if you're more casual, there are some details you might not know that the pros certainly do.
10 Fast Climber

Fans of action-adventure titles have long been familiar with the climbing mechanic, and scouring the rock walls of Ancient Greece as Kratos is a memory that hearkens back to the PS2 days. If fans remember, Kratos could leap upward and to the side for a faster climbing experience.
While the game doesn't expressly tell you that you can simply leap even if there is no gap to jump across while climbing, you actually can. Just like Kratos of yesteryear, you can have Cal thrusting himself upward or to the side to move along a wall at a greater speed if you are short on time or patience.
9 Finding Side Quests

There's a lot to uncover in the world Respawn has created inside the Star Wars galaxy. You'll encounter some interesting people along your journey, and if you talk to them, you may convince them to become a patron of Greez's Cantina on Koboh.
After returning to the Cantina yourself, you'll find that many of the travelers you spoke with out in the wild have taken your advice to check out the Cantina. Sometimes, if you speak with them multiple times, they will have tasks (rumors) for you to investigate that operate as this game's version of side quests.
8 Blue Means Go, Red Means Stop

If you're knee-deep in Jedi: Survivor then you know all too well what it means if an enemy temporarily glows red.
It means they're about to strike, and you can't block it. But what if the enemy glows blue? You may have seen this but were never entirely sure what it meant.
Well, if an enemy glows blue, it means they're more susceptible to the force. So give them a solid shove with the force to really sweep them off their feet, and take advantage of the moment.
7 BD-1 Gauges Your Active Health

While it's hard to really ignore your health bar at the top of the screen, you're eyes are usually locked on Cal in the heat of battle. Enemies chipping away at that health bar could escape you if you're wrapped up at the moment.
Just like in Fallen Order, however, BD-1 is a great indicator of how Cal is holding up. The light on the back of his head glows to reflect Cal's health status, and if everything is hunky-dory, BD-1's light will glow green, but if Cal is about to become a force ghost, then the little droid's light will glow red.
6 Shortcuts

The game will most certainly train you in the basics when it comes to piloting Cal as your virtual avatar. But sometimes, controls like navigating menus or pulling up your map can be cumbersome, and you'd rather assign it a particular input.
Well, if you navigate to settings in your main menu, you will find that there are a wealth of Accessibility options. Under Accessibility, there is a menu where you can make "Shortcut Controls" selections.
Maybe you are a frequent virtual photographer and are tired of pulling up the menu to select photo mode. Well, now you can assign it to something like the touchpad on your PS5's Dualsense.
5 Use Death To Your Advantage In Boss Fights

Fans of Fallen Order can already expect that Jed: Survivor will likely retain the same Souls-lite mechanics of its predecessor. For instance, when you die, you lose all the XP you've collected up on your way to the next upgrade point.
If you seek out the enemy who killed you (and is typically glowing yellow) you can reclaim that XP and a total health recovery by simply attacking the hostile. Things work differently when fighting a boss, however.
If you die, a glowing pillar of yellow light appears where you perished. Touching that glowing aura will return your XP and replenish your health.
But if you're having trouble with a boss (as many of them are tough), use it to your advantage. Don't grab it immediately, wait until your health is low, and then snag it for a total recovery. It'll save you a stim or two.
4 Unlock The Wisdom Perk ASAP

There are many perks Cal can acquire during his journey in Jedi: Survivor. But he only has a limited number of slots, so you must choose wisely. Of course, gathering XP is a top priority as it helps climb through Cal's various skill trees unlocking necessary upgrades and new maneuvers.
The best perk to aid you in gathering XP is the Wisdom perk. This can be obtained after Zee, the droid from the High Republic, enters the story.
She will eventually set up shop in the Cantina and you can purchase this perk from her. The sooner you do, the quicker you can boost the amount of XP you earn enabling you to unlock some killer skills at a quicker pace.
3 Run

This may sound obvious, but it's actually not. Many players get so focused on combat that they never think to simply flee a dangerous situation, and unless you're locked in a boss fight, you can always run.
In fact, running is highly recommended so that you can regroup and not risk losing the precious XP you've gathered. If you're out of stims, then backtrack to the last meditation point, recover, and tackle the situation all over again without dying being the cause of the reset.
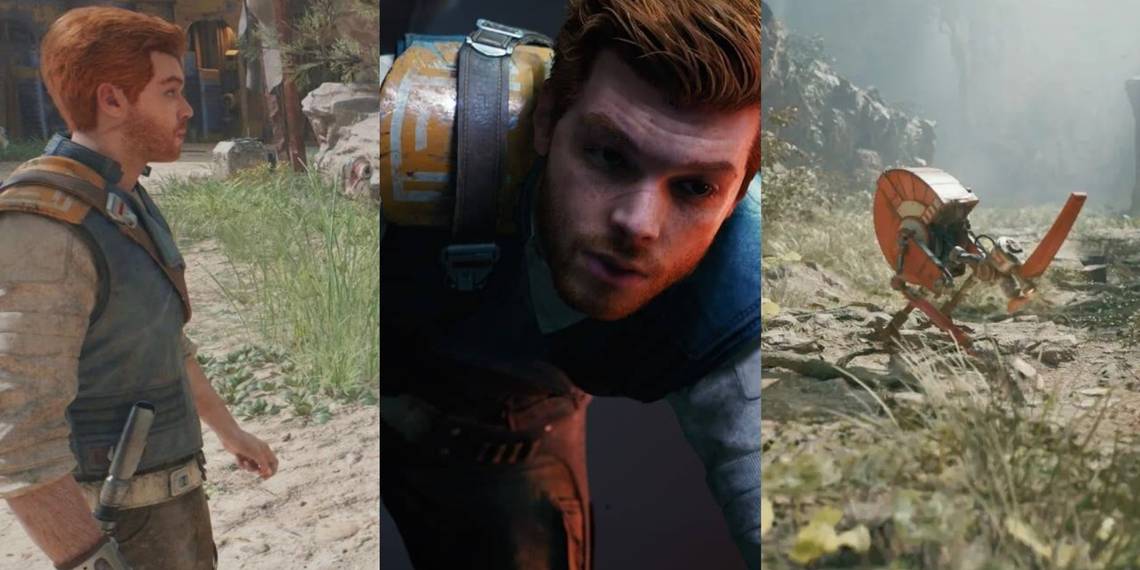
2 Destroy Scavenger Droids

Oh Koboh, you'll encounter numerous oddities around town and in the wild. However, one interesting sight that you might've seen is funny little droids that appear near scraps or merchandise that simply flee when you get too close or when they notice you.
If you chase after them and destroy them, you can pick up the valuable item they're carrying which is always a Priorite Shard. Of course, these are valuable bits of currency you can use to trade for aesthetic items, and let's be honest, you know you want to play dress-up.
1 Explore

Again, this is another one that might sound obvious, but not everyone has the patience to check their surroundings. Koboh is a large place and there's plenty of exploration you can do aside from completing main missions or side quests.
But even when completing linear missions, check all the pathways and surroundings as you traverse the area. You might see a climbable wall that wasn't obvious before, and it leads to a hidden skill point upgrade or force echo.
These are scattered all around, and it just takes a little curiosity on your part to claim them.