Quick Links
In the world of Star Wars Jedi: Survivor, Jedha is a hazardous place. It might be the old stomping grounds of the Jedi, but now it's patrolled by perilous Skritons, fierce Sutaban, and, of course, the Empire. There's a lot of work to do on Jedha. Not only must Cal pursue the dream of reaching Tanalorr, but he must calm disturbances in the force throughout the region.
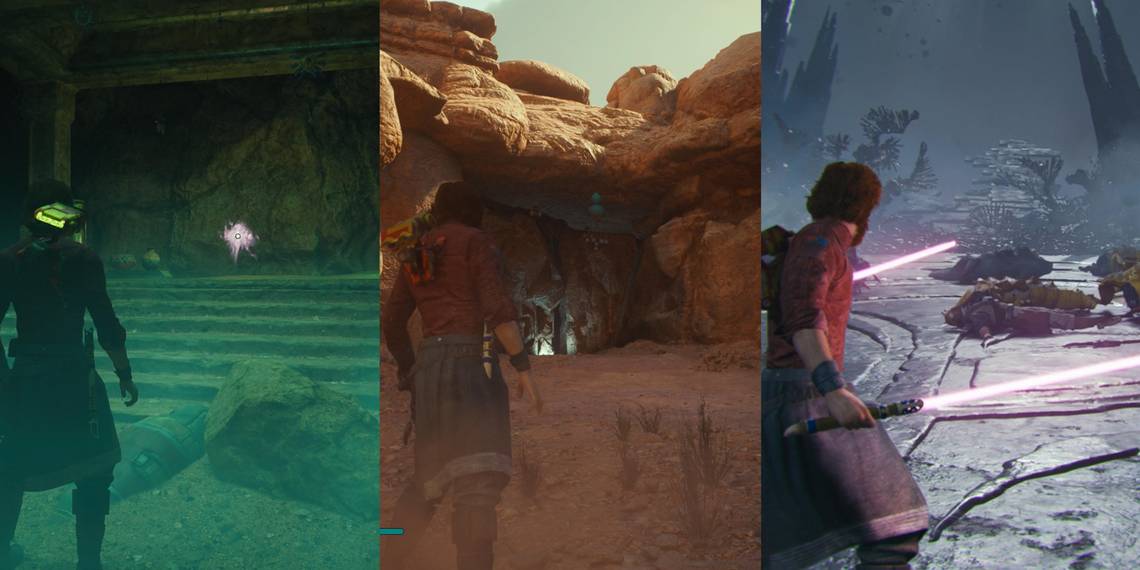
There are a total of four Force Tears on Jedha. Each of them presents their own set of challenges. But if you want the XP boosts they offer, you're going to have to knuckle down and complete each one.
Monastery Walls Force Tear

This is one Force Tear you can easily pick up on your first visit to Jedha if you are a meticulous explorer. Remember that opening region in the Monastery Walls where a Skriton threatens to pop out of the sand and have you for a snack just by hearing you walk on the ground? That's where we're headed for this Force Tear.
Fast Travel to the Ancient Ruins Monastery Walls Meditation point. From here, head along the left side of the region by jumping on pillars or grappling to them, and if you must touch down on the sand, jump up and down to delay the danger and be quick.
You'll find a stone building structure with a Sutaban inside. Instead of heading through the lower opening, go around the building to the left.
This will enable you to grapple to an upper level where you will climb along a beam. In the end, you will see three pillars you will need to jump across.

On the other side is a plateau with the Force Tear.

How To Complete This Force Tear

This Force Tear will require you to combat enemies with a single-blade stance. If you haven't given any points to obtaining abilities for this stance, you might consider doing so before heading to this Force Tear.
Regardless, the Force Tear is a pretty straightforward fight. You will need to battle a few B1 droids, a Bounty Hunter, and a Purge Trooper, and once you've cleared the room here, the Force Tear will be complete.
Desert Ridge Force Tear

Out in the Narkis Desert lies another Force Tear. But you will need to have received the Magicked Charm from Merrin in the mainline story before you can tackle this Force Tear.
If you travel to the Desert Ridge Meditation Point, you will have a little bit of a journey still to make.
Travel along the Desert Ridge until you find multiple Spammels waiting by the ridge. You should see a green force field in the ridge wall near some Spammels.

Dash through the green force field to find the next Force Tear.

How To Complete This Force Tear
This Force Tear is a platforming challenge that will make extensive use of your Dash ability and wall-running.

The first thing you will need to do is utilize the first spinning green force field to dash through and reset your double-jump and dash to reach a wall to run along.
Jump higher on the next wall and then jump across from this wall to another before reaching a blue force field. This force field will kill you, so be careful.
Quickly jump off that wall and dash through the green force field to reach another wall on the other side. Then jump off that wall and dash through two static green force fields to reach a bar.
Then time your jump to dash through the spinning green force field in front of you in order to reach the climbable gate on the other side. Landing on the gate will push it around, enabling you to dash back through the top portion of the same spinning force field to reach a higher wall.
Time this just right since there is a moving electric bolt along this wall. Then, jump off that wall and dash through three small moving green force fields in quick succession before dashing through a vortex.
The vortex will take you to another wall to run along and several big green force fields to jump through, to reach the end of this gauntlet.
Timeworn Bridge Force Tear

This Force Tear is located in Pilgrim's Path. Once again, you'll need Merrin's charm to reach this tear.
Fast Travel to the Timeworn Bridge Meditation Point. Head down the mountainside path just like you had done in the story to reach the big rock bridge.
Eliminate the two Jetpack Troopers and the DT Sentry Droid at the start of the bridge. Once you do, turn around to face the entryway you came through but then go to the building just to the right. There is a door you can use the Force on to open.
Go through the door and grapple up to the top of this building. Wall run to the other side, and then turn right to continue heading up the path, and you will find a gap in the rock wall you can shimmy through.

If you head down the path inside you will see a green force field you can dash through to reach this Force Tear.

How To Complete This Force Tear

This Force Tear is all about combatting with the Blaster Stance. In the first round, you will have to contend with a couple of shield-wielding Scout Troopers and a handful of Rawkas, so pick the Rawka off first because their charge attack move will take Cal off his feet every time, and it's rather frustrating.
After defeating these hostiles, you will be facing two Bedlam Raiders. With these enemies, your parry game must be up to snuff, and you also need to focus on breaking their stance to deal significant damage.

Lastly, you'll deal with more shielded Scout Troopers and a Bounty Hunter. Make use of charged shots with the Blaster to stagger enemies here.

Blustery Mesa Force Tear

Head to the Meditation Point nearest to the Blustery Mesa. Do remember the area where you first had to force push a block into the wall to allow wind to help you jump across a chasm? Well, that's where you're going to need to go.

Instead, this time you will jump against the wind using Dash into the tunnel on the opposite end of the rock wall. There is a Jedha Scroll gleaming on the inside.

However, once inside, there's a pathway that leads to yet another green force field with the Force Tear you seek behind it.

How To Complete This Force Tear
This Force Tear requires you to fight with the Twin Bladed Fighting Stance. The first round is rather simple, cut through some Gorgers and B1 droids, as these are fodder enemies and should be dealt with at ease by this point in the game.

Next, you'll have to deal with Bedlam Raiders and a few Rawka. Make sure to dodge the Rawka charges and parry the majority of the attacks by the raiders.

Immediately after defeating them, you'll be assaulted by a ton of Shiverpedes that will seemingly jump at you out of nowhere. Cut them down to size.

Then, you'll have to deal with a Purge Trooper and a BX Droid. Once again, focus on parrying both of these enemies before going in for the kill.

Finally, you will have to confront a Mogu and some B1 Droids. The Mogu is obviously the most difficult task here, so parry its slashes and dodge its red-highlighted slam attacks, and once you've defeated these enemies, the Force Tear is complete.

Congratulations, you've completed all the Force Tears on Jedha!