Quick Links
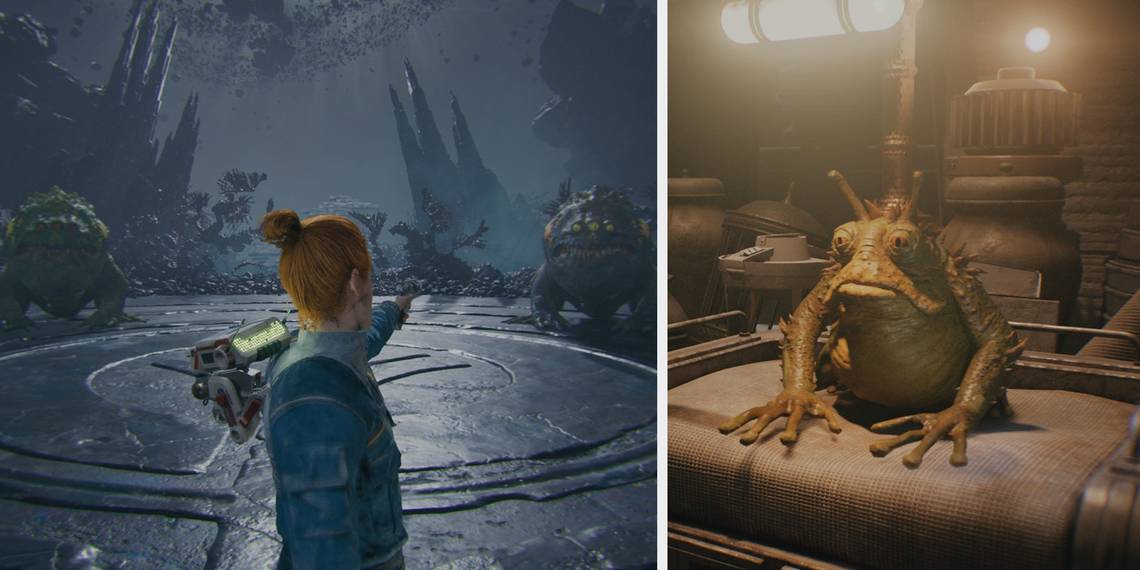
If you were frustrated by the Spawn of Oggdo Bogdo fight in Star Wars Jedi: Survivor, we have bad news. To complete this Force Tear, you’ll need to fight two of them at the same time, but if you’re anything like us, you’ll be tempted by this horrible challenge.
We've already written up a guide on the first fight, as well as how to snag Cal’s classic poncho from the first game. However, the dynamic of this amphibious Ornstein-and-Smough-style battle is enough of a unique challenge that we thought it deserved its own guide.
Where To Unlock Force Tear: Fractured History

To unlock this challenge, you’ll need to complete the following steps.
- You must have defeated the Spawn of Oggdo Bogdo fight in Koboh, near the Fort Kah’Lin meditation point.
- You must have interacted with the small frog in the arena of the Spawn of Oggdo Bogdo fight.
- You must have interacted with a similar frog in Doma’s shop, just across from Pyloon’s Saloon.
After this, a force tear will appear in Doma’s shop. Meditate upon it to begin your battle. Ideally, you’ll want to gain some additional abilities, stances, and health upgrades before taking this vile duo on, but if you have something to prove, you can attempt it right away.
How To Defeat The Spawn Of Oggdo And Oggdo Bogdo In The Force Tear: Fractured History

Like many duo boss battles, positioning is the most important factor in this fight. The Spawn and Oggdo are very aggressive, and if they flank you, you’re as good as turbo dog meat.
Because death in this fight isn’t a “true” death, you won’t be getting the benefits from the “Find Your Foe” system, which would grant a pool that acts as a full health and force restore.
Since you’ll have already beaten Oggdo Bogdo once, we’ll focus on how fighting two of these hellish frogs changes the dynamic of their attacks rather than how to dodge the attacks themselves.
Boss Moveset
Bite Combo | Just like the previous fight, this attack starts as a two-hitter that’s easily punishable. At lower health, both bosses will combo into a flurry of bites or the unblockable chomp attack. Make sure you aren’t flanked while dealing with this attack, as the combined might of two frogs will chew through your block meter very quickly. |
|---|---|
To avoid, Parry, Precision Evade, or Dodge to the side, then punish. | |
Acid Spew | The most forgiving move in this fight and the most punishable. Keep an eye on what the other boss is doing as you take advantage. |
To avoid, double-jump to the left or the right. | |
Heavy Bite (Unblockable) | This attack functions exactly the same as the previous fight, either coming out independently or after two basic bites at lower health. Despite this, it can catch you off-guard, especially when dealing with the other bosses’ attacks. |
To avoid, Dodge or Precision Evade, then punish. | |
Charge (Unblockable) | Watch for one of the bosses winding up. You can start double-jumping around halfway through its animation to cleanly avoid it every time. Often, the other boss will follow this attack up with a Bite Combo, so don’t over-commit to damage afterward. |
To avoid, double-jump to the side or over the boss. | |
Tongue Grab (Unblockable) | This will end most of your runs, thanks to its punishing dodge timing and being a one-hit kill. Thankfully, this attack can also be avoided by double-jumping: as long as you’re high enough in the air, it will always miss. Sometimes this attack will come out at inopportune times, such as when you’re close to the boss or about to hit the ground. |
To avoid, double-jump to the right or left. | |
Quick Stomp (Unblockable) | At lower health, this attack will sometimes fire after their Charge or Big Stomp Attacks – alternatively, it can be followed up by bite combos. The lower the bosses’ health, the less safe it is to punish. |
To avoid, double-jump over the shockwave or take a few steps back. | |
Big Stomp (Unblockable) | They may unleash bigger stomps when their health is low. They’ll sometimes be followed up by another attack, and the hitbox of the shockwave itself is fairly large, so make sure to play cautiously and wait for other opportunities to strike. |
To avoid, start backing up, then double-jump over the shockwave. |
General Strategy

Keep both bosses in your field of vision, ideally with one stuck behind the other. They block each other’s movement, limiting the reach of their attacks. If you ever feel swarmed, there’s no shame in simply mashing that sprint button and backing up as far as possible.
Double-jump for most of their unblockable attacks, as jumping away from the Charge or the Tongue Attack is more reliable than attempting to dodge them. You’ll get a feeling for when you need to begin your first or second jump the more you practice. Generally speaking, you should jump midway through their animation, then double-jump just as they're about to charge or fire their tongue.
This boss is a test of your patience, as you'll occasionally be forced into unwinnable situations where the only real move is to die and try again. For example, one boss can Charge you while the other winds up its Tongue Grab. You’ll jump away from one attack just to get snagged by the other. Channel your inner Jedi, rid yourself of frustration, and hope for good luck on your next attempt.
The edges of the arena have some strange collision and can block your second jump. As such, we recommend not hugging the invisible walls too closely.
For damage, make good use of your lightsaber throw. Or, if you have it, use the blaster stance. Both bosses are slow, so being able to put some hurt on them with ranged attacks can make the fight a lot easier. Other than that, don’t over-commit to your attacks. This challenge is an endurance run, especially on higher difficulties.
Both bosses use their lower-health combos independently. Because of this, kill one boss before focusing your efforts on the other. Otherwise, they can start using their low-health combos at the same time, which makes them much harder to dodge. If you have an opportunity, it’s fine to chip your second target’s health to just above the halfway point.
The remaining Oggdo will act more aggressively once their friend has died. If you’ve reached this point in the fight, take a deep breath and stay patient. Attack when it's safe, focus on defense, and you should defeat both of these horrible creatures in no time.
Your reward? A singular skill point and the satisfaction of knowing that Oggdo Bogdo will haunt your nightmares no longer.