Quick Links
In The Legend of Zelda: Tears of the Kingdom, the four non-Hyrulean settlements are suffering. They are blighted by environmental disasters that make life a living hell for all who make their homes there. Simply put, it's not a good time.
Instructed by Purah, Link journeys to these settlements to find out what's going on. When he reaches Zora Domain, home to Link's 'best pal' Prince Sidon, he discovers it covered in sludge. So begins a quest to find Prince Sidon and aid him in eradicating the toxic waste from his kingdom.
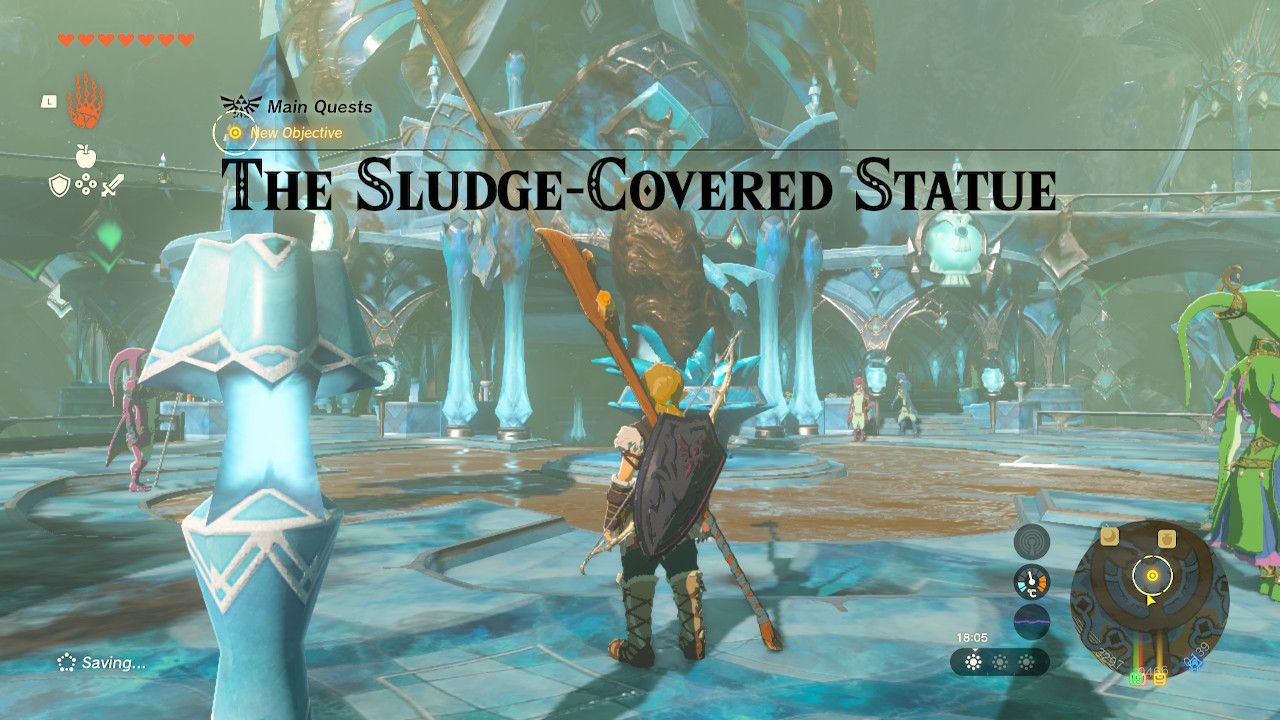
Zora's Domain And The Sludge-Covered Statue
Zora Domain is one of the four areas you'll have to explore on your journey to complete Regional Phenomena, the Main Quest given to you by Purah at the beginning of the game. This quest involves you ridding the Zora of their sludge problem, which makes them sick and makes the water in Zora Domain dangerous.
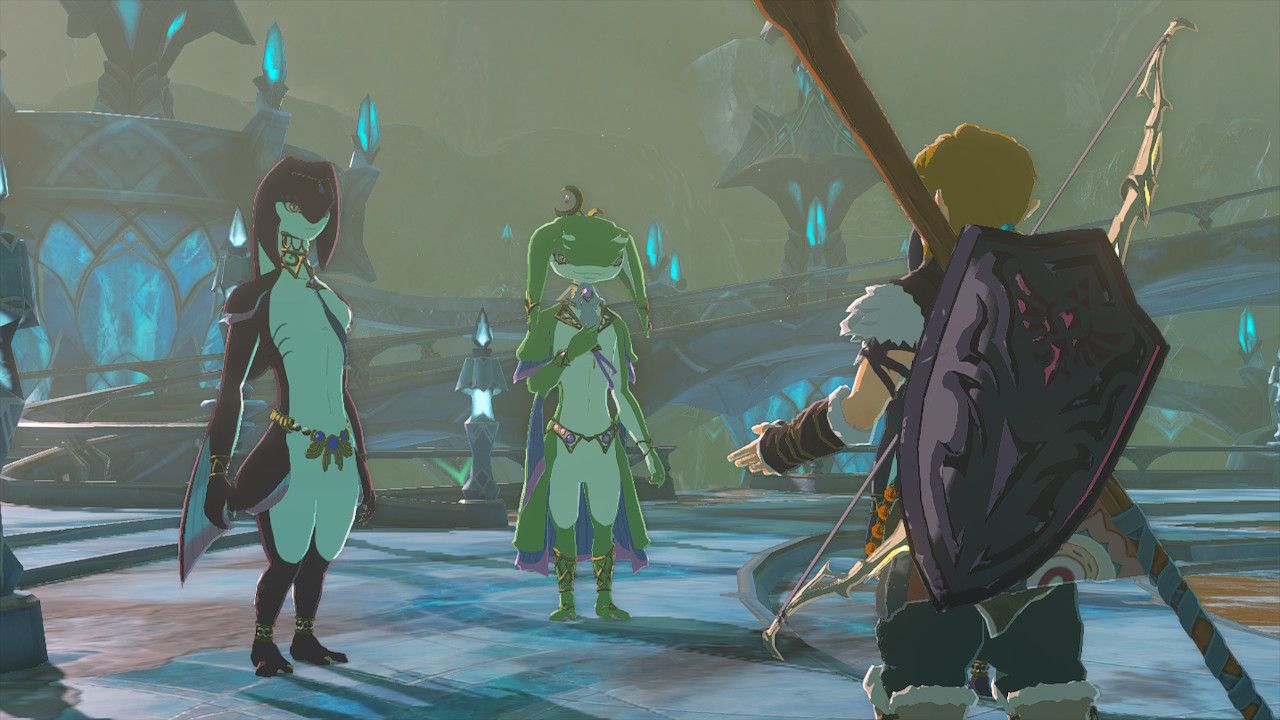
When you first reach Zora Domain, which is the grand settlement built over the lake to the east of Hyrule, you'll notice a group of Zora huddled around a statue in the center of town. Talk to the green Zora, Yona - she will tell you the basic gist of what's happening in the area.
The first stage to this long quest is to clean off the statue, and this serves as a short tutorial on how to clean up the sludge that plagues the domain. Sludge is cleaned with water, and there are two easily-acquired items you can use to do this:
- Splash Fruit, which are found on small trees. These can be found throughout Zora Domain mainly.
- Chuchu Jelly, which are dropped by basic Chuchus. Elemental Chuchu jelly will not work.
Simply throw or shoot either of these items at the statue to clean it and then speak to Yona again to complete this first quest. This is when you'll acquire the main quest of this region: Sidon of the Zora.
Yona will tell you that Sidon is currently at Mipha Court, which is high up on the mountain to the east of Zora Domain. You can easily spot it by the very tall statue of Mipha (who appeared in the previous game) at the top.
Finding Sidon
The best way to make the journey up to Mipha Court easier is to glide from the Upland Zorana Skyview Tower. This way, you can get to a high location easily rather than climb up steep cliffs. However you get there, be sure to grab the fast travel point at the nearby shrine to make return journeys (of which there will be a few) quicker.
If you want a guide on completing Ihen-a Shrine, click here.
As you make your way up to Mipha Court, be sure to pick up any Splash Fruit you see. You'll want lots of ways to deal with sludge.
When you reach Mipha Court, talk to Sidon to reunite with him. He will tell you more about the situation in Zora Domain and give you hints as to where to proceed. He'll tell you to find Jiahto, who is investigating some ruins near Toto Lake.
Before you leave Mipha Court, climb the stairs up to the statue of Mipha. There's a small pond underneath it, with Ancient Arowana inside. Be sure to grab at least one of these, you'll need it for later.
How To Complete The Broken Slate
Make your way to Toto Lake now. It's the small lake that you can find just to the north of Zora Domain, still on top of the mountain ridge that surrounds it.
When you get there, you'll find a Zora named Jiahto standing by a ruined mural. Talk to him to start this part of the quest.


The solution to this quest is simple - just over to the right of the mural is the missing piece. It's currently buried in sludge - use a Splash Fruit or Chuchu Jelly to clean it up.
Use Ultrahand to pick up and then rotate the stone so that it fits back into the gap in the mural. Slot it in and a cutscene will play, with Jiahto telling you what's written on the slate.
If you now return to Sidon with the information you've just gathered, he will ask you to find his father, King Dorephan. Before we do this, though, we have a detour to handle.
How To Get The Zora Armor
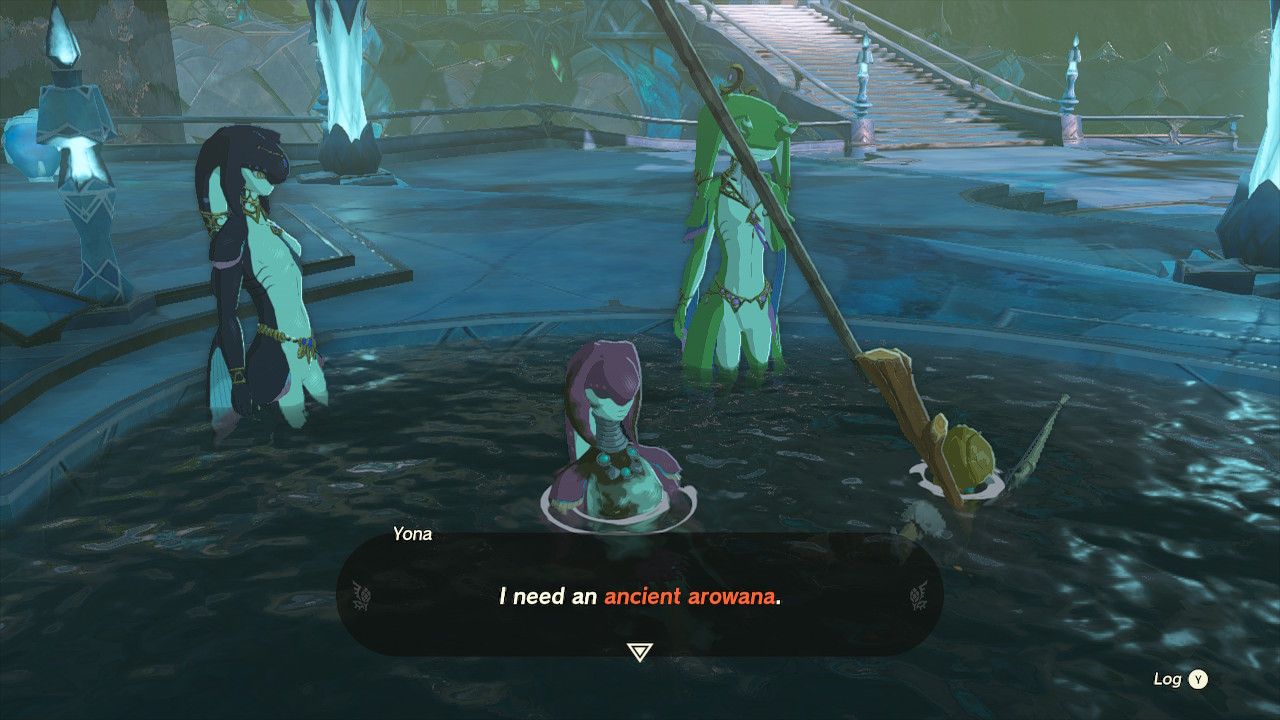
Return to Zora Domain for now. Head up to the second level and find Yuno again, who is healing her fellow Zora in the infirmary pools. She'll tell you that she's been working on fixing Link's Zora Armor, which allows him to swim up waterfalls like a Zora.
The only thing she needs is an Ancient Arowana, the fish you should have acquired underneath the statue of Mipha earlier. Hand it over, and you'll get the Zora Armor.
How To Find King Dorephan
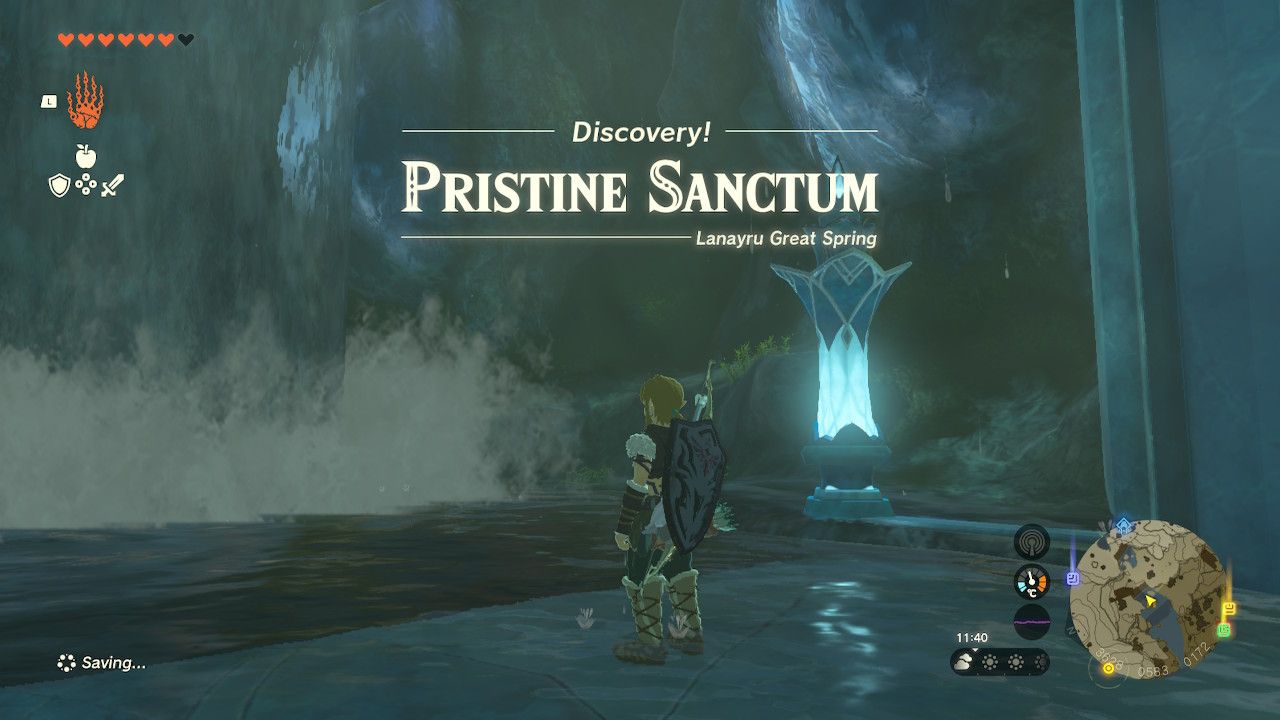
King Dorephan is located inside an area called the Pristine Sanctum, which is hidden behind some waterfalls near Zora Domain. The hint to this location is acquired by listening to the children at play in the throne room.


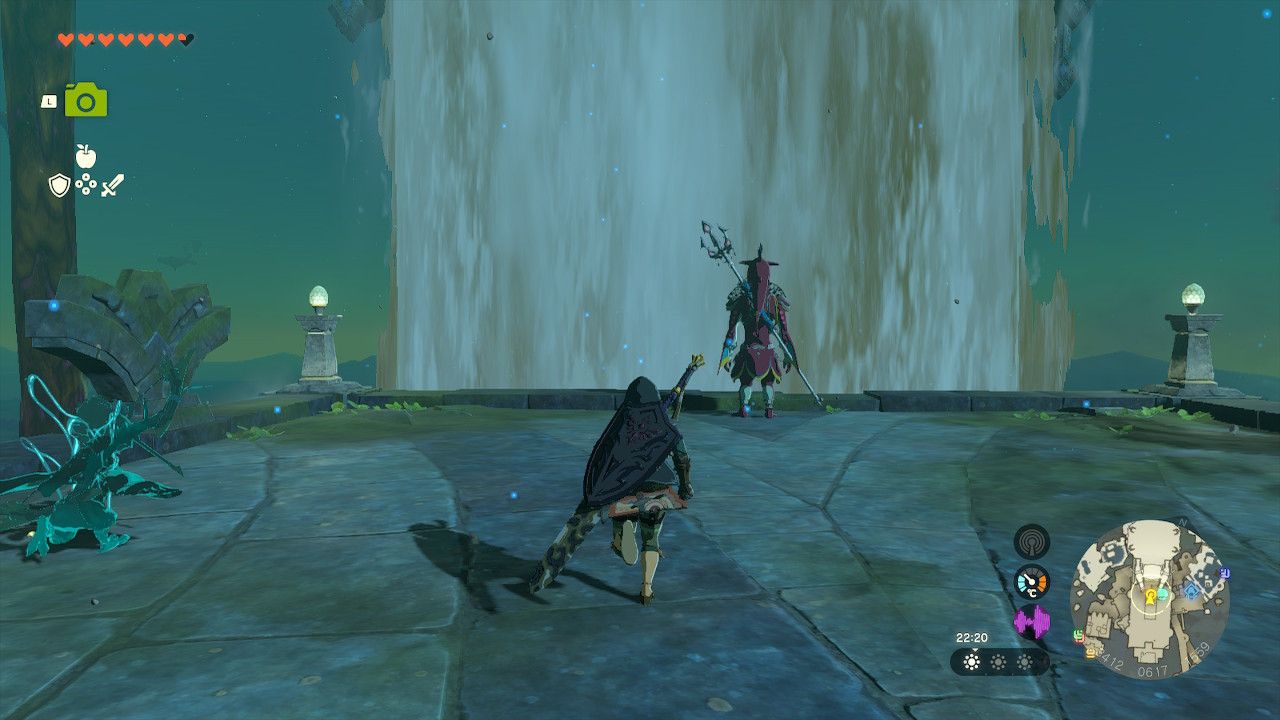
The Pristine Sanctum is located just to the northeast of Zora Domain - there's a handy bridge that takes you near them. Once you're there, simply swim through the waterfall to reach a cave behind it, and use Ascend to reach the second level.
Here, you'll find King Dorephan. Talk to him to learn of his situation, and get five King's Scales, which are the 'mark of a king' that you need to solve the riddle from the slate.
With the information and the King's Scales in hand, return to Sidon and talk to him.
How To Complete Clues To The Sky
Now it's time to finally solve the riddle. Firstly, open your map and take a look at the Sky level. Directly above Mipha Court, you'll see a collection of islands - the one to the right named Floating Scales Island is the one you need to reach.
Walk over in the island's direction, and you should spy some materials on the ground near a ledge. The ones you need at the metal grate and the Balloon. Attach the Balloon to the grate and then build a campfire on the grate while you're standing on it.
To build a campfire, place some Wood down with a piece of Flint and then strike the Flint. If you're struggling to get both to stay on the grate, you can Attach them to it with Ultrahand. You can also set fire to the Wood using a fiery arrow.
Use the Balloon, which should now be inflating with hot air, to rise up into the air above Floating Scales Island. Once you're high enough to do so safely, glide over to it.
Floating Scales Island is covered in sludge, but you don't really have to worry about this. Make your way to the top of the staircase in the center of the island - this is where you'll find the tear-shaped rock from the riddle.


Look over the side of the island - at a certain angle, the floating stones will converge together to form a teardrop. You'll need to be facing southwest for this to happen.
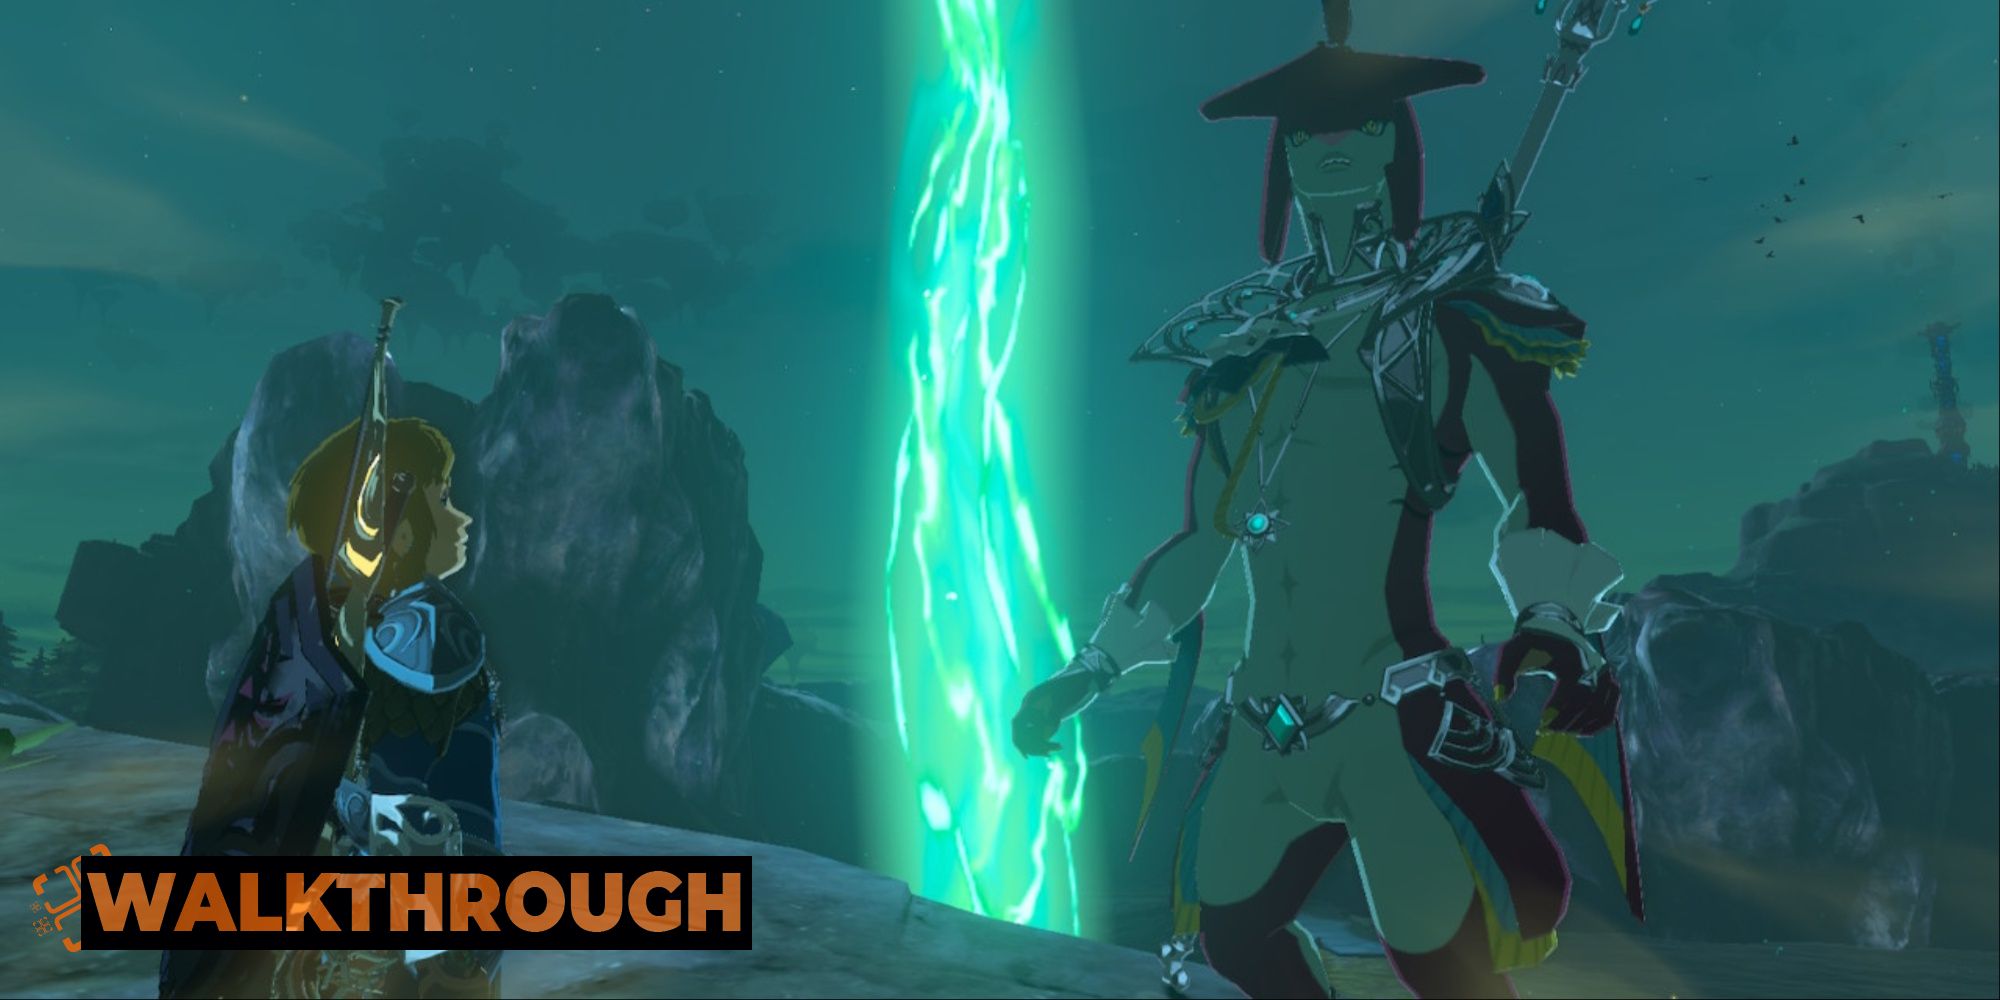
Once you've located the rocks that form the teardrop, shoot an Arrow with one of the King's Scales fused to it through the gap in the middle. A cutscene will play, summoning a pillar of light in the lake ahead of you.
Return to Sidon to tell him what you learned, but be prepared for a mini-boss battle when you do so.
How To Defeat The Sludge Like
The Sludge Like is a pretty simple battle that serves to teach you about Sidon's ability, the Power of Water. Interact with Sidon and he'll summon a protective bubble of water around you - if you then swing your melee weapon, you'll shoot a blade of water ahead of you. This can clear up multiple patches of sludge at once and also damage the Sludge Like.
The Sludge Like will begin the battle covered in sludge, which serves as armor. To remove this sludge, either use Sidon's ability and shoot a wave of water at it, or use Splash Fruit/Chuchu Jelly. Once the sludge is off, the Sludge Like behaves like a regular Like Like, which you may have encountered in caves.


The Sludge Like will begin a grab attack by showing you its purple weak spot - immediately shoot an arrow at this weak spot to stun it, causing it to fall to the ground. Smack the weak spot around as much as you can.
When the Sludge Like recovers from the stun, it will dive into the ground and pop up in a nearby location, again covered in sludge. Remove the sludge however you like and repeat the attack process, targeting its weak spot and dealing as much damage as it's down.
Three or four cycles should be enough to take this boss down. When you beat it, a cutscene will play, and you'll get your next objective - the pillar of light in the lake.
Don't forget to open the chest left behind by the Sludge Like - it contains a Royal Claymore.
The Ancient Zora Waterworks
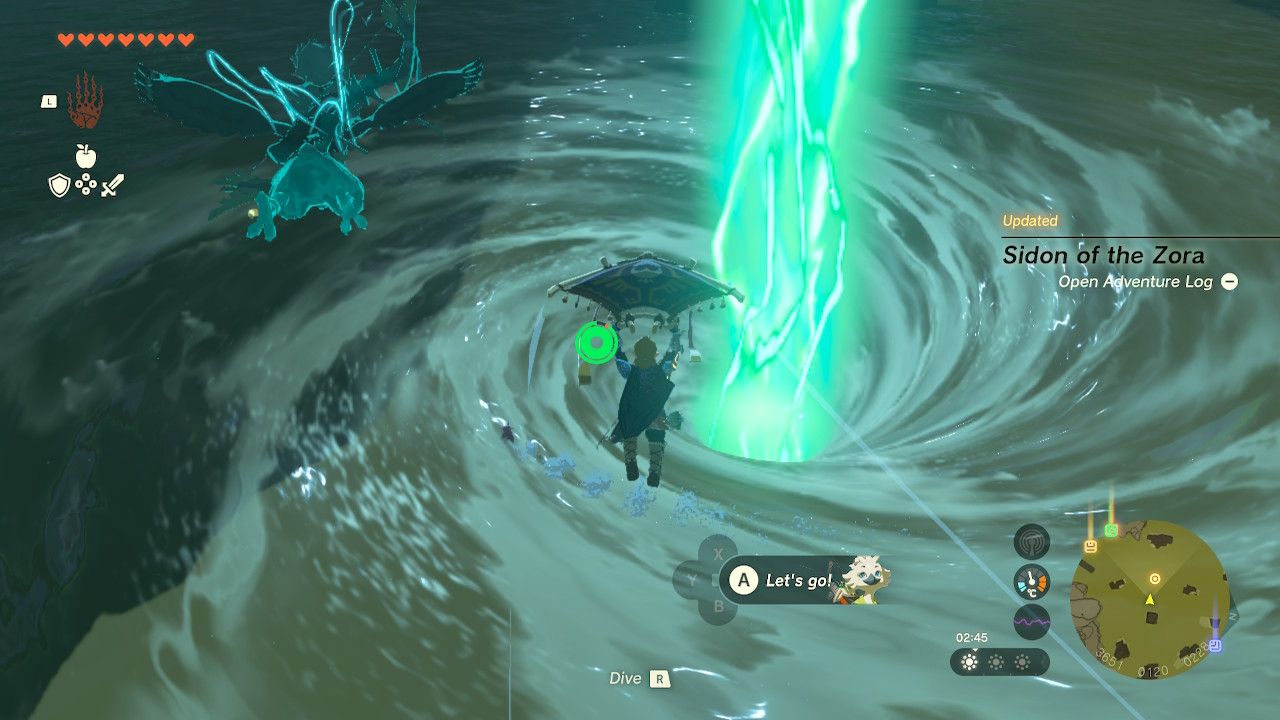
Make your way to the pillar of light and talk to Sidon, who is standing on a rock in the lake near it. He'll create a whirlpool around the pillar - jump inside this to access the Ancient Zora Waterworks.
We recommend that you bring a good number of Bomb Fruit to this area - you'll need to deal with lots of breakable rocks.

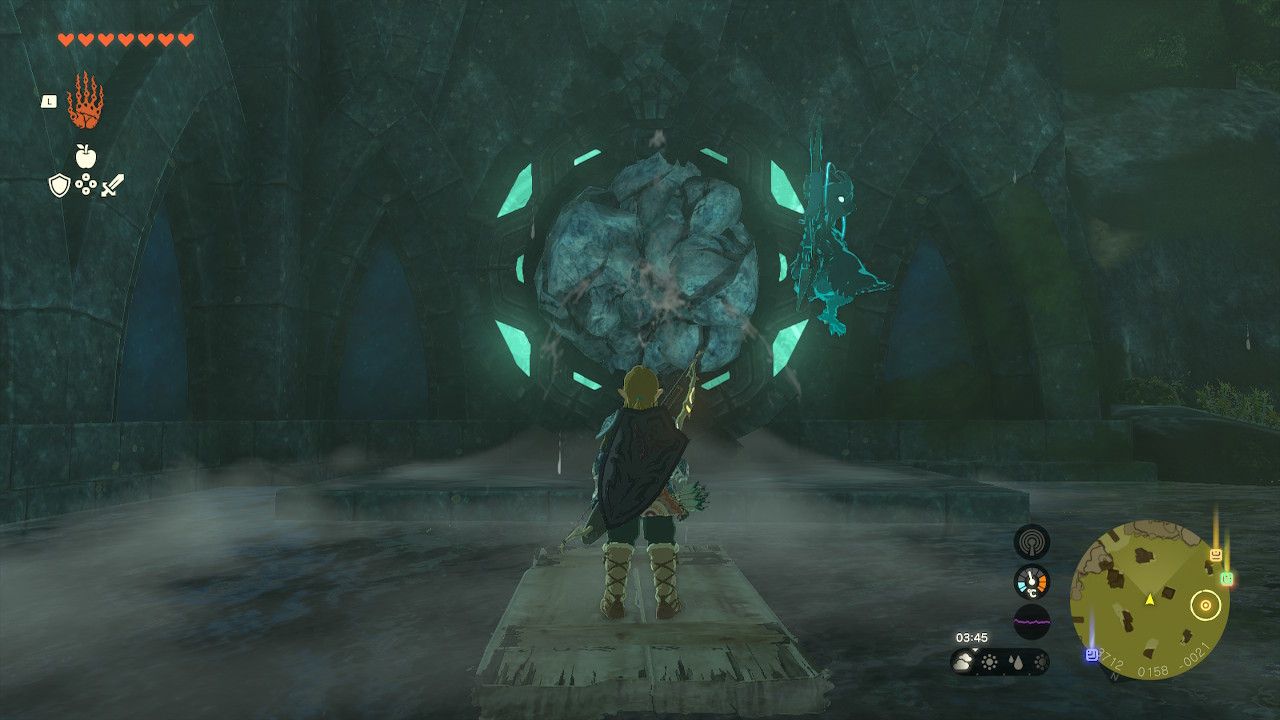
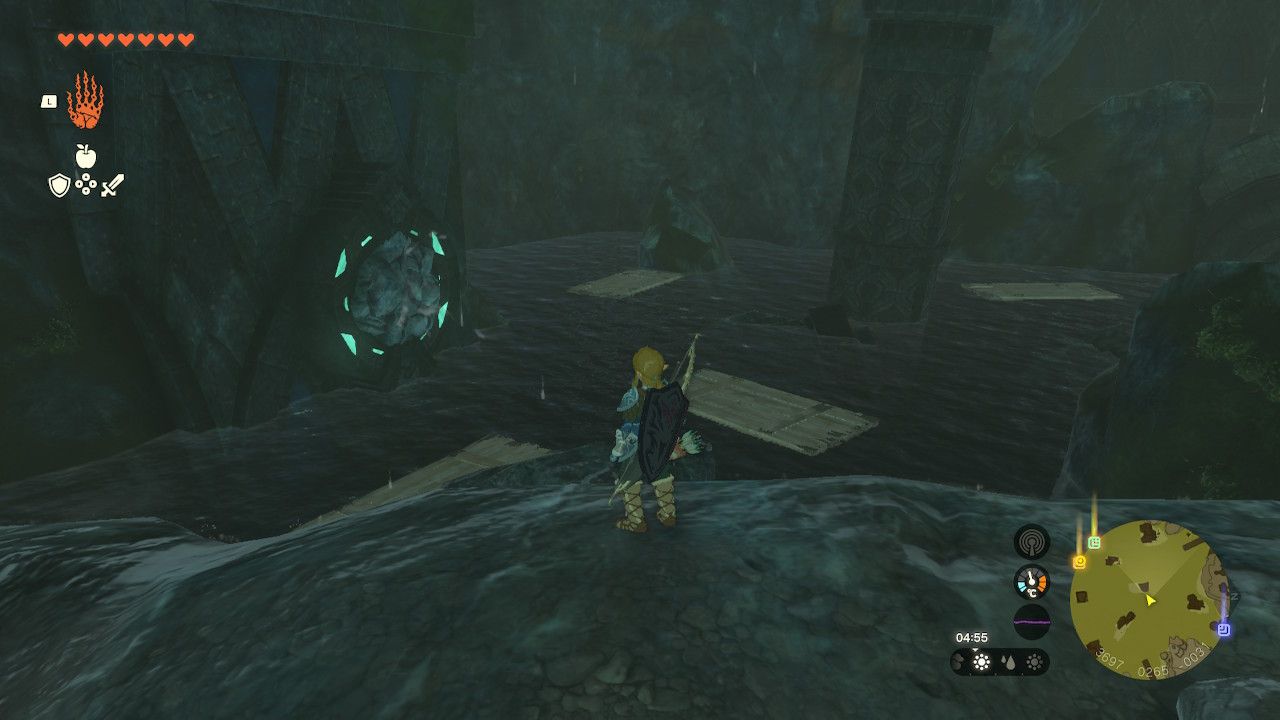
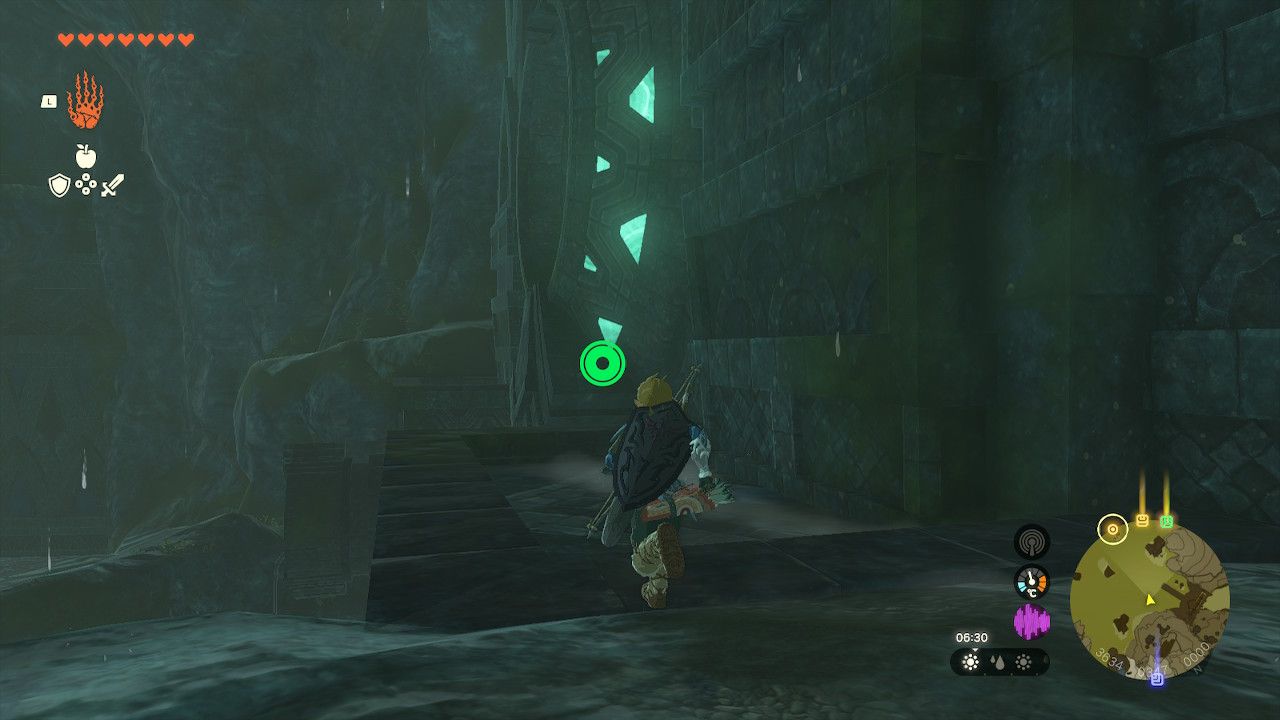
This mini-dungeon is very simple. Simply make your way through the waterworks until you come to large pipes with rocks blocking them. Use a rock-breaker weapon or a Bomb Fruit to destroy the rocks - this will let water flow through the pipe, raising the water level in the current area. This allows you to reach higher levels and proceed.
You cannot easily bypass these puzzles as the cave's walls are wet.
Eventually, you'll reach a very large room with multiple blocked pipes. The route here is very intuitive - there will always be a blocked pipe on the same level as the water; you just need to find it and unblock it with a bomb.
Be sure to grab the chest that floats in the water after unblocking the second pipe in this room - it contains a Zora Shield, which is a nice piece of equipment.
Eventually, the only pipe left will be a very large one that you can easily walk through. It's filled with Keese and Chuchus, so be ready for a fight. Make your way through the simple maze until you reach the final blockage - use a bomb to destroy it.
When we played through this dungeon, we destroyed the blockage from underneath. This meant we ended up stuck swimming in the vertical pipe and had to drown to be placed back on dry land. The intended solution is likely to use Ascend to be placed above the blockage and destroy it from a safer location.
Once you destroy the final blockage, you'll be able to reach and interact with a Zonai Pedestal in the central room. Do so, and you'll unlock the final stretch toward the Water Temple. You'll automatically move outside with Sidon.
Wellspring Island
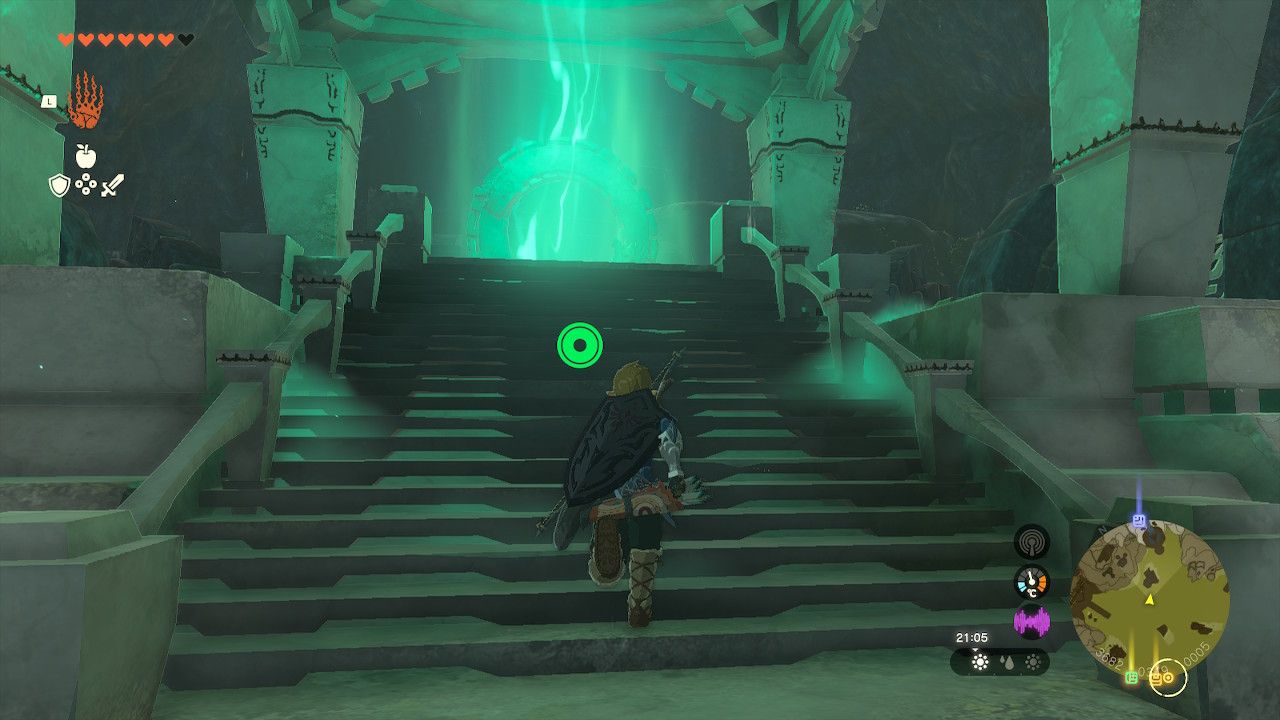
After the cutscene, make sure you have the Zora Armor equipped and head into the waterfall that leads all the way up to the sky. When you reach the top, you'll be on Wellspring Island, which is actually a chain of sky islands that lead to the Water Temple.
There are two things you'll notice quickly about Wellspring Island:
- There seems to be less gravity here. This means your jumps are higher and longer, and it's harder to correct your positioning and speed in midair. Take a while to get used to this.
- There are new devices to learn about - balls surrounded by floating orbs of water. You can move these with Ultrahand and ride them by touching them. To get out of a water orb, simply dash.


Proceed through Wellspring Island, using the water orbs to progress. Note that they won't spawn from their spawners if you are currently standing on them.
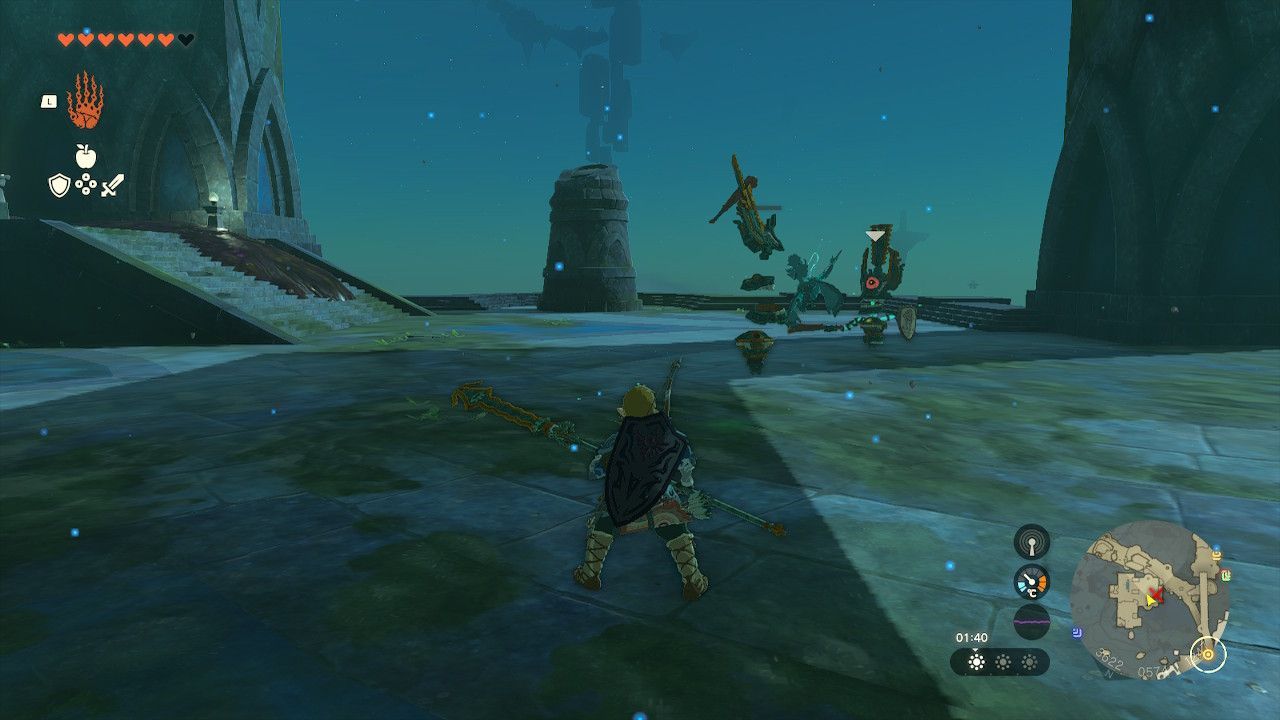
Eventually, you'll reach a platform with two Constructs on it. Deal with these, and then check out the stairs on the east side of this island. There's a small hole that you can get into that contains a chest with an Old Map inside it. Old Maps will mark a location on your Underground map that you should check out later.


Further ahead in the chain of islands, you'll encounter a lot of sludge with a Hydrant nearby. Use the Hydrant to clear up the sludge without much fuss - holding it with Ultrahand is an easy way to manage the low gravity here.
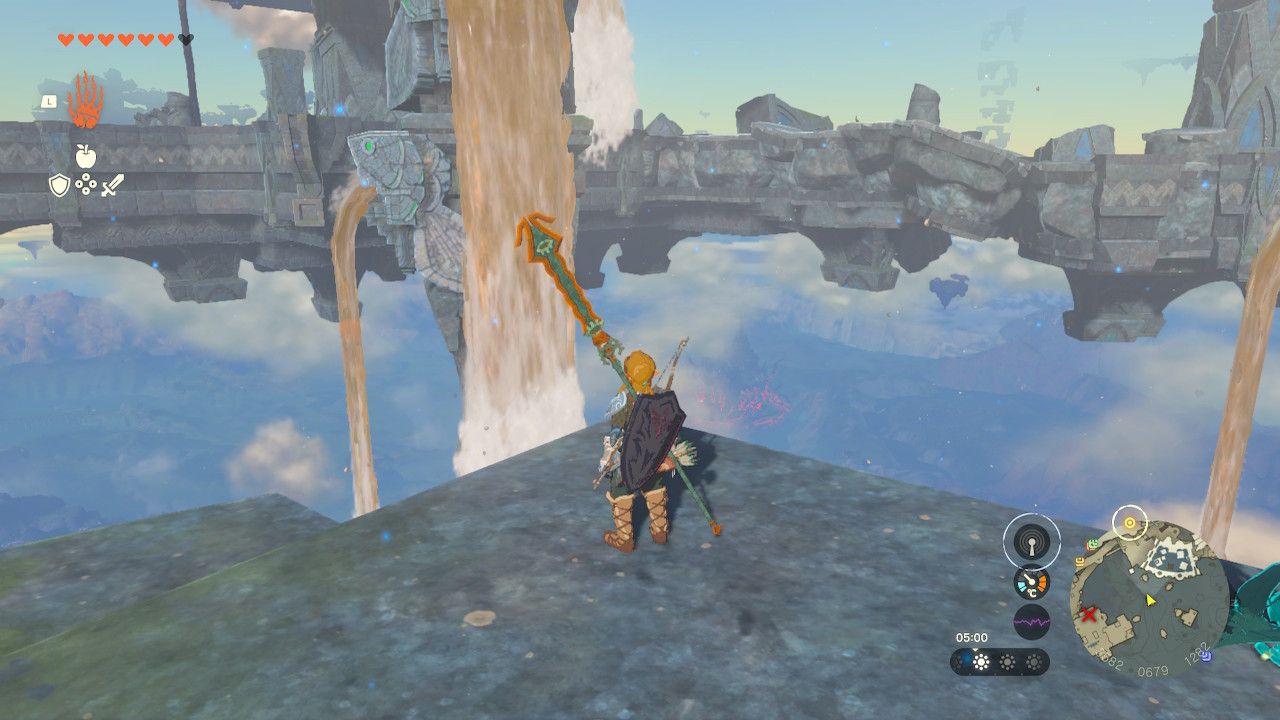
You'll soon remove sludge from a fish mouth, allowing it to spew out a waterfall. Make sure you have your Zora Armor equipped here, and fly into it, ready to swim up.
This begins a sequence of platforming challenges in which you must glide to the next waterfall to gain more height. This is where having more stamina and Tulin's ability from the Wind Temple quest comes in very handy, but you shouldn't need them to complete this area.
In the middle of this gauntlet is another chest on top of one of the waterfall platforms. It contains another Old Map.
Halfway through this sequence, you'll encounter Igoshon Shrine, which serves as a handy fast travel point in case you need to head somewhere else momentarily. If you need a guide for Igoshon Shrine, click here.


The final challenges that Wellspring Island provides involve either manipulating the path of the water orbs with ramps to use them as platforms or using Wing devices to cross huge gaps.
These puzzles are largely intuitive, apart from the final one that launches you to the final island. Here, you'll need to attach a Wing device to the top of a Cart, and then place two Fans on top of it to provide momentum. With a long-enough run up to the ramp, you'll easily have enough driving force to reach the final island.
On the final island, you'll team up with Sidon to defeat a Construct. Once that's dealt with, you'll be prompted to swim up a final, huge waterfall. This is how you get to the Water Temple.
The Water Temple
For a complete guide to the Water Temple and its puzzles, click here.
For a complete guide to the Water Temple's boss fight, the Mucktorok, click here.

