Quick Links
The temples of The Legend of Zelda: Tears of the Kingdom provide some of the most challenging yet satisfying sequences that the game has to offer. Getting to them is no mean feat, but the puzzles contained within are brainteasers of the highest caliber.
The Lightning Temple, which is encountered and must be completed in the course of helping Riju and Gerudo Town with their sandstorm problem, is one such temple. It has you using light and lightning to solve puzzles and pits you against some horrifying enemies. With the help provided below, however, you're in safe hands.
Lightning Temple B1

When you enter the temple, the first thing you'll notice is a button in front of you. Stand on it to reveal the way forward, which is a slope down to the basement. This is the beginning of the eight-floor dungeon before you.


Cross over the two bridges in front of you - the pits below contain some Gibdos and items, but nothing that special. In the next room, move the conspicuous rocks blocking the gap to access a room with a Gibdo, a chest containing a Topaz, and a nice Gerudo Greatsword hidden in a crypt.
Once you've dealt with that room, head back and take the path forwards.

The center tile in the next room will fall when you stand on it, leading to a small room with an Electric Keese and a Gerudo Scimitar. If you drop down, use Ascend to get back up. Defeat the Gibdos in the next room, and then run past the jets of fire during the small gaps of time they're deactivated.
After passing the flames, step on the button in the next room to deactivate them permanently, letting Riju join you.


The next hazard you'll have to deal with is a rolling ball of fire. While it's intimidating, you can simply run past this in the corridor. You'll take a small amount of damage, so make sure you're healed up. At the other end of the corridor, deactivate the trap by stepping on the button.
In the next room, drop down to the pit in the center and pick up the weapon from the crypt. This will activate the Gibdo Hive, allowing you to fight it. You cannot hurt it beforehand. Destroy as you have all the others, with Riju's lightning.

Climb the slope up to the next floor, and you'll be in the Room of Hopeful Light. There's a Captain Construct here - make sure you defeat it before trying to solve the puzzle here.
Once the threat is dealt with, find a way to blow away the sand from the small dune in the corner. You can use a Fan, a Korok Frond attached to a weapon, or Tulin's Gust if you've completed the Wind Temple already.
Only destroy the dune in the corner, not the one next to it, as that one contains another Construct to deal with.

The dune will blow away to reveal a Mirror. Use Ultrahand to lift this into the air and use it to reflect the beam of light in the center of the room towards the panel above the locked door. After a few seconds, the door will unlock.
Proceed through the door to reach the first floor of the temple.
Lightning Temple 1F

When you reach the large room with the Zonai Pedestal in the center, interact with it. This will activate the temple's fast travel point and also reveal the temple's main puzzle - to power the elevator using four batteries. So let's get charging!
There is a battery on the first floor. Head behind the Zonai Pedestal and activate Ultrahand - you're looking for a gap in the wall blocked with two large stones, like the ones from earlier. Remove the stones, and you'll be confronted with your first battery. That was easy!

Use Riju's lightning and shoot an arrow at the prong on top of it to charge the battery. Three left to go!
Return to the main room and take the stairs up.
Lightning Temple 4F

Climb the stairs until you reach Lightning Temple 3F, and then climb the wall in the corner. You should reach a passageway lit up by flames. If you can't see it, get to the very top of the stairs and take a look around - it'll be on the same level.

When you enter the passageway, be on the lookout for a Construct with a long Flame Emitter Spear. Destroy it, and then make your way through the tunnel of rotating wheels with gaps in. On the other side, pull the blocks out of the backlit hole in the wall. There will be a large beam of light shining at the wheels.

Here, use Recall on one of the rotating wheels until the gaps match up. Release Recall, timing it so that the wheels are in sync. This will let the beam of light hit a receptor on the other side, which will open a gate. When the gap comes around again, the light will activate a second receptor, unlocking a passageway on the fourth floor.
Glide over to the new passageway and enter it - you may need to wait for the light to come around again.

To deal with the smashing walls of spikes, grab one of the large blocks from the side and place it between them. This will let you pass through unscathed. Press the button on the other side to disable the trap.
Grab the block from the first trap and attach it to another block, making a taller block. Use this one to stop the second smashing trap from hurting you, and destroy the Constructs at the other end of it.


Drop down to the room beneath this one through the gap in the floor, and blow away the pile of sand there to reveal a Mirror. Use this to activate the receptor that appears briefly through the rotating walls to allow the light into the room above. Ascend through the ceiling.
Blow away the other pile of sand here to get another Mirror. As before, use this to activate the light receptor on the other side of the trap - this is why we needed the blocks to be taller. If the blocks you used are in the way, move them.
Behind the light receptor is the second battery to charge.
Lightning Temple 5F

Return to the central room and drop all the way to the floor. In the corner of the room, you'll see a block with an updraft coming from it. Remove the block and the updraft will become far stronger - use this to rise up to the fifth floor.
Deal with the Construct here and then climb into the side passageway on the southwestern wall - it's located a little off the ground.

On the other side of the passageway, you'll find a pillar of light, a large rock, and some Mirrors. Attach a Mirror to the end of the rock, and arrange them inside the pillar of light so that the beam is reflected into the main room.


The puzzle here is to arrange the statues with Mirrors on them so that the beam of light is reflected toward a receptor. Bounce the light over to the right of the first statue, which has a Mirror that redirects the beam down to the ground.
Move this one all the way to the left, so that the beam hits a light receptor on the second floor. This will unlock the next room.
Lightning Temple 2F

Head down to the second floor and the light receptor that you just activated. Step on the newly-revealed button to unblock the passage ahead.
The room at the end of the passageway has lots of enemies to deal with, including a Gibdo Hive. Make liberal use of Riju's lightning to make things easier on yourself.
The goal of this room is to refract the light from below to a receptor that's located high up. To accomplish this, you can use the materials scattered around the room.


Attach a Balloon to a metal grate, and then attach a Mirror to the Balloon, making sure it's aimed in the direction of the receptor - it's directly above the battery that you can see through the wall.
Place this contraption within the beam of light, and then use a lit torch or any other method of producing hot air to make the Balloon fly.
After lighting up the receptor, you can go charge the battery with Riju's lightning.
Lightning Temple 6F

Return to the fifth floor with the statues that reflect light around. Move the statue that you used to unlock the last room completely out of the way. This time, you'll need to use the statue opposite to reflect it. You'll need to blow away some sand to be able to move this statue.


Make it point to the fourth statue, which you haven't reflected light off yet, toward a receptor high up on the southeastern wall.
Lighting up this receptor will reveal a button underneath. Climb up to this button using the updraft, and then enter the next room.


You'll be confronted with a vertical tunnel filled with flames. Glide down slowly to avoid damage, and when you reach the bottom, stand on the button to let Riju join you. Defeat any interfering Constructs, and then activate the final battery.
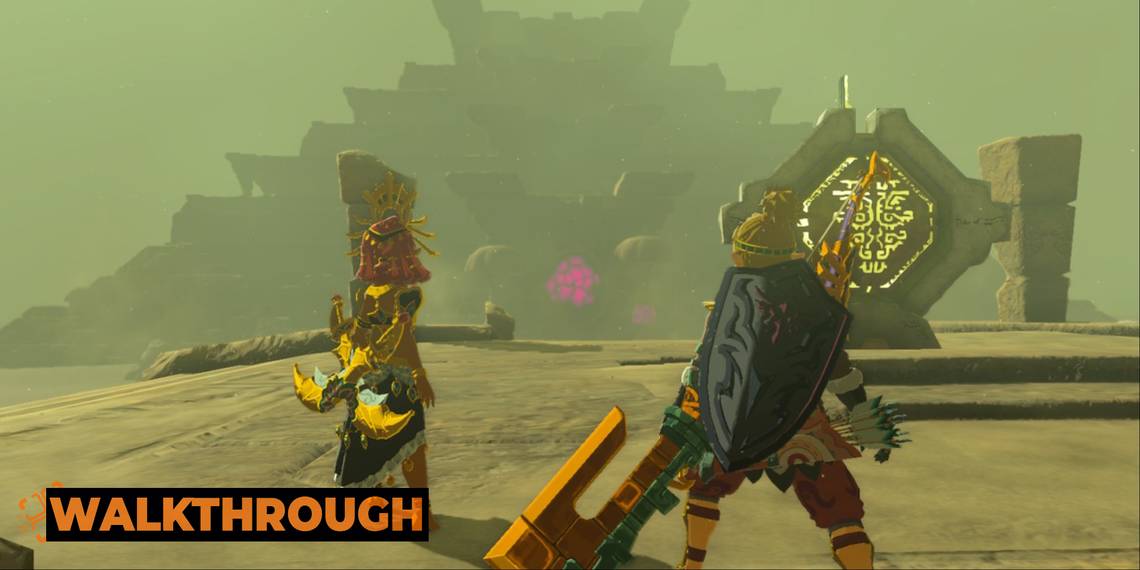
With this done, you can return to the central room and activate the Zonai Pedestal again. This will lead you to the boss of the temple, so be prepared!
For a complete guide to beating Queen Gibdo, click here.