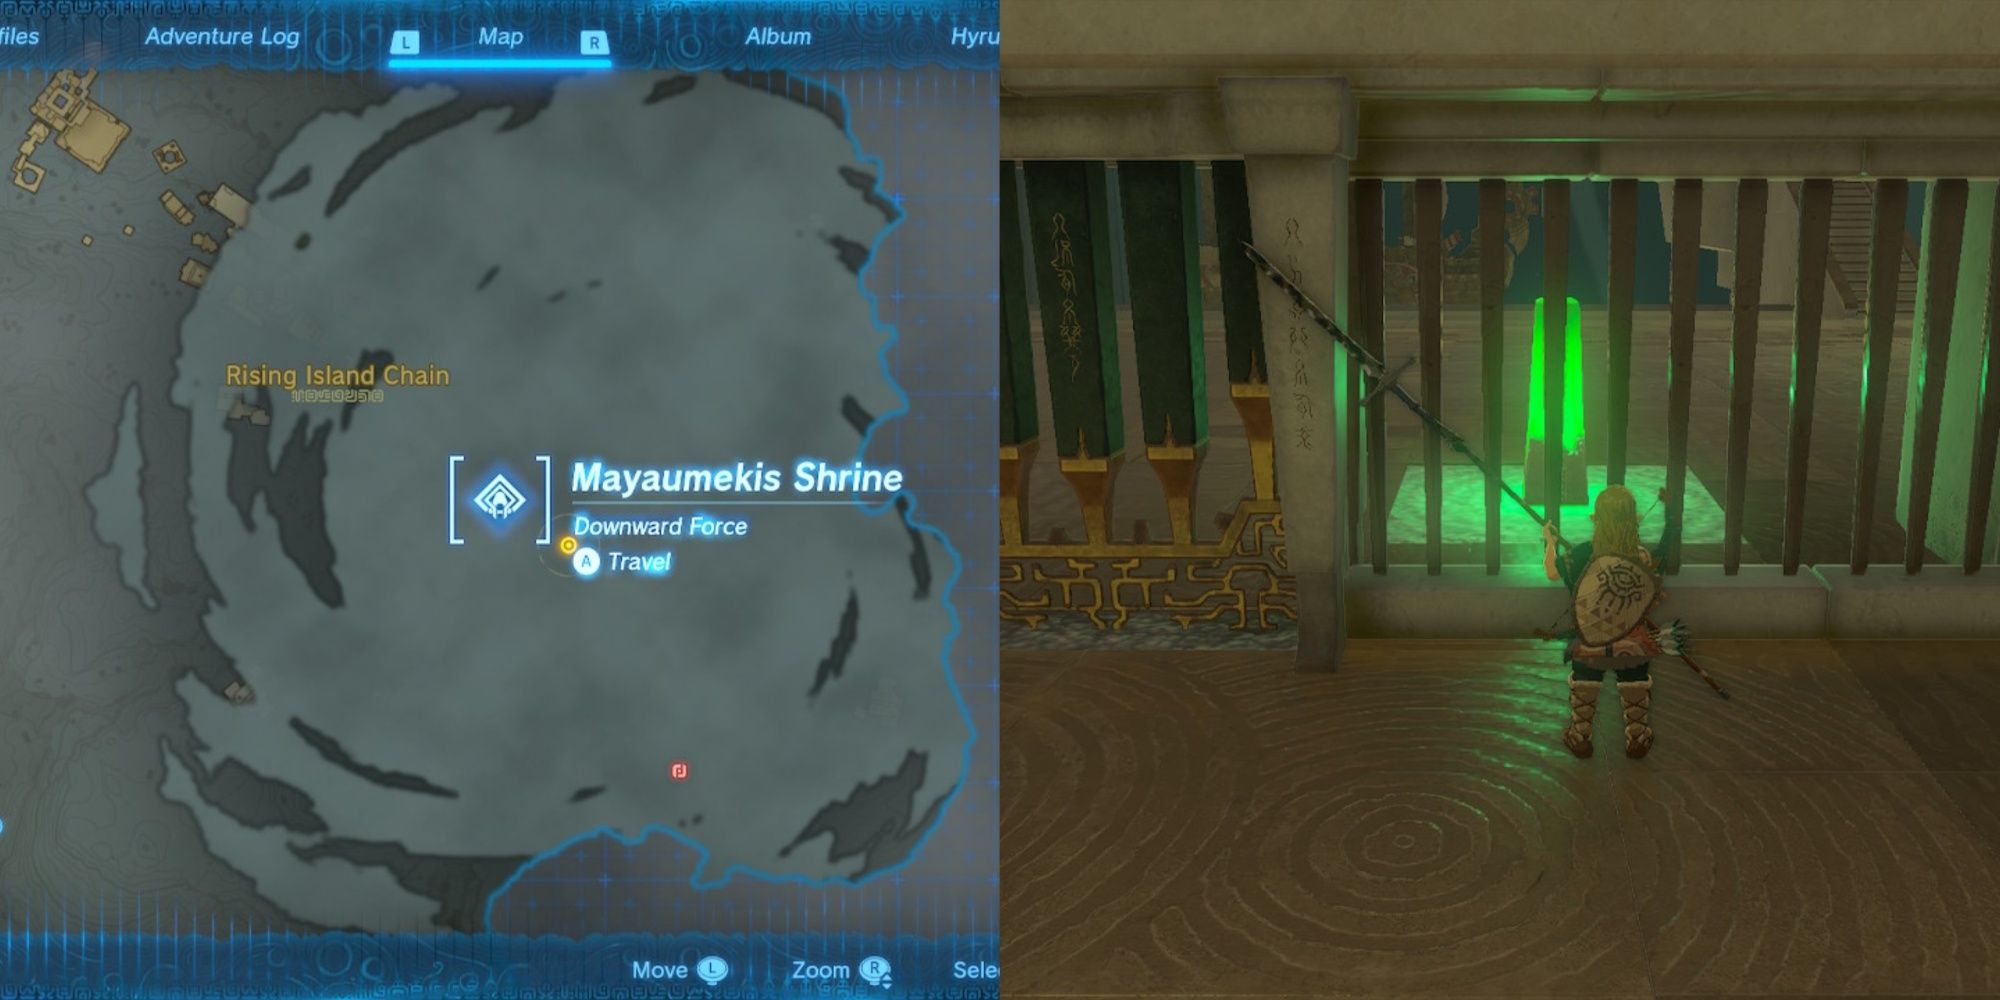
The Legend of Zelda: Tears of the Kingdom has several shrines that will probably make you want to beat your head against your Purah Pad, but Mayaumekis Shrine is thankfully up there with the short, sweet, and simple club. It's found along your route to the Wind Shrine and as much a good time as it is a good save point.
It features several boats with launching sails, and they help ready you for the approach to the Wind Temple. You'll need to bounce across all of them to reach the end of this trial. However, keep a lookout on where you're going. You may find the path isn't as simple as it looks.
How To Complete Mayaumekis Shrine: Downward Force
The first room of Mayaumekis Shrine is thankfully quite straightforward. You'll notice a gate and no interactable items on your side.
Look past the barred wall to the right of the gate to spy an orange switch. Strike it to open the gate and proceed into the trial. You can do this by striking it with an arrow or with a long spear-like weapon.
Climb the stairs to the boat ahead, but beware of the Zonite enemy waiting up top.
They are only equipped with a bow, so you can dodge their arrow and go in for a series of swift strikes to take them out. They are the only enemy to fear in this Shrine.
After you take out the Zonite, jump off onto the sail of the boat below.
You'll see several boats ahead, but drop onto the square platform you jumped through. From here, take a moment to plan your jumps across, especially eyeing the moving boat.
Once the boat is within reach of a paraglide, jump down onto the boat ahead and sail over.
Your goal from here is the large square-like chamber to your two-o-clock, but you'll first need to make a short stop.
Angle yourself onto the circling boat and then jump off to reach the next boat beside the small, square platform.
If you're low on arrows or simply wish to top up on your inventory, it's recommended to turn around on this platform. There is a platform much higher up in the far northwestern corner of this room (opposite your goal).
You can jump to that platform from the boat near where you're standing and glide over. Inside will be x10 arrows.
Return to the small, square platform to continue.
From this boat, jump up with your bow drawn toward the square chamber. You'll notice a switch there, so fire one arrow between the bars to hit it and turn the switch green.
Once struck, the switch will open a gate beneath the chamber. You may now jump over to the boat directly ahead and under the chamber.
From this boat, jump up and into the chamber where you can claim your prize and leave.


