The Legend of Zelda: Tears of the Kingdom gives Link several new abilities to work with and many new Shrines to test them out in, making for some exceptionally clever and fun puzzles to solve. There are over a hundred Shrines to stumble upon in the game, all teaching you something useful, whether for combat purposes or how to maximize your ability's potential.
Take the Jonsau Shrine, for example, a Shrine found in the dead center of the Lanayru Wetlands that offers one of the best uses of Link's new Ultrahand ability, having puzzles that revolve around submerging things underwater and releasing them to hit targets or reach new heights!
Jonsau Shrine (Deep Force) Walkthrough

Utilizing your new Ultrahand ability will be the key to completing the three puzzles in the Jonsau Shrine and obtaining its Treasure Chest. You can find the solution to everything this Shrine offers in the sections below!
Jonsau Shrine First Puzzle Guide


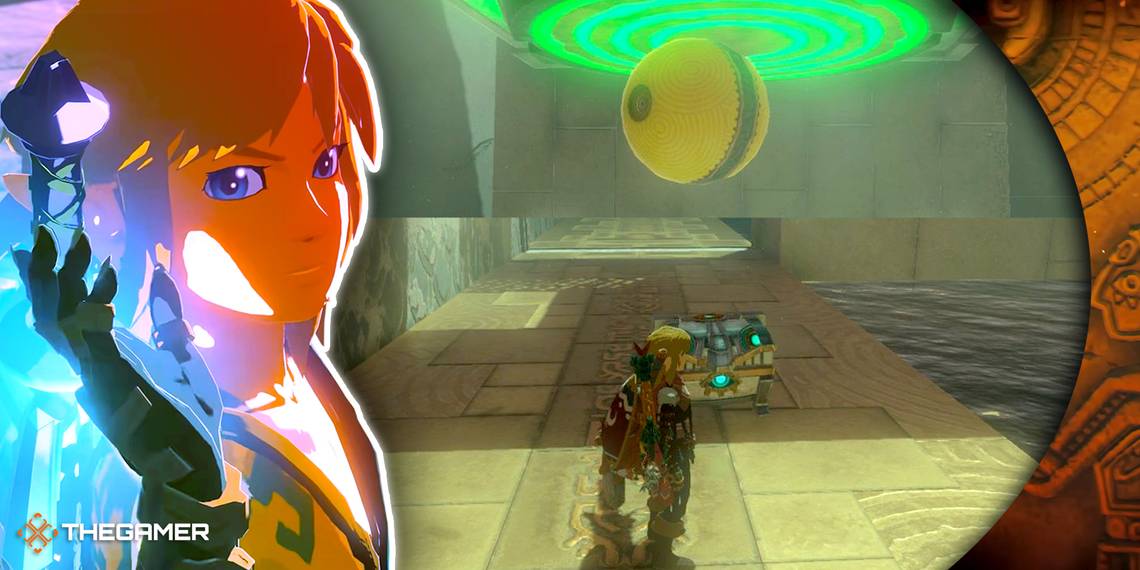
In the first room of the Jonsau Shrine, you will notice a Ball that's a bit different than all the others you've likely encountered up to this point. Rather than being a Stone Ball like the others, this one is a buoyant Yellow Ball, playing a crucial role in this puzzle.
To solve the first puzzle, grab the Yellow Ball with Ultrahand and submerge it underneath the water directly below the target as far down as possible. When you have it in position, release the Yellow Ball to have it shoot up out of the water with tremendous force.
This will have the Yellow Ball launch into the target, opening the gate to the right and solving the first puzzle of the Jonsau Shrine!
Jonsau Shrine Treasure Chest Guide


Go through the gate you opened from the previous puzzle and prepare to take on a Training Construct that charges around the corner of the next room. After defeating it, activate Ultrahand before moving into the next room.
Look into the water to your left to find a Treasure Chest at the bottom. Walk toward the edge of the floor and grab it with the Ultrahand, pull it out, then place it on the ground before you. Open the Treasure chest to receive a Strong Construct Bow with an Attack potency of 11!
Jonsau Shrine Second Puzzle Guide


Following the room with the Treasure Chest will be the Jonsau Shrine's second puzzle, which is very similar to its first one. Here, you will see a Long Yellow Slab that is also buoyant, with another target on the ceiling above the water.
Grab the Long Yellow Slab with your Ultrahand and rotate it until it's verticle (as pictured above). From there, submerge it underneath the water as far down as possible, directly underneath the target.
Release the Long Yellow Slab to have it pop out of the water with great force and speed, much like the Ball, having it hit the target and open the door to the next and final area!
Jonsau Shrine Third Puzzle Guide


Puzzle number three is the most involved, but the general gist of it is similar to the previous two. As you enter the final room, you will see a Yellow Ball floating on the water and a tall shaft that leads to an elevated platform.
Observe the elevated platform to find a Lift jammed by a Wooden Pallet. Your first objective is to dislodge the Wooden Pallet from the Lift. Take the Yellow Ball and submerge it underneath the water directly beneath the Lift and Wooden Pallet.
Once in position, release the Yellow Ball to have it launch high into the air and dislodge the Lift and Wooden Pallet. This will have the Wooden Pallet fall into the water and have the Lift drop into the water, allowing you to solve the puzzle.
Your next step will be picking the Wooden Pallet up with your Ultrahand, rotating it horizontally, and attaching it to the Lift that has fallen into the water. The extra weight of the Wooden Pallet will slightly lower the Lift, allowing you to climb on top of it.
Climb onto the Lift/Wooden Pallet, then grab the Yellow Ball with your Ultrahand. Stand in the center of the Wooden Pallet and take the Yellow Ball to the left or right side of the Pallet (as shown above).
From here, submerge the Yellow Ball beneath the water as far as it can go, then press Down on the D-Pad to bring it toward you. Wait until you see a complete circle highlighted underneath the Wooden Pallet, then release the Yellow Ball.
The Yellow Ball will fly upward, taking the Lift and Wooden Pallet with it, launching you high into the air, allowing you to Glide directly to the exit to claim your Light of Blessing!