Players are using the new Ultrahand ability given to us in The Legend of Zelda: Tears of the Kingdom to build some truly wild things (that may or may not break the Geneva Convention, but that’s for another article). Hopefully you’ve gotten some good Ultrahand practice in with all the exploring, because Runakit Shrine in Hyrule Ridge will test your ability to problem-solve with it.
The final level of this puzzle can be pretty tricky, so we hope you’re good with geometry. For help solving the puzzle at Runakit Shrine in Tears of the Kingdom, check out our guide below.
How To Complete Runakit Shrine: Built To Carry

Coordinates | -2530, 1170, 0178 |
|---|
Runakit Shrine itself is pretty easy to see when you activate Lindor's Brow Skyview Tower and look almost due West from it when you launch out. On your map, it's North of Mount Rhoam, not far East of the Hyrule Ridge Chasm.
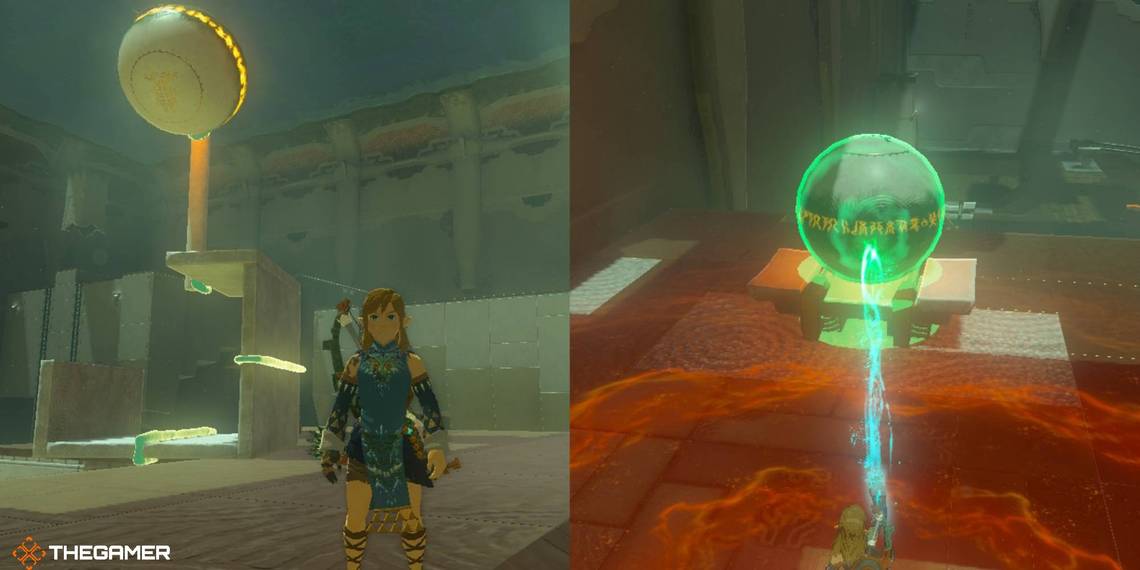
When you get into the shrine, you'll see one of the orange ball keyholes in the ground by the locked door to the finish line, and the ball is also in sight - across a large chasm, and you can't Ultrahand it back to the start, either.
You'll have to use the rails around the area to carefully get the ball across three increasingly complicated mechanisms to get it back to the start.

To begin, paraglide off the starting platform toward the one with the ball. When you land, climb the ladders to reach the ball itself.
Use Ultrahand to grab the ball from its starting position and simply place it on the metal bars nearby. Put it close enough to the edge, and gravity will take control, sending the ball to the second platform. Paraglide after the ball to get there yourself.

On the second platform, the rail is too wide for the ball to fit without falling right through. However, you'll notice two straight metal bars leaning against the wall in the corner.
Use Ultrahand to grab the bars one by one and rotate and attach them to the ball in such a fashion that they jut horizontally from either side of the ball.

Once this little contraption is made, put the rails on the bars with the ball hanging down, and it will slide to the third and final puzzle platform. Again, paraglide over to meet it.
The third puzzle is the most complicated of all - it's one suspended rail that you'll need to use to get the ball back to the start. You've got a selection of metal pieces along the back wall at your disposal to use to get it there.
For this, you'll need to make a crude hook using the metal pieces lying around. It won't be a pretty shape, but it'll get the job done.

Attach two of the L-shaped pieces together on their longer sides, so that it makes a squared-off C shape when fused. To one side of this, attach a third L-shaped piece that almost completes a square.
Now, head back to where the ball was deposited and shake off one of the metal rods. With one rod still connected to the ball, attach the rod to the open part of the shape you made with the three L-shaped pieces.

From here, use Ultrahand to flip the shape so that the ball hangs down into the chasm a bit - it won't fit otherwise.
It's helpful to move this claw-shape as far down the rail as you can before letting go - even this shape wobbles on only one rail.
Let go of your contraption and watch the ball slide back to the start.

Paraglide over, shimmy the ball loose, and use Ultrahand to carry it back to the top to put it in the hole and finish Runakit Shrine.
How To Get The Treasure Chest In Runakit Shrine
The treasure chest in Runakit Shrine is located on the third platform, above where you're building the claw-shape to finish the puzzle.

Before you do, you'll notice a few stray rails off to the left. You can make a rail contraption with the pieces nearby before you make your claw contraption, but it's easiest to make a small bridge for Link to cross out of three pieces - it's just enough to reach the platform.
Waiting for you inside is a Construct Bow.