The Serutabomac Shrine is one of many Shrines that focuses on Link's new Ascend ability in The Legend of Zelda: Tears of the Kingdom and is found on a Sky Island just north of the Lookout Landing Skyview Tower behind Hyrule Castle.
While it can be tricky to reach, using the Skyview Tower to launch yourself into the air will give you more than enough air to land near it. Fortunately, the Shrine's puzzles are much more straightforward, considering where it's located and what you must go through to reach it.
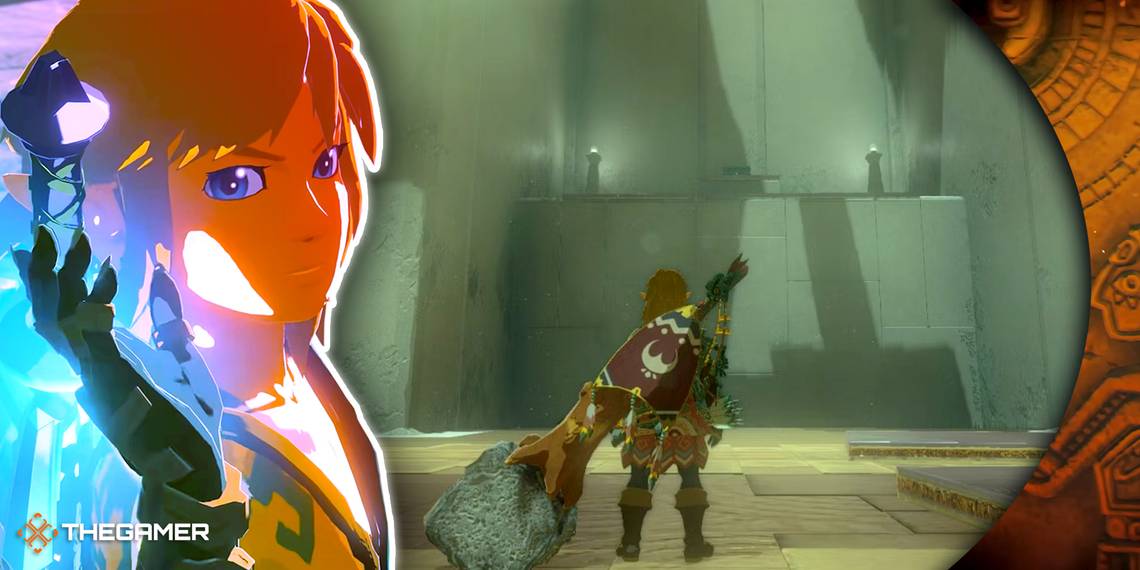
Serutabomac Shrine (The Way Up) Walkthrough

Ascend and Ultrahand are the abilities that will get you through the Serutabomac Shrine, having you assemble objects made from several Stone Slabs that allow you to pass through them and reach new areas. There are three puzzles and one Treasure Chest in this Shrine; all of their solutions are found in the section below!
Serutabomac Shrine First Puzzle Guide


Our first puzzle of the Serutabomac Shrine is simple but sets the stage for the rest of the Shrine quite nicely. As you enter the first room, you will find a single Stone Slab on the floor and two prongs sticking out of the wall.
Pick the Stone Slab up with Ultrahand and place it over the two prongs horizontally to create a platform. From here, stand underneath the Stone Slab and use Ascend to pass through it. Once you're on top, jump through the opening and into the next area!
Serutabomac Shrine Second Puzzle Guide


Head into the next room to find a Stone Slab and Long Stone Slab on the floor and another pair of prongs sticking out of the wall in the corner of the room. You will need to combine both of these Slabs to make a sturdy platform to Ascend through.
To do this, place the Long Stone Slab flat on the ground, then stand the Small Stone Slab up vertically and turn it so the flat part faces you. From here, attach the Small Stone Slab to the center of the Long Stone Slab's side, on the widest portion of the Slab (as pictured above).
After you have both connected, pick it up with your Ultrahand and rotate the object until the Long Stone Slab is on top, then turn it once more to have the smaller one facing to the left.
Next, move the object over to the two prongs sticking out of the wall and place it so that the Small Stone Slab is up against the wall directly beneath the opening and the Long Stone Slab is over top of the two prongs.
This will make it sturdy enough for you to Ascend through, so stand beneath the Long Stone Slab and use Ascend to get on top of it and reach the next area!
Serutabomac Shrine Treasure Chest Guide


Surprisingly enough, getting the Treasure Chest in the Serutabomac Shrines is the most complicated aspect, and it's not even that bad. First things first, you will see a Long Stone Slab and two Small Stone Slabs in the room as soon as you enter.
Attach the two Small Stone Slabs end-to-end to create another Long Stone Slab, then guide it to where the Treasure Chest is. There is a Spike Pit just before it. Place it over the Spike Pit and return to the other Long Stone Slab.
Using Ultrahand, pick the Long Stone Slab up and walk toward the Spike Pit. As you approach the tall wall that holds the Chest, position the Long Stone Slab vertically, then tilt the top of it slightly downward. Now, walk over the top of the Stone Slabs you recently placed.
Just as the tip of the Long Stone Slab passes over the top of the wall, continue tilting it downward until it lays flat on the top of the wall. From here, move it further back until only a tiny portion of it is hanging over the edge of the wall.
Lastly, after placing the Long Stone Slab on the wall, use Ascend to pass through the part you left hanging off the side to get on top of it. Open the Treasure Chest to obtain the Magic Rod with an Attack potency of six!
The Magic Rod's power comes from the Gems you attach to it, so don't worry about its low Attack!
Serutabomac Shrine Third Puzzle Guide


With the Magic Rod in your possession, it's time to solve the final puzzle, which is, fortunately, much simpler than even the Treasure Chest one. First, move the Long Stone Slab back to the floor below the Chest before jumping off, or you will have to Ascend through it to get it back down.
After that, use Ultrahand to pick the two Stone Slabs you previously attached and shake them loose to have two separate Stone Slabs again.
From there, stand one of the Small Stone Slabs up vertically and rotate it so the flat area faces you, then attach it to the middle of the Long Stone Slab's side, just as you did for the second puzzle.
Next, take the other Small Stone Slab and lay it down horizontally, flat on the ground. Pick it up with Ultrahand and place it on top of the other Small Stone Slab, extending it out over the middle of the Long Stone Slab (as pictured above).
Finally, place the object over top of the two prongs sticking out of the wall with the base of the Long Stone Slab covering the gap of the prongs.
Use Ascend when standing underneath the Long Stone Slab, then use it once more to pass through the Small Stone Slab to reach the exit of the Serutabomac Shrine to get your Light of Blessing!