The Legend of Zelda: Tears of the Kingdom has many extraordinarily clever and fun Shrines, offering intricate puzzles and challenges that will have you feeling like you can conquer anything after you finally solve them. A perfect example is the Sepapa Shrine found in the northern portion of the Lanayru Wetlands region, which has you utilize the new Recall ability to its full potential.
Despite its many steps and heavy trial-and-error elements, the Sepapa Shrine is one of the best offerings in Tears of the Kingdom regarding the Recall ability. It showcases its usefulness in manipulating the time around you to your advantage.
Sepapa Shrine (Backtrack) Walkthrough

Using Recall strategically is the name of the game for the Sepapa Shrine and is necessary for claiming its Light of Blessing. The good news is you can utilize many tricks to avert some of the more frustrating aspects of this Shrine, which we will detail in the sections below!
Sepapa Shrine First Puzzle Guide


Our first "puzzle" of the Sepapa Shrine is a simple one that signals what's ahead. You will see a large green platform circling a wall that prevents you from riding it the entire way around to reach the top.
To make this platform useful to you, use Recall on it to make it travel clockwise and jump on top of it when it comes back through the gap in the wall. Once on top of the platform, it will carry you to the top of the wall, allowing you to jump onto the next floor. That's it. That's the first puzzle solved!
Sepapa Shrine Treasure Chest Guide


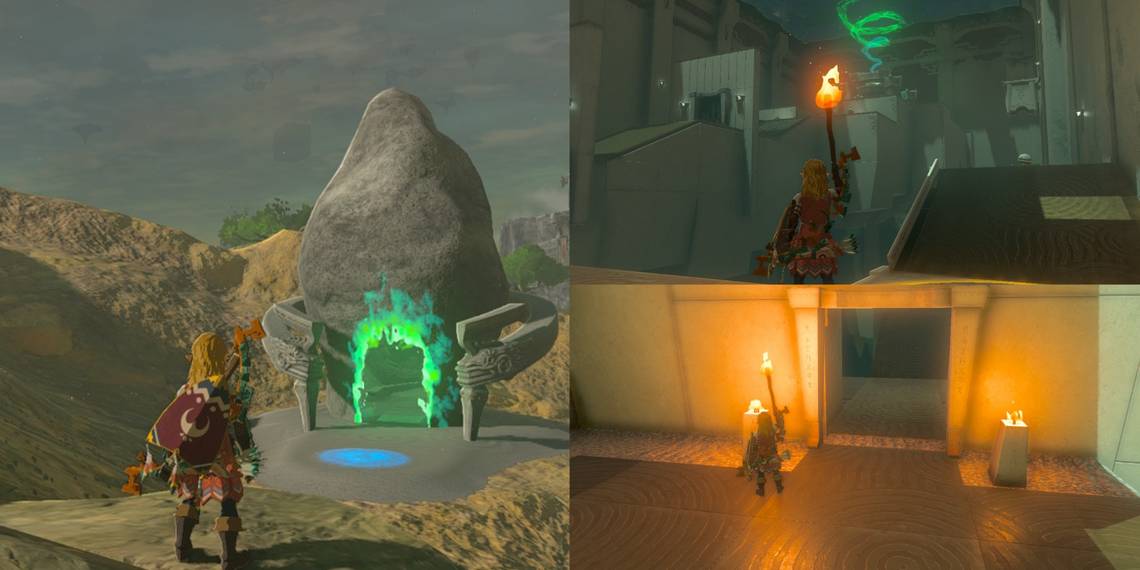
Next up is the Treasure Chest, which can be acquired in a handful of ways. The easiest method is to take the piece of wood across the water to the other end of the room where the ivy-covered wall is and use Fire Fruit to set it ablaze (you can throw it or combine it with your Arrows).
If you do not have access to Fire Fruit or Wands that produce Fire, pick the Torch up from the ground near the gate and hop onto the piece of wood. As you make your way to the other side, you will see several lit braziers lined up in the water.
Light the Torch as you pass by the braziers, then jump off the piece of wood when you reach the end of the water. Once here, light the ivy on fire with the Torch and let it burn the wooden platform the Chest is on.
After it burns everything away, the Treasure Chest will fall, allowing you to open it. Crack it open to acquire the Strong Construct Bow with an Attack Potency of 11!
Sepapa Shrine Second Puzzle Guide


Like the previous step, this puzzle can be entirely averted by setting the unlit braziers on either side of the closed gate ablaze with Fire Fruit or a Wand capable of casting the Fire Element. But, if you do not have access to any of those, follow the next steps.
After taking the piece of wood across the water and obtaining the Treasure Chest, wait for a new piece of wood to come down the stream and cast Recall on it just before it floats into the gap beneath you.
The piece of wood will now travel backward, so jump back onto it and relight your Torch from the braziers on your way back to the starting area. With a newly lit Torch, jump off the piece of wood when you reach the end of the water and light the two braziers by the closed gate!
Sepapa Shrine Third Puzzle Guide


The gate will open after lighting the two braziers, giving you access to the final room and puzzle of the Sepapa Shrine. Once here, make your way to the right side of the room, then follow the pathway all the way up until you reach the Ball.
Grab the Ball with your Ultrahand and place it in the goal directly beside it. This will open the second gate, which you cannot yet access. Leave the Ball in here for several seconds. If you take it out too fast, you risk messing up the later portions of the puzzle.
After leaving the Ball in the goal for a prolonged period of time, pick it back up with Ultrahand and move it to the other goal near the start of the ramp. Removing the Ball from one goal and placing it in the other will close the second gate and open the first one.
When the first gate opens, quickly run through it and cast Recall on the Ball. From here, run and sit beside the second gate, which will currently be closed. When the Ball gets recalled into other goal, this gate will open, allowing you to run through it to complete the puzzle.
You can cancel the Recall as soon as the Ball lands in the goal, but if you left it in the first goal for several seconds, you can just run through it without worrying about the gate dropping on you or closing prematurely before you pass under it!