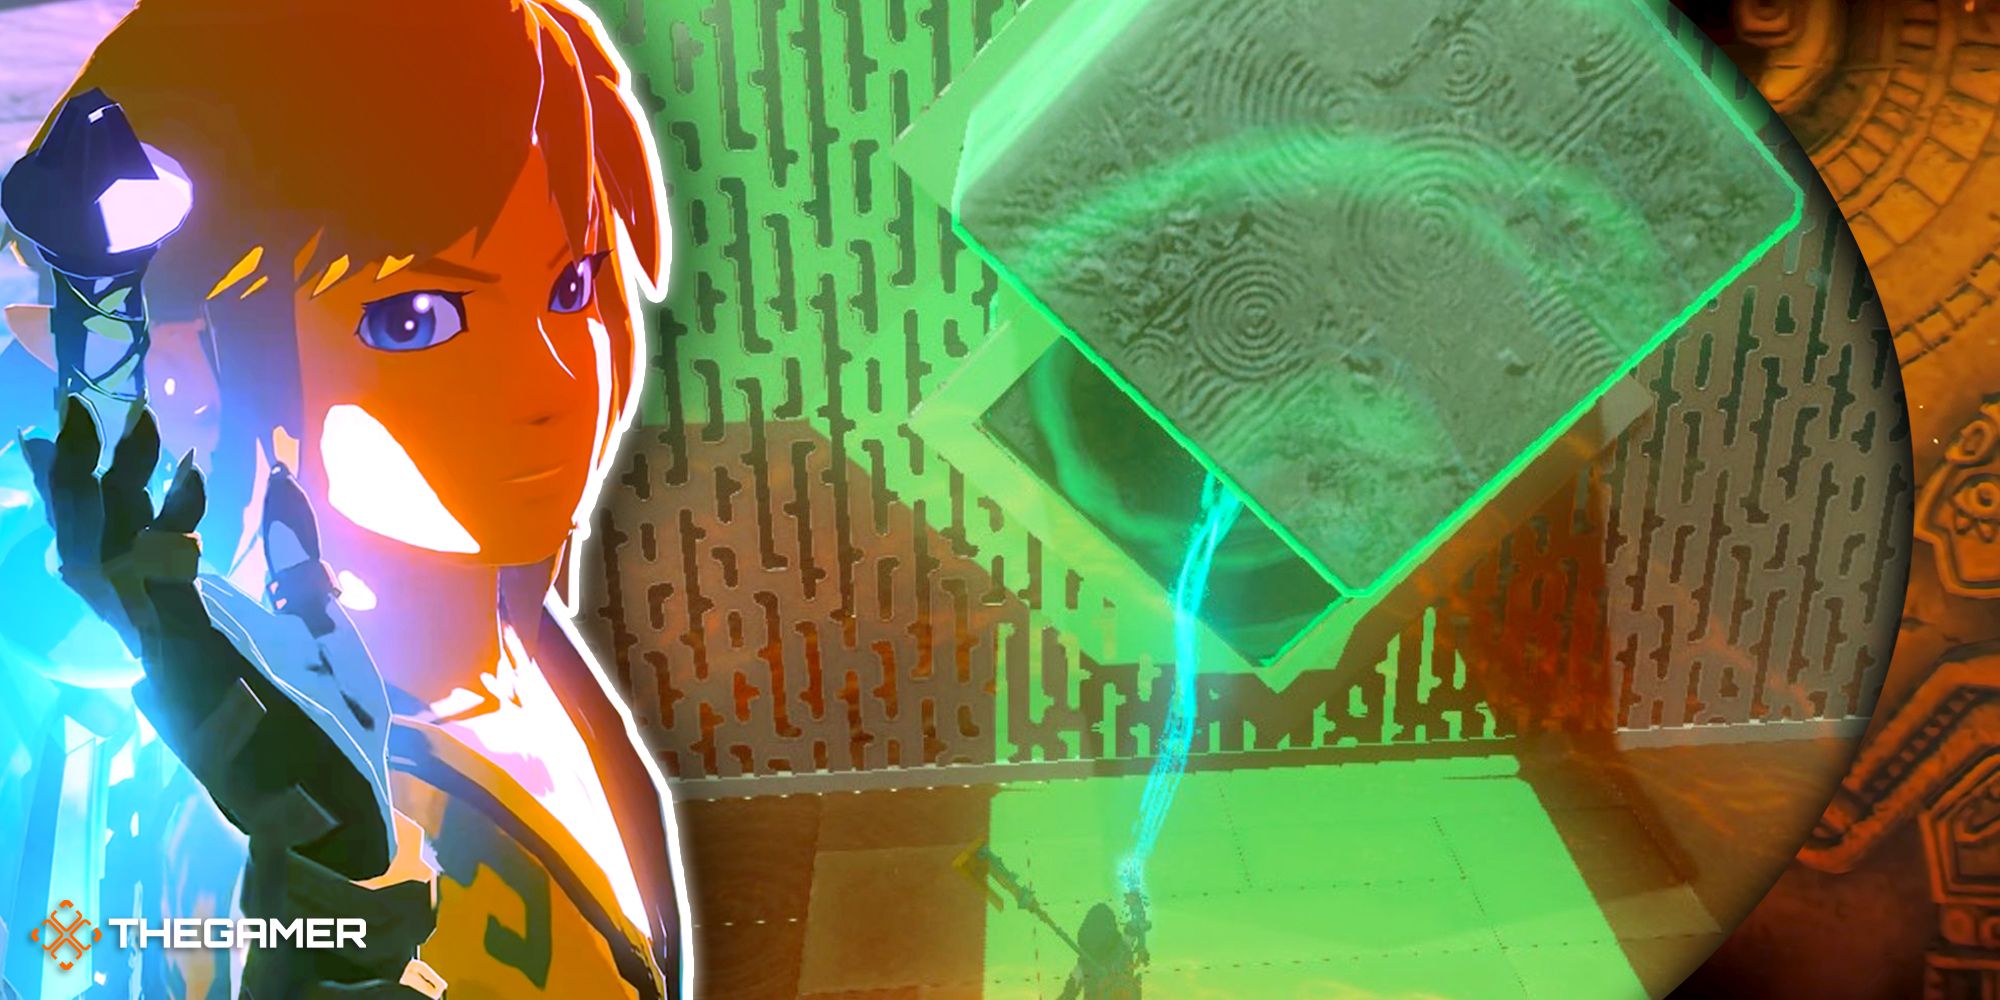
Early on in Tears of the Kingdom, just after getting your Paraglider and completing the tutorial, you'll be directed to one of Hyrule's new chasms. This one, directly south of Hyrule Castle, has a shrine nearby - Jiosin Shrine.
Not only does this serve as a convenient fast-travel point for players who want to dive into the underground at the drop of a hat, but it contains a devious puzzle that might have you itching your brain for a solution. What seems very simple at first can end up being a frustrating effort in trial and error.
How To Complete Jiosin Shrine: Shape Rotation
As the name of the puzzle implies, this shrine is all about using Ultrahand to rotate shapes into a specific orientation that lets you overcome obstacles.
The first challenge involves getting a large shape with ridges through an X-shaped hole. Enter the room to your left, pick up the shape with Ultrahand, and rotate it so that it passes through the X flawlessly.
You'll have more luck with these puzzles by standing directly behind the shape you're manipulating. This will let you gauge the entirety of the shapes and the holes at the same time.
Once you've taken the shape out of the side room, you can then use it as a bridge to reach the next area. You'll have to hop over the gap in the middle.
In the next area, there are two rooms to explore. Head to the room on your right first to find a new shape made up of two blocks. You'll have to flip the shape inside upside-down and around before it cleanly fits through the hole in the wall.
Once the shape is in the middle section, use it to reach the chest at the back of the room. To do this, you'll need to place it in the dip on the left. Place it so that there's one block comfortably in the dip, with the topmost block being adjacent to the back wall - the blocks should be horizontal. Use the picture above for reference if needed.
You can then use these blocks as stairs up to the chest, which contains a Hasty Elixir.
Once you're ready to move on, pick up the shape again and pass it through the tall hole in the left-hand wall. To get it through the gap, you'll need to orient it like this:
- Horizontal, with one block on the bottom and one on the top.
- Slanted, so that there are points on the top, bottom, left, and right.
Pass the blocks through the hole carefully, adjusting halfway through to accommodate for the second block if you have to.
Once the shape is in the final room, place it at the back to create some stairs. You'll want the top block placed so that the bottom is on the same plane as the top of the short platform, and the bottom block to be directly to the left of the short platform. Again, consult the image above for reference.
Climb the new makeshift stairs and exit the shrine with your shiny new Blessing of Light.


