Quick Links
There are enough shrines in Tears of the Kingdom to satisfy even the biggest Breath of the Wild veteran puzzle fans. Our aim is to cover every shrine that's even a little hard to solve, so that those among us who would rather get straight to the point and return to the wonderful open world can do just that.
We reckon the survival-centric Eutoum Shrine exceeds 'even a little hard to solve' and enters the realm of bona fide brain-teaser. Let us guide you through this gauntlet and onward to your promised prize.
Finding The Eutoum Shrine

The Eutoum Shrine is located in the Hebra region toward the northwest corner of Hyrule's kingdom map. Specifically, it's just south of the area marked Hebra North Crest and north (and very slightly west) of Hebra Tundra. For coordinates close to the shrine, search the following: 3509, 3568, 0386.
You can actually see the Eutoum Shrine when you're over at the Rospro Pass Skyview Tower. Look northward while you're up in the air, and you should see it with ease. If it's especially cloudy, just wait until you're somewhat closer to ground level.
The Eutoum Shrine isn't obscured by any obstacles; it's simply a bit lower than the rocks surrounding the Goflam's Hot Springs area that you'll likely get marked on your map upon your arrival.
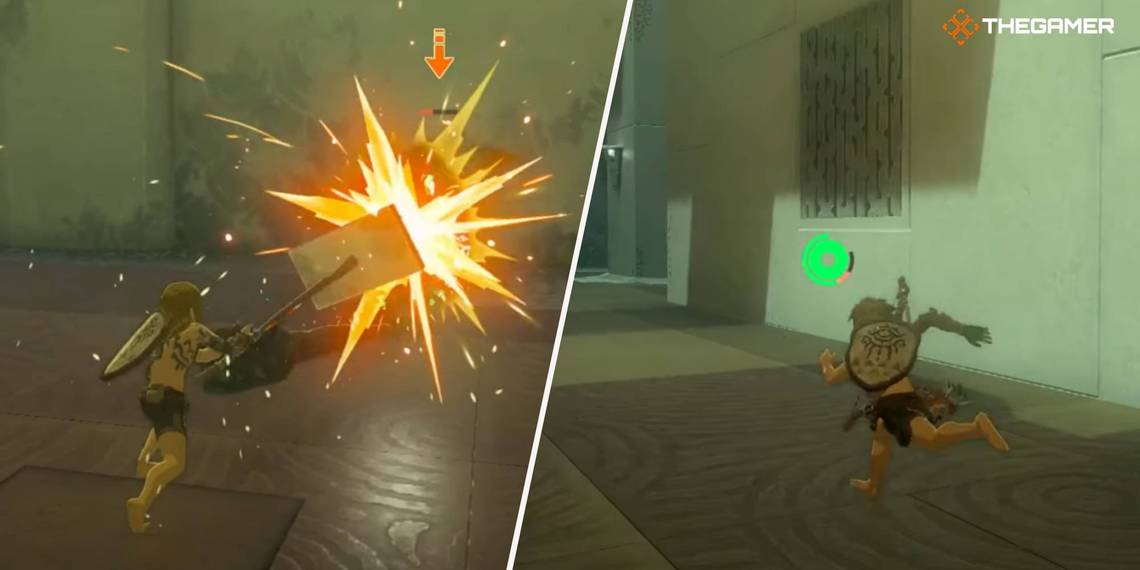
Surviving The Eutoum Shrine: Casing The Joint

Perhaps even more so than other 'Proving Grounds' shrines, it's imperative that you learn the layout of this place ahead of arrival if you want an easier time. That's because the shrine's interior is specifically designed to give players a measure of grief if they run around aimlessly; you'll find there are enemies at every turn, not to mention an irritating alarm system.
The center chamber is protected by two Constructs. Within the chamber is another pair of Constructs, one of whom can electrify Link. One last Construct is smack-dab in the middle of the shrine.
Needless to say, that's especially unpleasant when you lack your equipment and various other resources, which is always the case in 'Proving Grounds' puzzles.
Arguably your most dangerous enemy, however, is not a Construct but the machine at the centermost point of the shrine, which will sound an alarm if it sees you. Heck, it seems to do so at times even if it doesn't. If that happens, you sacrifice the element of surprise - which is, in truth, your best weapon in Eutoum.
Surviving The Eutoum Shrine: Ascend, Fuse, Descend, Destroy

Some players tend to forget the amazing capabilities of the Ascend ability, not so much because it's completely out-of-mind but rather that it isn't always obvious that its powers can be utilized. Ascend is a huge boon in Eutoum Shrine, because if you peer upward along the walls of the center chamber you'll find a platform high above.
In most spots, this platform can be reached via Ascend, and you should do so posthaste. (Well, first grab your starter gear hanging around near the entrance, but we digress.) It's from this platform that you'll be able to get the jump on the enemy. Ambushing them from above prevents them from spotting Link if he's on the ground level with them.
If (and often when) the alarm bot on the bottom floor starts blaring, you can always get out of sight again if you're fast enough with Ascent.

Now, for a choice. At the various gaps in the wall, you will note spikes on the floor that can prohibit the Constructs in the back from reaching Link. This is great and all, but eventually, you will need to get back there. Most players probably elect to just jump over the spikes when they're ready.
There's an alternative. You can Fuse them to a weapon for the kind of damage boost that can truly turn the tables on your foes in 'Proving Grounds' shrines like Eutoum.
Here's the catch: in doing so, you remove the obstacle stopping the Constructs from reaching you. The choice is yours, but we personally found the trade-off to be worth the momentary danger.
At this point, progress to the innermost chamber where you'll find the final Construct and the alarm bot. There's nothing you can do, at least in our experience, to prevent the alarm bot from wailing. But between the equipment you've gathered and the lone nature of the Construct, you should be able to overcome it, at which point congrats - you've won!