Most of the shrines in The Legend of Zelda: Tears of the Kingdom come as standard - room after room of puzzles that increase in difficulty until you reach an exit, claiming a Blessing of Light. The ones that don't share this structure are few and far between.
Some shrines like to switch it up, though. Kikakin Shrine, found to the north of Hyrule Castle, is one such shrine. When you enter, you'll find it enveloped in darkness, and you'll need to be brave to see what sorts of challenges await you within. That, or read on below to go in forewarned and forearmed.
How To Complete Kikakin Shrine: Shining In Darkness

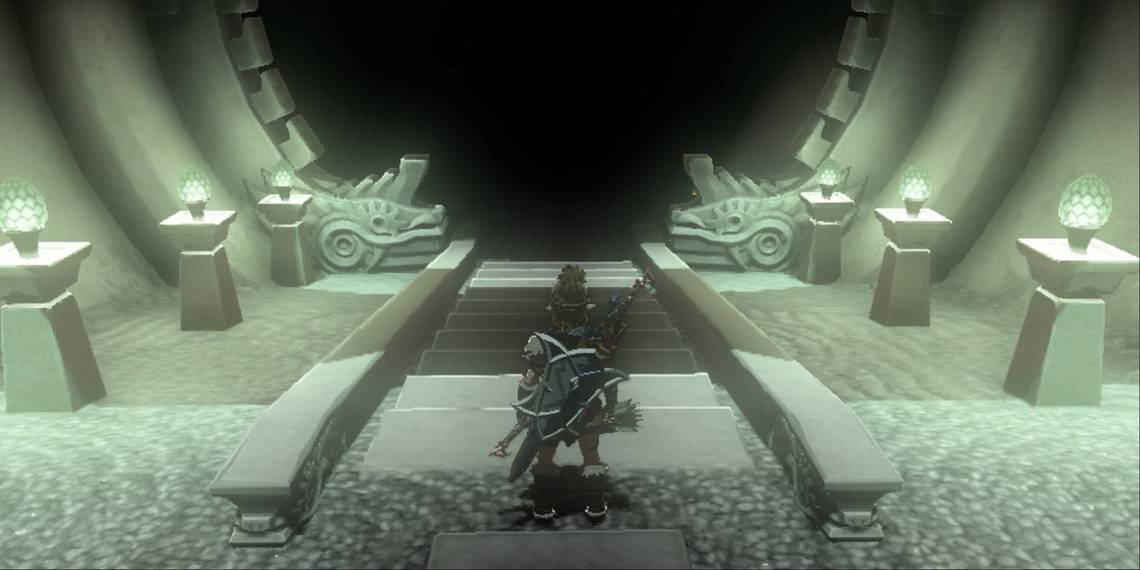
While initially, this shrine appears to be completely dark, walking down the steps in front of you will reveal that there is a Zonai Light device on the floor, activated and shining up the shrine's exit, which is unfortunately locked.
Pick the Light up. You can use this to light your way around the shrine.
Do not attach the light to your shield, as you might be inclined to do - this will drain your shield's health as you use it, and eventually use up the Light.

After picking up the Light, take a look around - you'll find that there's a path over to the left corner of the room, opposite the shrine's entrance.
This is the entrance to a maze of darkened corridors - keep your Light with you at all times, as some of the walls here are spiked and will damage you if you walk into them.

Continue forward down the corridor and ignore the first turning to the right. Turn left at the end of the corridor and then press on all the way until you come to another left turning.
The corridor ahead will have lasers in it - avoid the lasers, and you'll find a chest on the left. This contains an Opal.

Backtrack now until you reach the first turning that you ignored, which will take you past some spikes on the left and a wall with a square pattern in it on the right. Set your Light down here and use Ultrahand to remove the central square, which is a large cube.
There is a chest behind the cube that contains an Amber.


Continue down this hallway with your lamp. Take the first right you come across, and you'll be in a room that has two moving walls of spikes that meet in the center to crush you.
Dash through the middle when it's safe to reach the third chest of the shrine, which contains a Luminous Stone.


Head back to the previous corridor with your Light, and this time, continue on. At the end of the corridor, take the right, past the large moving spike wall.
You'll come to an oddly-patterned part of the floor - remove the middle floor tile with Ultrahand to reveal a final chest that contains a Small Key.

With the key in hand, backtrack all the way to the shrine's entrance. Use the Key in the door to exit the shrine, completing it.