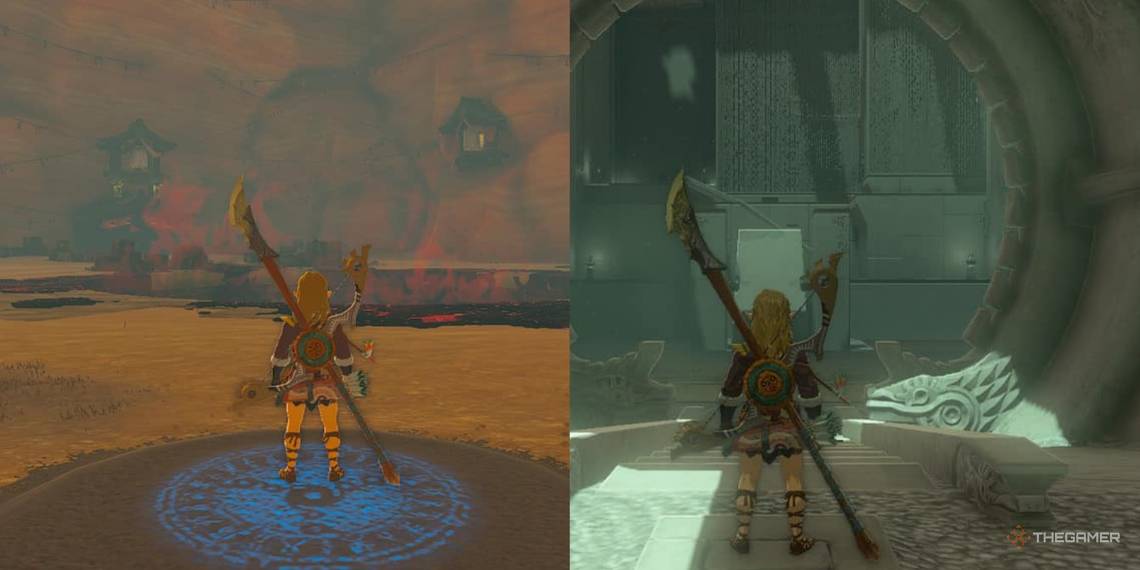
Shrines are back in The Legends of Zelda: Tears of the Kingdom once again, acting as challenging fast-travel points and rewarding you with more power. Located over in the Gerudo Highlands in the remnants of a famous fight from the prequel, Rotsumamu Shrine is all about testing your Ultrahand abilities and Link’s sense of balance.
Use both your own body weight and the fusion materials in the shrine to complete the lever puzzle within Rotsumamu Shrine, being sure to grab the treasure before you head out. If you need some help with the physics of Rotsumamu Shrine, read on ahead.
How To Complete Rotsumamu Shrine: A Balanced Device

Coordinates | -3407, -1362, 0335 |
|---|
The Rotsumamu Shrine can be found just outside the Yiga Clan Hideout where you fought Master Kohga in Breath of the Wild. The quickest way to access it is by flying from the cold and snow-blocked Gerudo Highlands Skyview Tower and then paragliding East once you shoot from the top.
When entering the shrine, the name tells you that you'll be working to balance levers inside the Shrine so that Link can use them as platforms to reach increasingly higher areas of the shrine. Ultrahand is the only ability you'll need to complete Rotsumamu Shrine.
The first area is easy and introduces you to the concept of using Link's weight as balance on the levers. Simply walk up the first lever and be sure to hop off at the end to reach the second level of this shrine.

Ahead, you'll see another large lever platform with one barrel off to the side. Use Ultrahand to attach the barrel to the left side of the platform so that you lower the platform once the barrel is attached.
You'll need to run from the bottom of this lever and jump off at the top, as Link's weight will tip the lever back if you don't jump.

Finally, the last section of this lever puzzle is the most challenging, as it's not just weight, but the positioning of said weight that does the trick here. Just attaching the nearby items to the counterweight will not make it budge.
Assemble the nearby sheet and metal block in the position shown below, so that the box is perfectly flush with the end of the board.

Once the fusion is complete, attach this to the very back of the lever you need to cross to finish the shrine, in such a way that it extends the lever further back from the doorway to the finish line.
When you let it go, the weight being further out from the boxes fused to the lever will cause the lever to tip the way you need.

The ground is just far enough away that you can't reattach your fusion items to the lever from the platform. If you drop them, use the ramp to the left to get up and down from the bottom area, grabbing anything you may have dropped and bringing it back to the platform to reattach.
How To Get The Treasure Chest In Rotsumamu Shrine
Before you complete the shrine after finishing the third lever, be sure you've grabbed the treasure chest from the ledge just past the platform you're trying to move.
To access the ledge yourself to get the treasure, take the board and box shape you made to finish the last lever puzzle, and attach it to the right side of the higher end of the lever, making something of a platform for Link to cross.

You'll likely have to hop a bit, since this is difficult to attach so that it's flush with the lever.
Once attached, jump onto the oversized lever and use your makeshift counterweight like a bridge. Inside the chest, you'll find a Large Zonaite Charge.