Quick Links
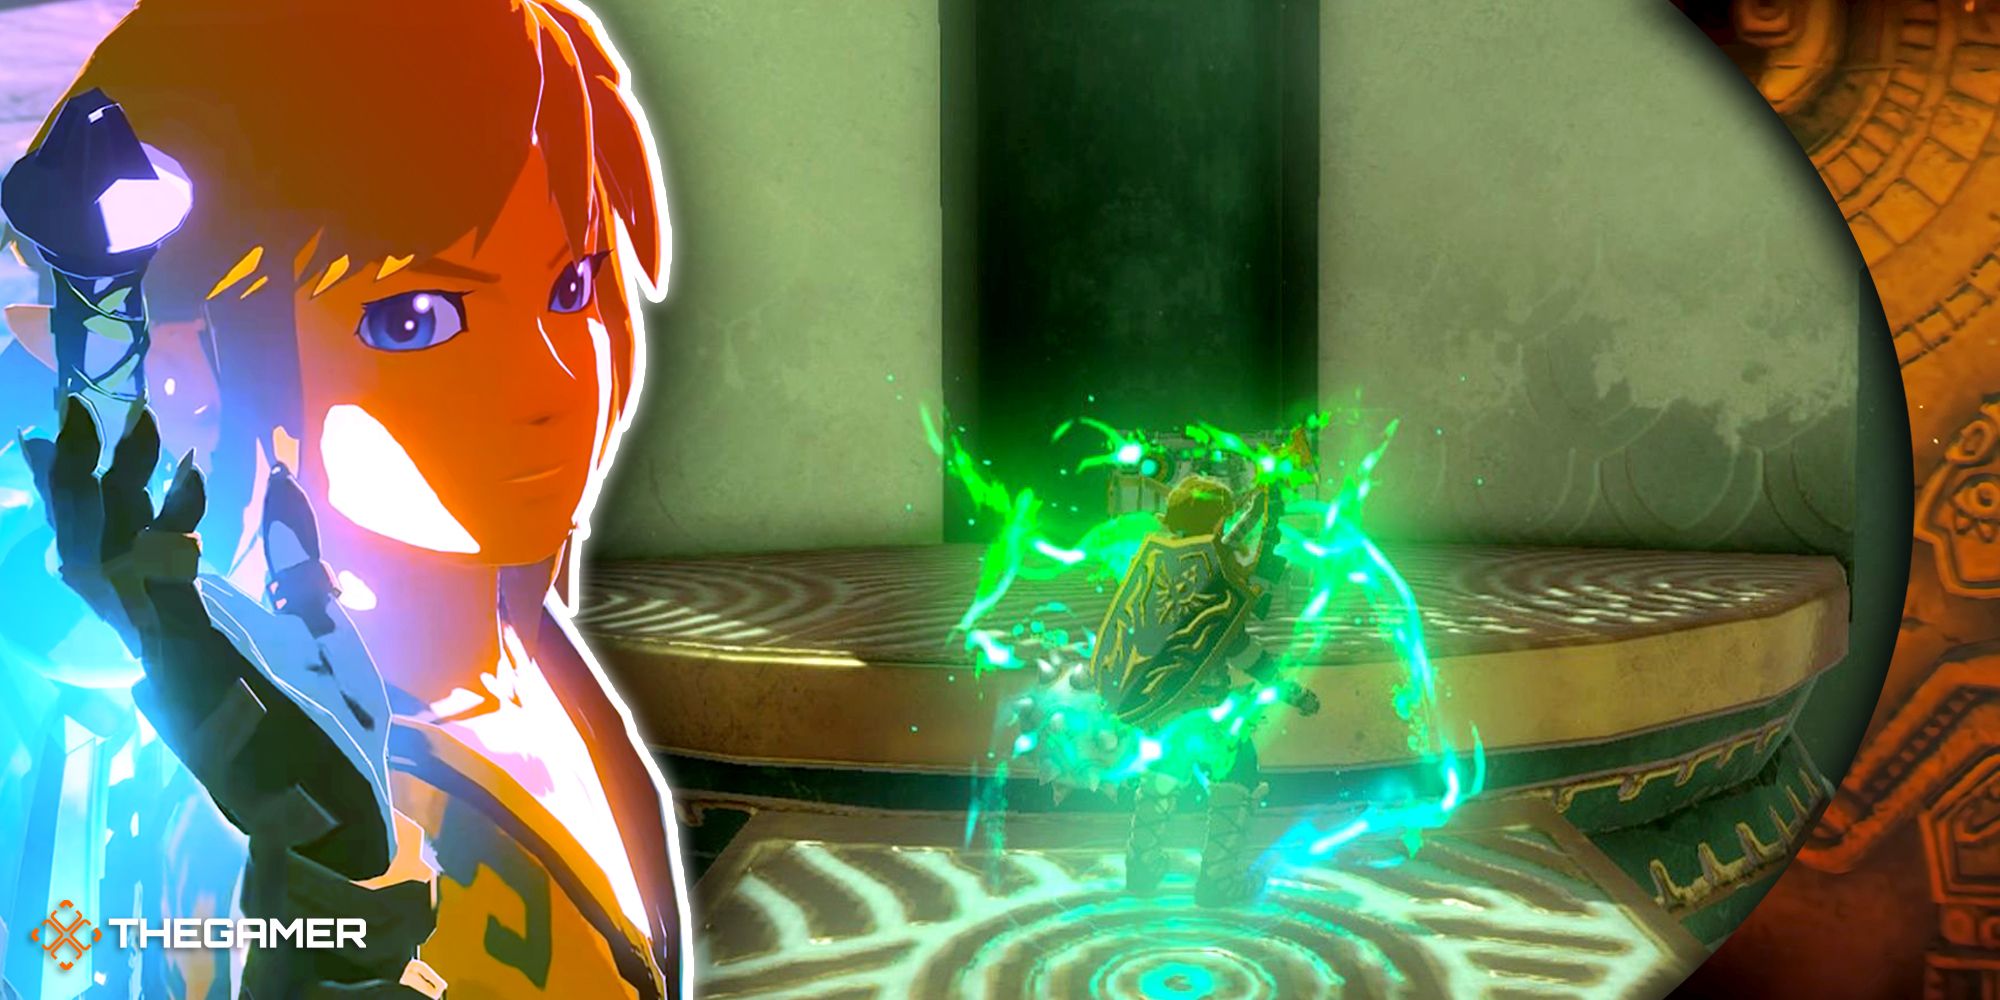
Simple is not often a word attributed to the shrines of The Legend of Zelda: Tears of the Kingdom, but it thankfully is to this short but sweet puzzle at Sibajitak Shrine. With a spinning pillar to put to rights, you'll need to consider time measurements if you'd like to rise above the challenge presented.
Deep within the Eldin region, this shrine sits near an important rupee-farming spot and mineral-rich cave. Though, take care of the monsters lurking in the mountain's shadows nearby. Not far from the lizard-shaped lakes, you'll be revisiting this shrine often as you take on quests for the Monster-Control-Crew and face the never-ending horde of evil that rises with each Blood Moon.
How To Complete Sibajitak Shrine: Alignment
As you enter the Shrine, your goal is to climb the enormous pillar you see ahead of you and reach the Blessing of Light at the top. You will only need two mechanics for this puzzle:
- Recall
- Ascend
There are three main spinning components on the pillar: a top, a middle, and a bottom. Each spins in the same direction, and each has two long sections of concrete.
Within this pillar - inside the top section, is a single chest you can find and unlock for a Strong Zonaite Longsword.
To climb this pillar, you'll need to use Recall to align the concrete sections.
By using Recall, the section you select will begin to reverse in the opposite direction. Press L to release your recall when the concrete sections line up.
If you'd like the chest, you'll only want to do this on the first two pillars (the middle and the bottom).
Once the two pillars are aligned, you should place yourself below the bottom concrete section to use Ascend. This should propel you up onto a metal platform where the chest can be looted.
You can complete this puzzle from here (or even after Ascending through the first section) by using a Rocket Shield. However, the simplicity of this puzzle doesn't quite make the sacrifice worth it, and it isn't recommended unless you want the laugh.
With the chest emptied, fall back to the ground and turn around to face the pillar again. Use your Recall now on the third and topmost part of the pillar.
Align all three sections now for a straight line to the top of the pillar. Just as you did with the chest, you can now Ascend through all three sections to the end of the Shrine. Don't worry if they aren't a perfect fit. As long as you can make one straight line through the pillars, it won't matter if they're a little askew.
Do your victory dance while you're spinning at the top of this shrine, then turn around to interact with Rauru and Sonia's statue to receive a Blessing of Light and be on your merry way.


