With 152 Shrines in The Legend of Zelda: Tears of the Kingdom, you can expect many of them to be complex and rewarding puzzles that will test Link and his new abilities, encouraging experimentation at every twist and turn.
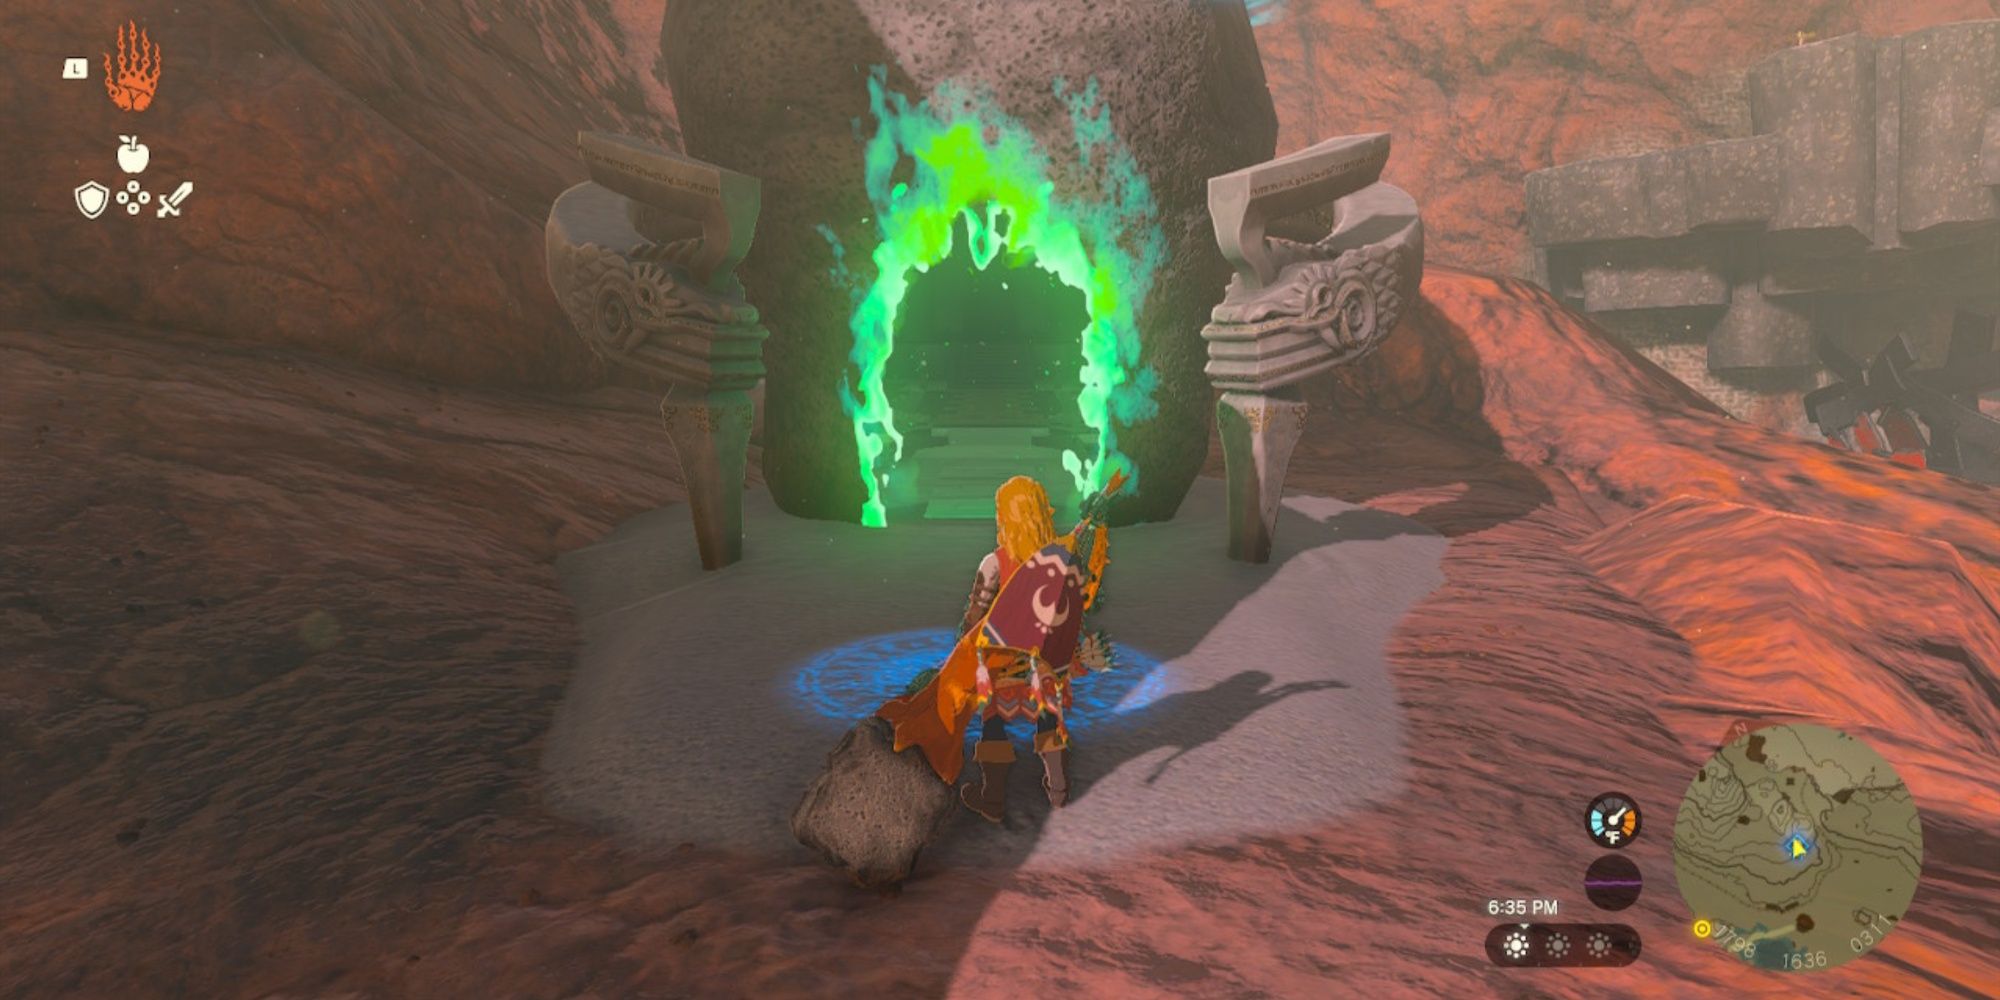
The Timawak Shrine is just one example of a Shrine that encourages you to use various methods to solve its puzzles, as it focuses on Link's unique Recall ability, having you cleverly use it to reach new areas. This Shrine is found in the Eldin Canyon region, just north of the Skyview Tower.
Timawak Shrine (Against The Flow) Walkthrough
Recall is the ability of focus in the Timawak Shrine, having you use its massive potential to solve the Shrine's three puzzles and claim its Treasure Chest. This Shrine can be rather tricky, so you can find all the solutions to its tricks in the sections below!
Timawak Shrine First Puzzle Guide


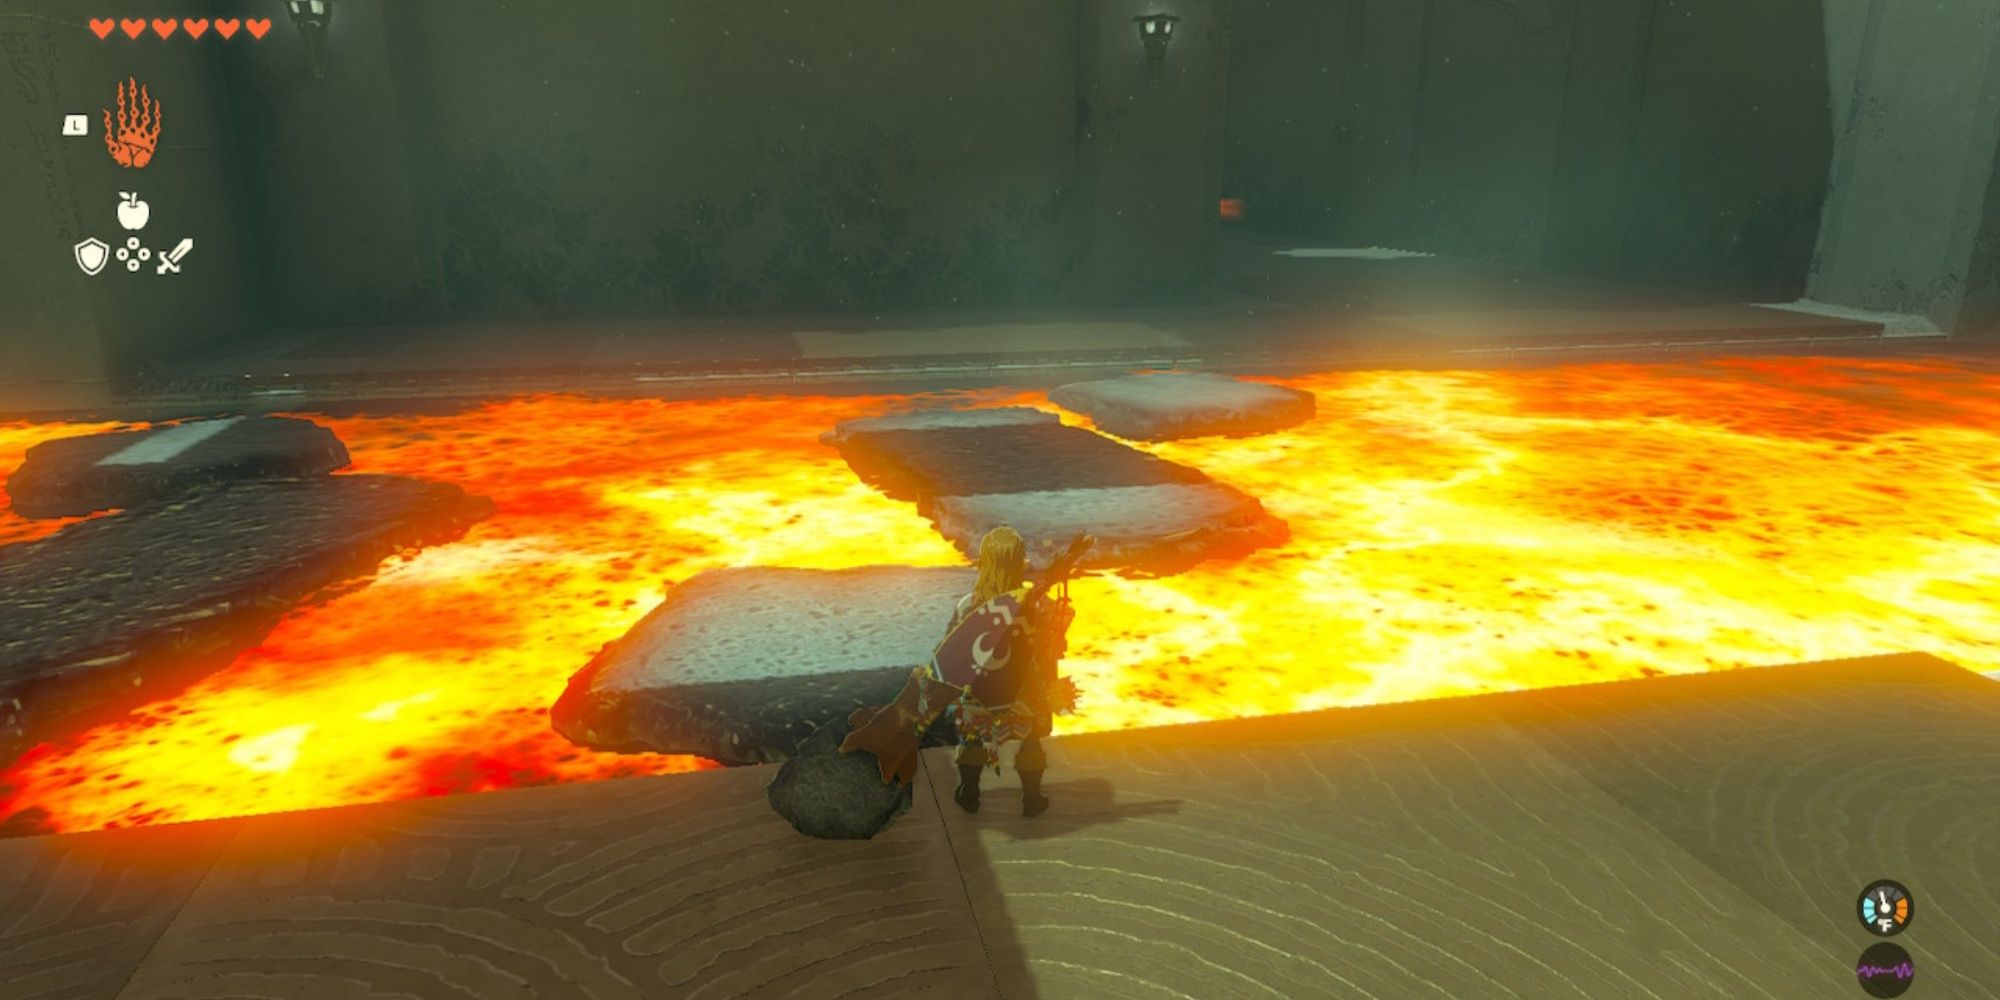
We know we said this Shrine was tricky, but the first "puzzle" isn't, as it involves you simply jumping over a series of Lava Slabs to reach the other side of the room. These Lava Slabs will spawn endlessly from the nearby Hydrant, so take you can take your time here.
Just wait until you see three Lava Slabs beside one another and quickly jump across them to reach the next area. There is a Training Construct on the other side of the room, so be prepared to take it out when you get there before heading to the next section!
Timawak Shrine Treasure Chest Guide


In the following area, you will see another series of Lava Slabs being carried through a river of Lava. However, they're coming toward you this time and disappearing entirely through a small gap in the floor beneath you.
There will be an area just beyond this Lava pit where you can see a Ball resting atop an elevated platform. This will be your goal for the second puzzle and the Treasure Chest. To reach this area, cast Recall on a Long Lava Slab and ride it over to where the Ball is located.
Once here, walk past the Ball and look at the wall behind it. You will see a small alcove and the Treasure Chest resting within it. Cast Recall on another Long Lava Slab here and ride it to where it spawned, having it stop just out of range of the Treasure Chest.
From here, switch to Ultrahand while keeping Recall active and grab the nearby Small Lava Slab and place it in the Lava just before the Treasure Chest. Jump onto the Small Lava Slab and into the alcove where the Chest is.
Open the Treasure Chest to obtain the Strong Zonaite Shield with a Defense potency of 26! - After acquiring the Shield, jump back onto the Small Lava Slab, cancel the Recall, and ride it back to the Ball in the center of the Lava pit.
Timawak Shrine Second Puzzle Guide


After you've returned to the Ball in the center of the Lava river, pick it up, jump onto a Long Lava Slab, and ride it back to where you fought the Training Construct.
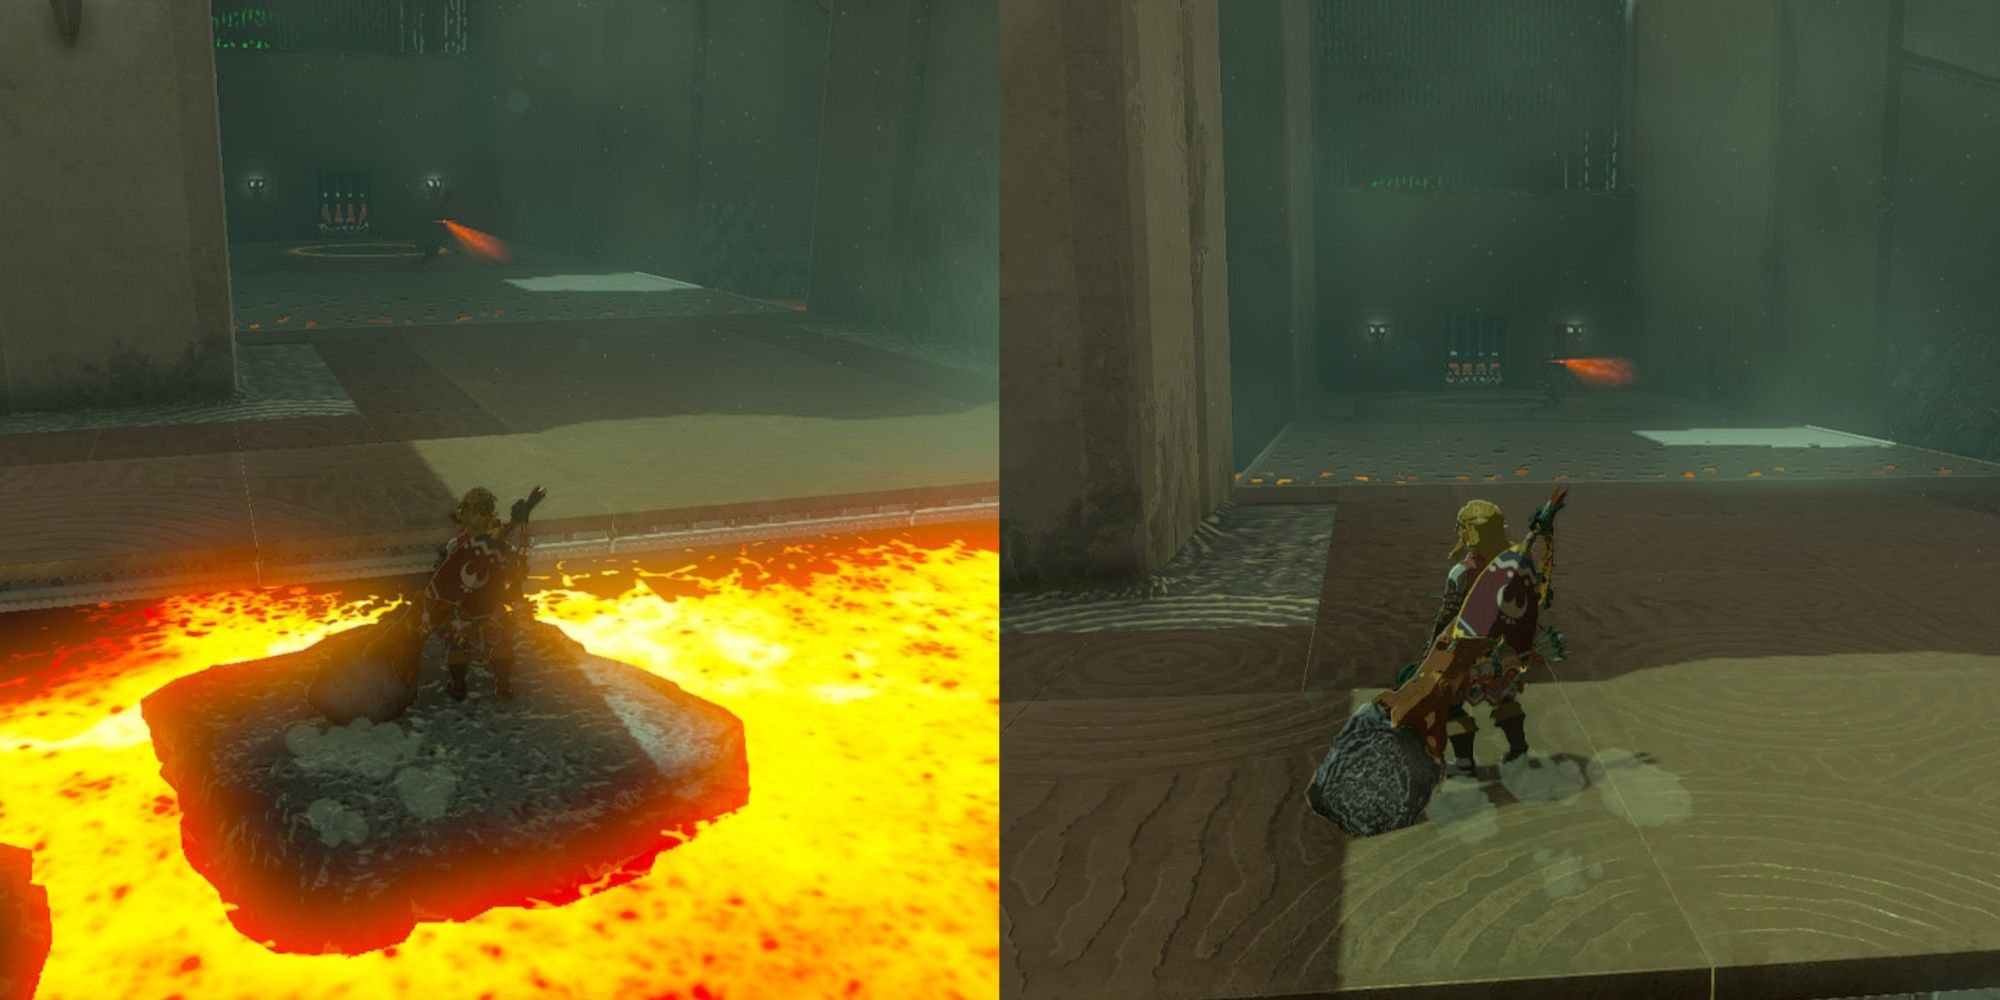
However, just before you reach this area, angle yourself so that you're facing the goal for the Ball on the right side of the platform. Right before the Lava Slab reaches the platform, toss the Ball at this angle to avoid it overshooting the platform and falling into the Lava.
If you didn't drain the shot, grab the Ball and drop it into the goal after you climb onto the platform from the Long Lava Slab. Doing this will open the gate, bringing you to the final area!
Timawak Shrine Third Puzzle Guide


Last and certainly not least is the third and final puzzle of the Timawak Shrine, which is easily the most involved one of the bunch. As you enter the room, you will see a Fan on the right and left side of the room and a large flowing pit of Lava in front of you.
Approach the Fan on the right side of the room and give it a whack with a weapon to activate it, causing an updraft. Jump into the updraft and deploy your Glider, enabling you to ride it high into the air, giving you access to the elevated platform next to it.
Atop this elevated platform are two Hydrants, move them to the starting area of this room via your Ultrahand, then jump back down. Be sure to deactivate the Fan here, as you will need to use it a bit later on.
For now, position the two Hydrants next to one another with their nozzles facing out toward the Lava. Once you have them where you need them, give them both a smack to turn them on, having them create Lava Slabs.
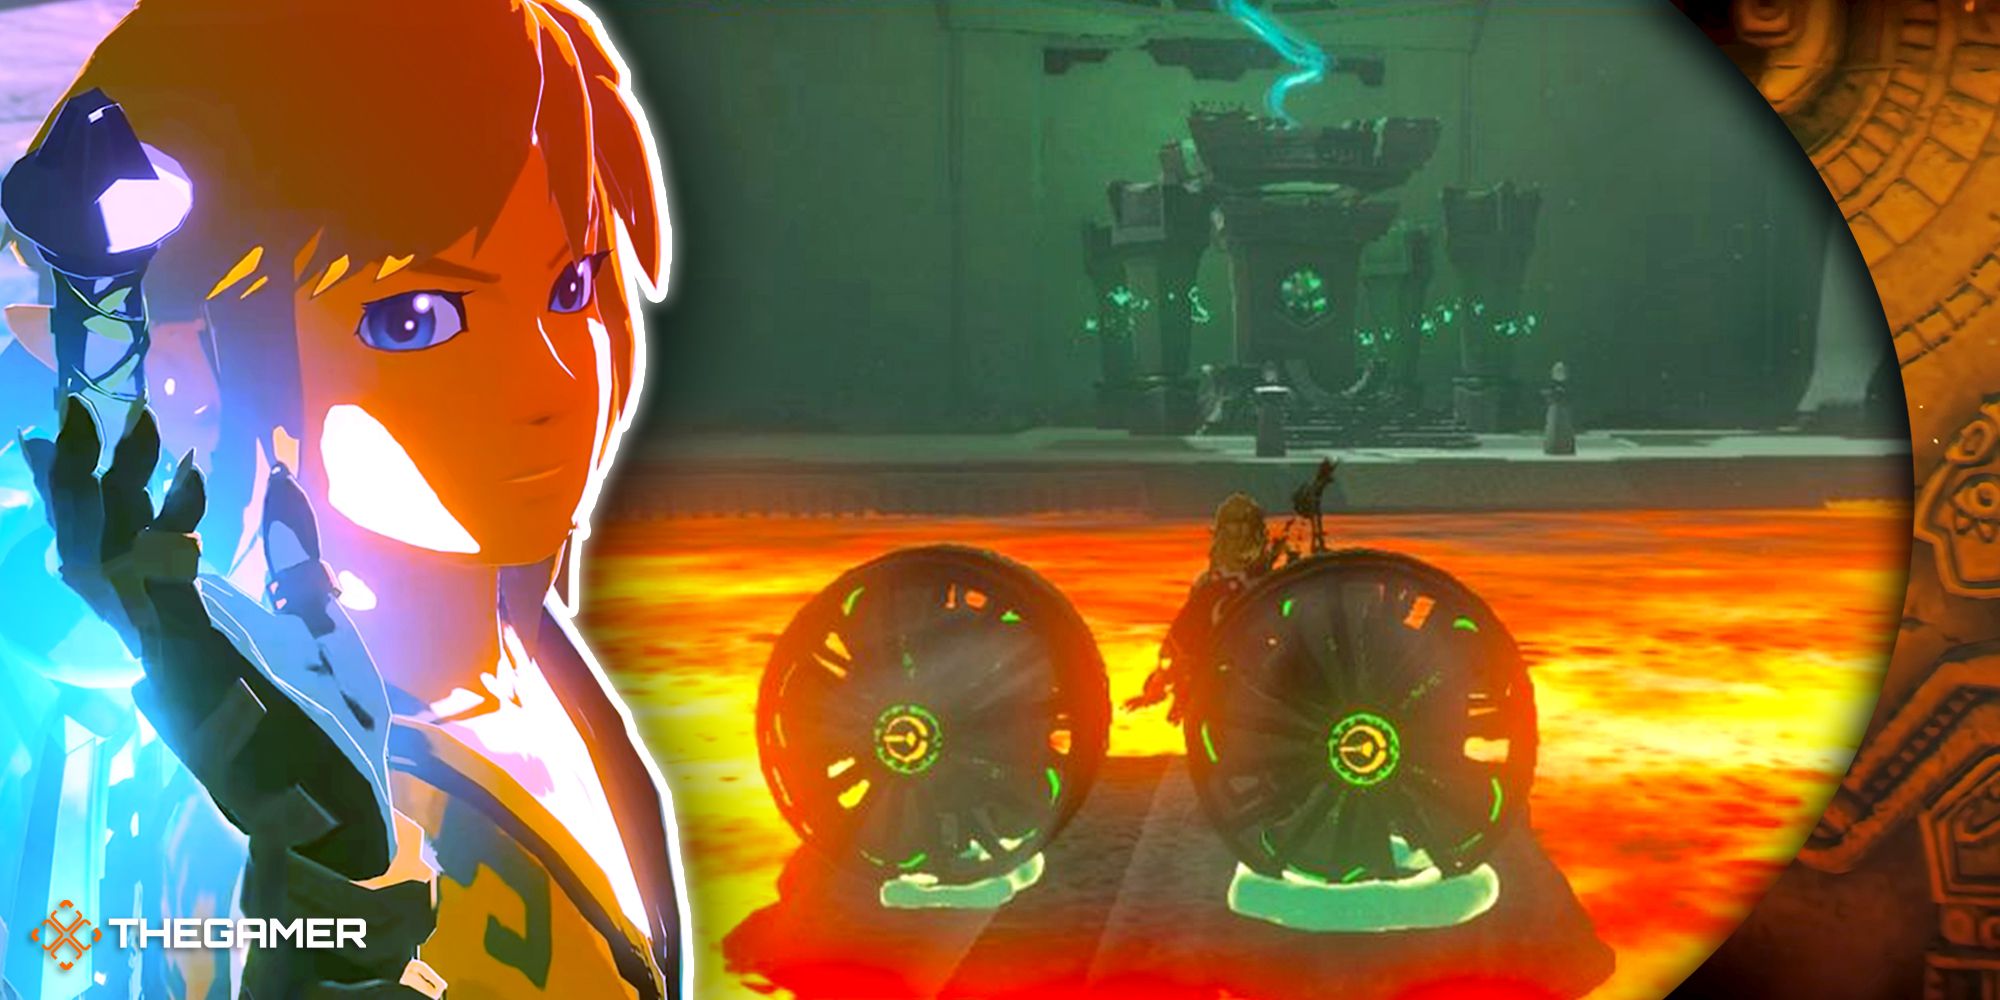
Grab one of the Lava Slabs with your Ultrahand and bring it onto the floor beside you. From here, grab the two Fans and position them on the back of the Lava Slab. Ensure the Fans are positioned so they are pushing the Lava Slab forward (as shown above).
Finally, pick up your Lava Slab and Fan creation and place it as far forward in the Lava as you can, letting it make its way down the Lava river toward you. However, just before it reaches you, cast Recall on it and jump on it when it's temporarily frozen.
When the Lava Slab begins taking you in the opposite direction, smack the Fans you placed on it to activate them, then deactivate your Recall. If done correctly, the force of the Fans will carry you to the exit of the Timawak Shrine, allowing you to claim your Light of Blessing!


