Quick Links
While this may come as a shock to you, but lightning has returned to the world of Hyrule in The Legend of Zelda: Tears of the Kingdom. You may find that Tears of the Kingdom is an electrifying enough experience as it is and that you could do with a little less electricity in your life.
Well then, we’ve got the armor set for you! This guide will help lead you to every piece of the Rubber Armor Set. This armor will help mitigate the effects of lightning by making you resistant. Meaning that you can spend more time adventuring, and less time comically mimicking a light bulb.
Updated May 18, 2023: Now that we have been able to locate all the rest of the Rubber Armor pieces, we updated this guide to help you locate the entire set instead of just the chest piece.
The Location Of The Rubber Armor
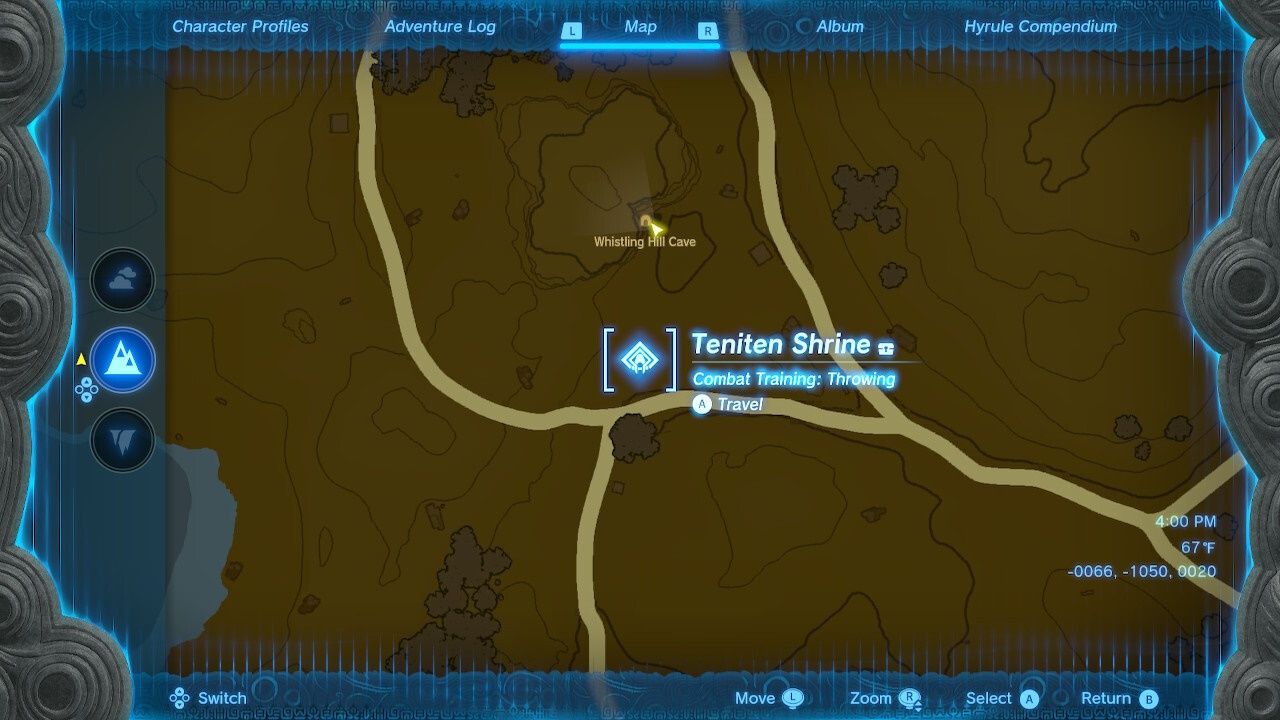
You will find the Rubber Armor in the Whistling Hill Cave which is just a little north of the Teniten Shrine. If you haven't found that particular shrine yet, it is in between the Whistling Hill and Lake Kolomo in the Hyrule Field area. You will want to look for a rock wall that looks suspiciously breakable.
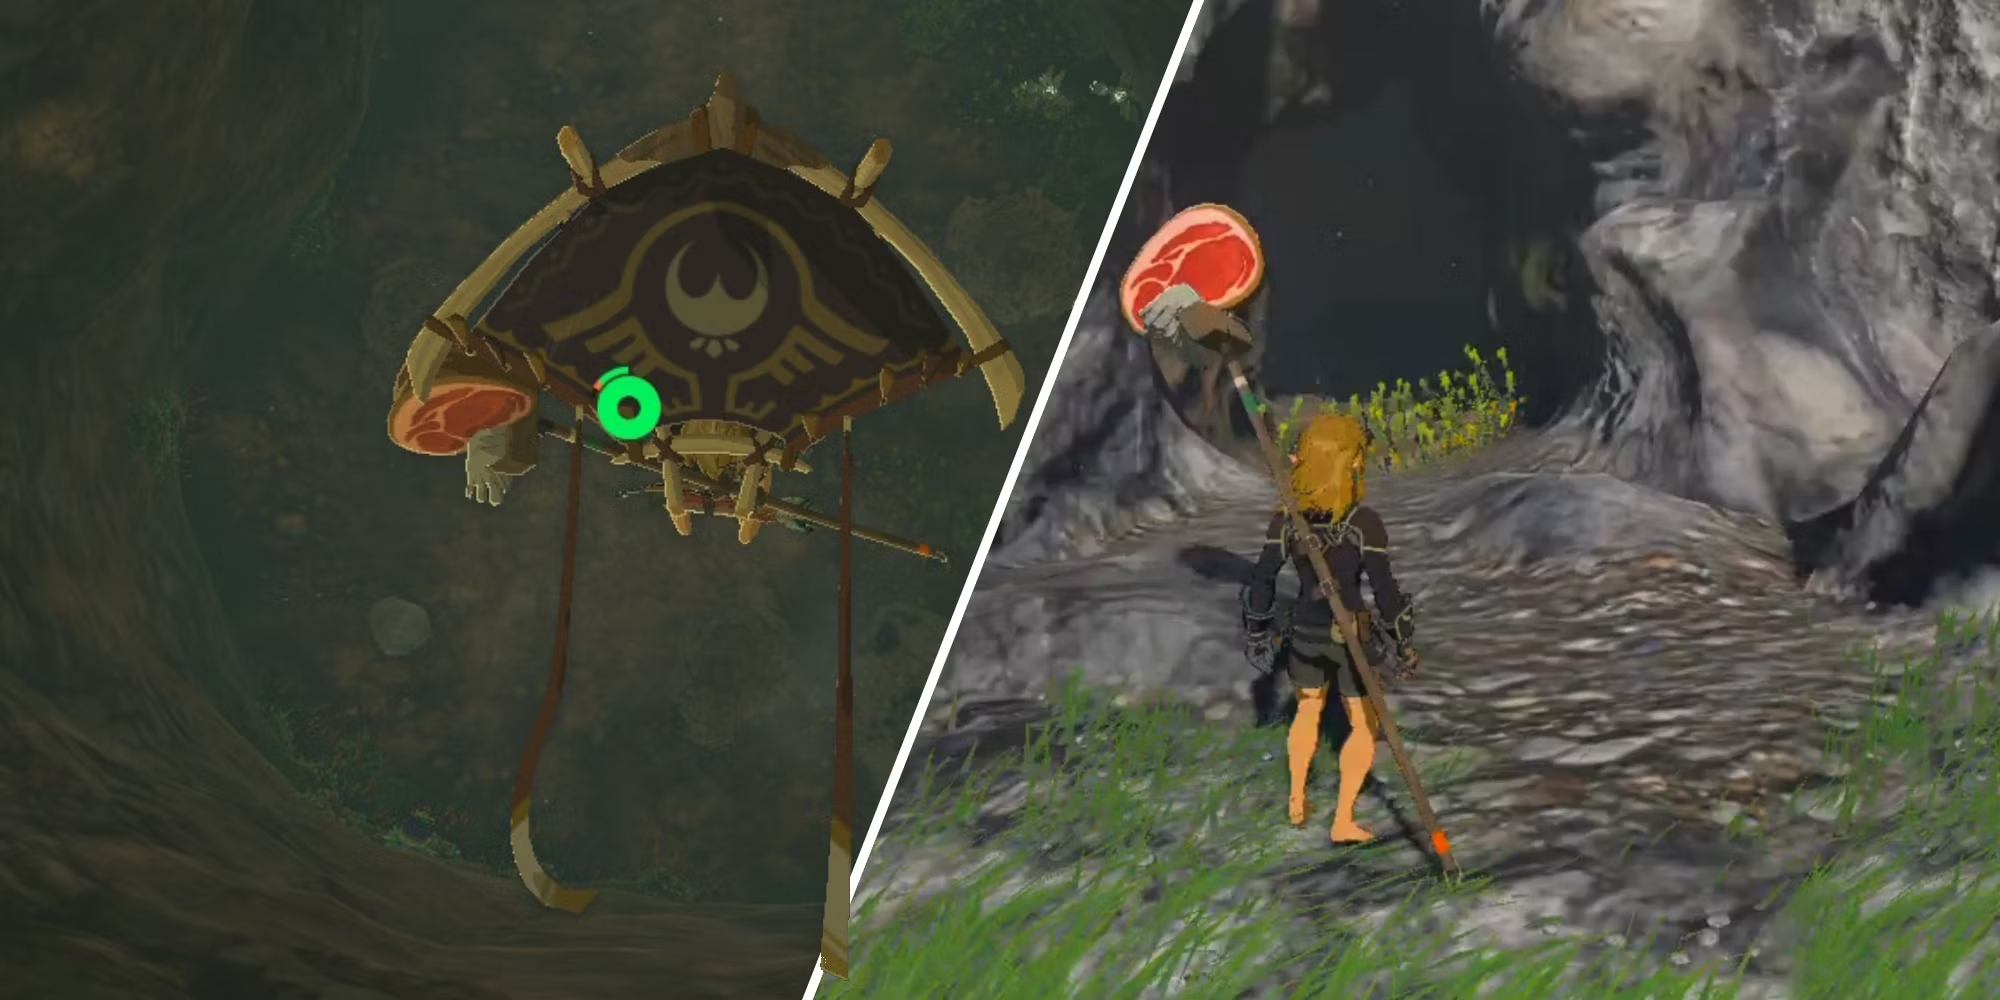
Unsurprisingly, we're going to break right through this rock wall—you can fuse one of the nearby rocks to the weapon you have on hand for a handy-dandy hammer perfect for breaking it down. This will reveal a tunnel. Head down this tunnel until you hit a wall. You will find yourself in a small room with a group of the bat-like Keese. There is a destructible rock wall to your left, but the room behind it just holds ore spots and another group of Keese. Take a right instead, and you will see an opening obstructed by vines.
Chop through these vines, and hop down into the pit below. Use your glider to break your fall, of course. From here, you will follow this tunnel into a large room. Climb up the back wall, and head to the left. Once you get to the floor aboce, you will see yet another tunnel.
If you climb the wall of this caver and head to the right instead, you will find a hidden chest.
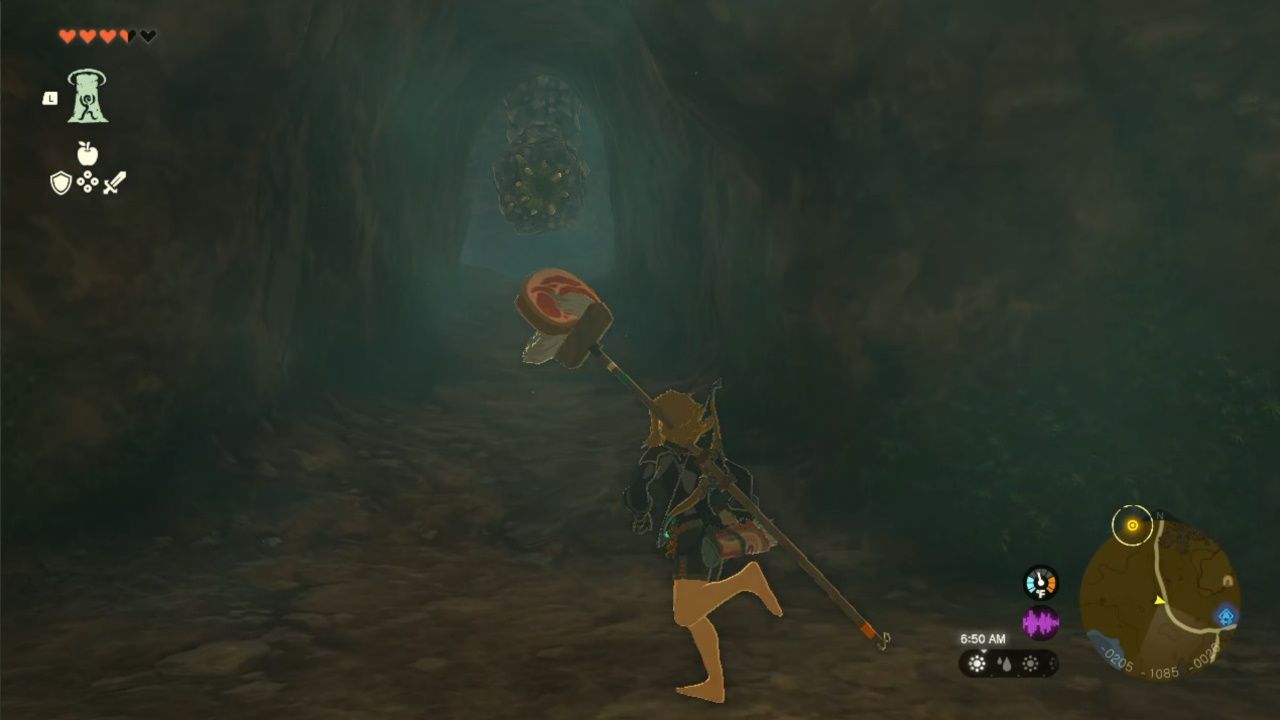
This tunnel, however, will have one of those nasty boulder-spewing Like Like worms positioned at the end of it. Block the boulders it spits with your shield, and gradually push forward through the tunnel. Once you are past the worm, you need to break through another rock wall. This one will lead you to a chamber with an electrified Shock Like. We're in the home stretch now, folks!
Battling The Shock Like
This giant worm is hanging from the ceiling, firing balls of lightning at you. Dodge its projectiles until a glowing yellow orb appears in the Shock Like's mouth, then fire an arrow straight at said orb. This will cause the Shock Like to go limp and fall to the ground. Once it does, lay into it with your best melee weapon. If it manages to get back up, rinse and repeat the first two steps. You may have to do this a few times, but worry not, you'll have this cave dewormed in no time.
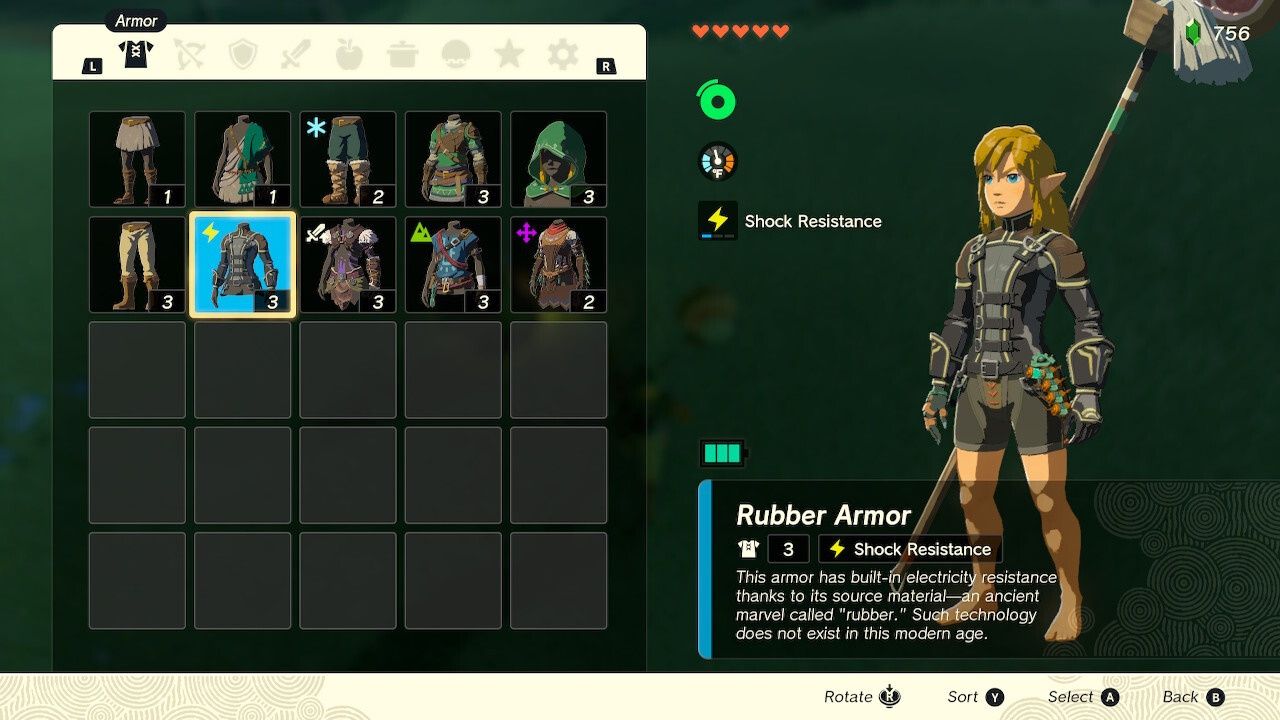
Once you have defeated the Shock Like, you will be rewarded with a Solider's Shield, but this is a mere appetizer. Blow open the destructible wall that the Shock Like was guarding and climb into the room behind it. One of Misko's trademark treasure chests will be waiting for you here. Congratulations, you have just obtained the Rubber Armor!
The Location Of The Rubber Helmet
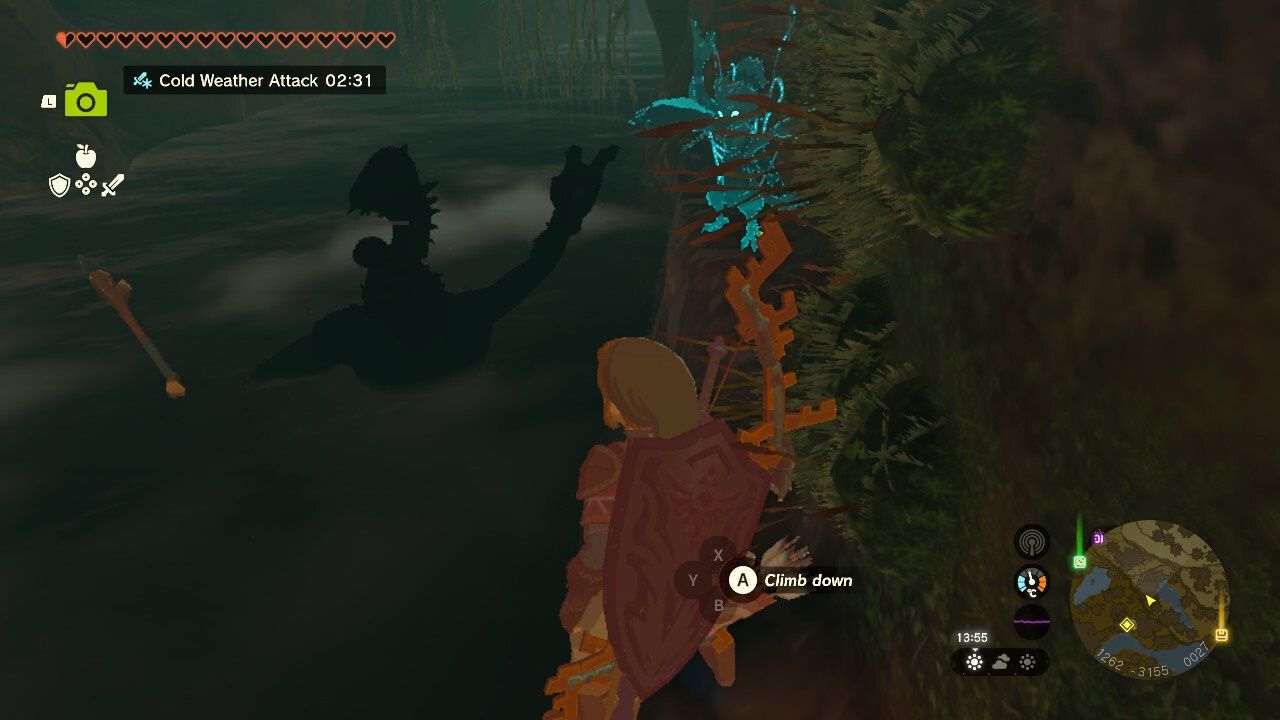
If you are after that Rubber Helmet to accompany your Rubber Armor, this charming cap is located in Sarjon Woods Cave. This cave is just one, long, winding river. But that isn't to say that you won't face any adversity. Along the way, you will see scads of the appropriately named Horriblins lining the ceiling. Thankfully, there are a number of patches of land along this rivery cavern, and these are ideal platforms for you to shoot these little monsters from. A single arrow will send them plummeting into the water below, which will lead to their watery grave.
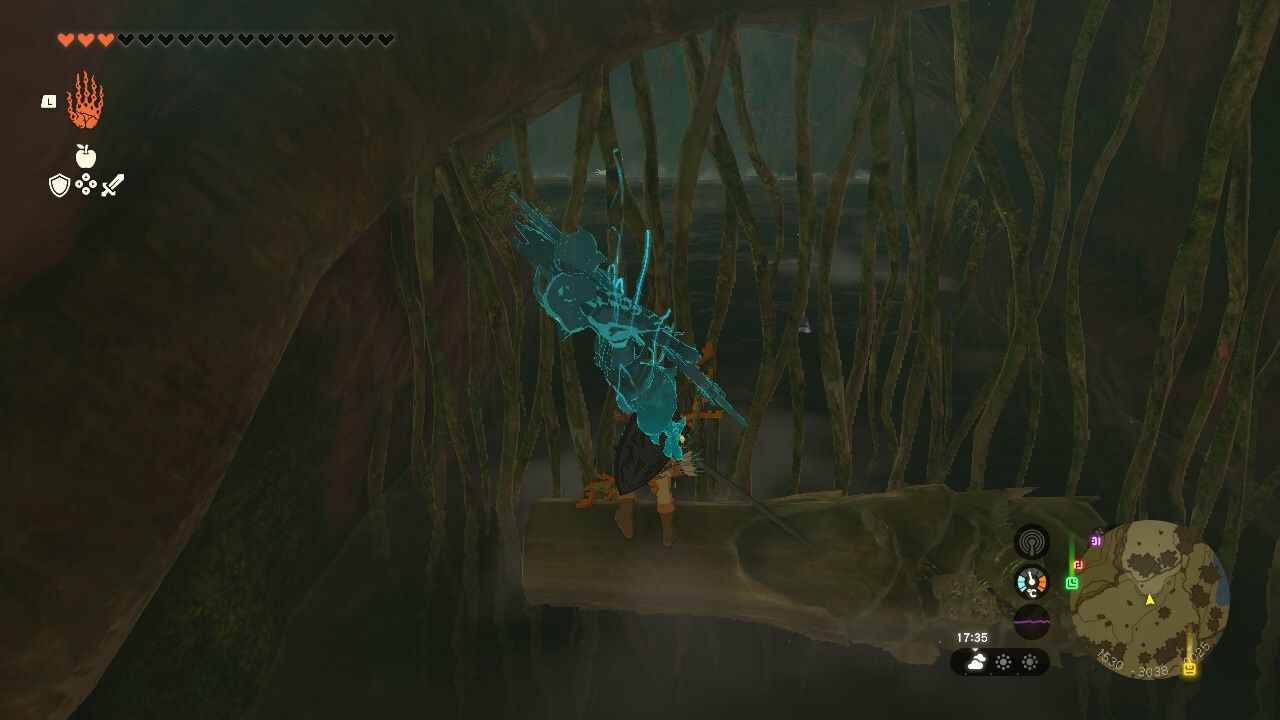
As you progress through this cavern, you're going to need to dodge root walls. However, you will run up against one particular root wall that you can't swim around. Nearby, there is one of those Like Like worms plastered to the wall. Thankfully, there is another convenient patch of land along the side that is perfect for sniping the Like Like from. There is also a log here that is just perfect for using as a platform. Throw the log into the water in front of the root wall, stand on it, and then chop your way through this obstruction.
Downing the Like Like will reward you with a chest that contains the Shield of the Mind's Eye.

Once you get to the end of the river, you will come up against a waterfall. There is a Bubbulfrog sticking to the wall up above. Follow the waterfall all the way down, then use the Zora Armor ability to climb the waterfall back up, and then snipe the Bubbulfrog mid-air. Now, just head straight to the base of the waterfall, and you will find Misko's Chest with the Rubber Helmet inside.
The Location Of The Rubber Tights

Now, for our final accouterment: the fabled Rubber Tights! These tights are located in the Horon Lagoon Cavern, which is Northeast of Hyrule Castle. You will jump into the cave from a gaping hole above. Once you glide down to the surface below, you're going to need to subdue a Horriblin who is lying in wait. Look to the ceiling, and don't let it get the jump on you.

The core gimmick of the Horon Lagoon is that the tide will rise and lower. As it does, you are in danger of plunging into the spikes on the floor of the cave or being driven into the spikes lining the ceiling. If you have access to the Autobuild ability, this is the perfect opportunity to build yourself a boat. However, you can also swim your way to victory, you just may find that traversal is easier with a raft.
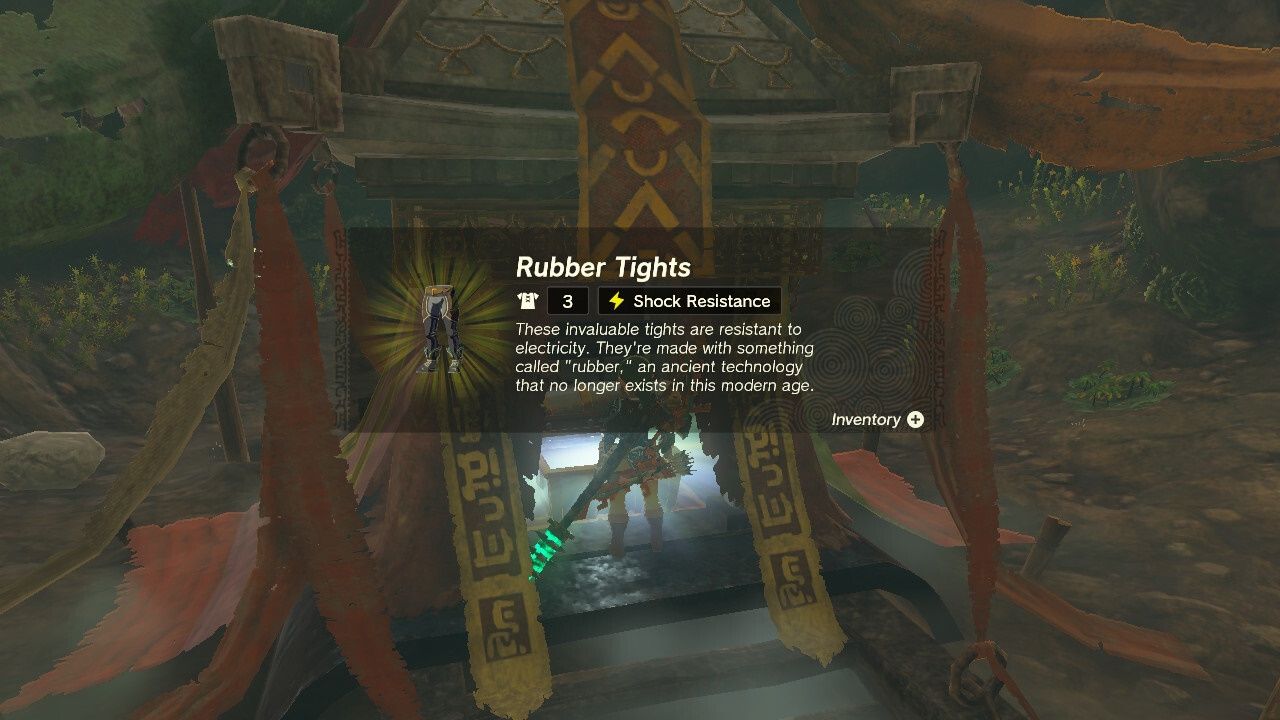
There is a Bubbulfrog here as well. It will be clinging to the wall partway through. Once you get to the tiny island with the Traveler's Spear lodged in it, you should see a destructible rock wall across the way. Fire a Bomb Flower at it (if you don't have one on hand, there are a few stashed around the cave). After you destroy the wall, climb up, and you will be in a small cave with Misko's treasure chest, which is holding the Rubber Tights. With that, you should now have the complete set!

