Quick Links
Progressing with the main storyline in The Legend of Zelda: Tears of the Kingdom is something easily put off for the most part - Hyrule is a massive world to explore and you get plenty of goodies by diving into caves, completing shrines, and just letting your whims take you.
Of course, there are some really great rewards to be had from getting some of the main quests done. Not only will you get to experience the game's gripping story, but there are main quest-exclusive equipment pieces to grab. This quest, which deals with the ruins around Kakariko Village, is no exception.
How To Start Secret Of The Ring Ruins

The prerequisites for starting this quest are simple: you must have completed Crisis At Hyrule Castle, which is a quest that begins after completing Regional Phenomena. This means that this quest is quite far into the storyline.
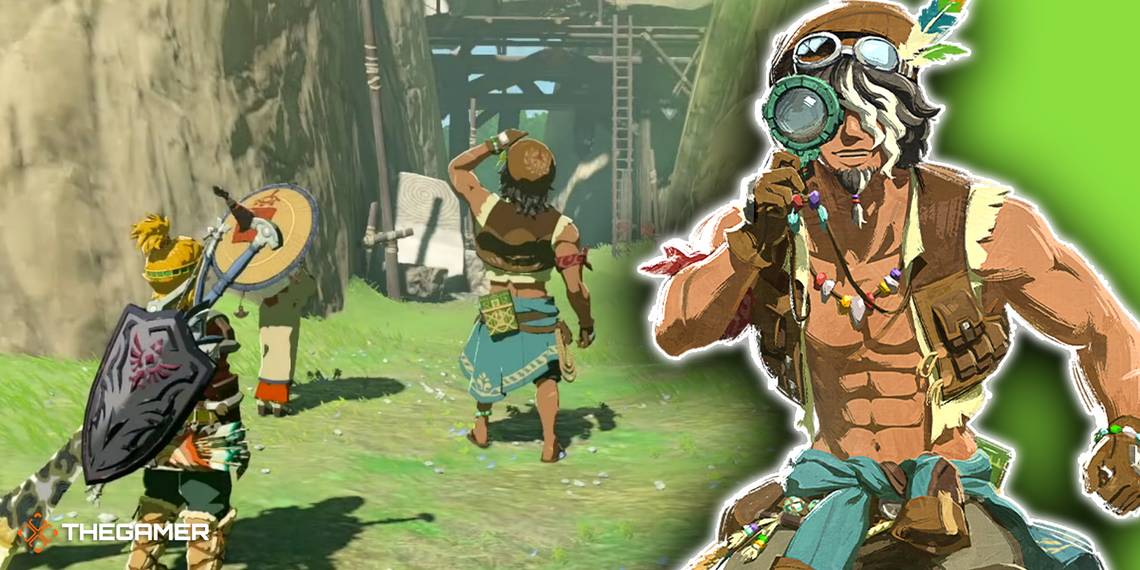
Once you've completed Crisis at Hyrule Castle, head to Kakariko Village and glide down to the area to the north that you're usually barred from entering thanks to a researcher's adherence to 'Zelda's' warnings. You'll find Paya and Tauro here - talk to them to begin the quest.
How To Get Into The Ring Ruins

Once you've started the quest, you'll be allowed to examine the ring ruins floating in the sky, but there are no obvious entrances into it. To get inside, you'll need to climb to the spot directly underneath it, and use Ascend to enter it.

At the top of the scaffolding, you'll find a red blanket. Stand on this spot to be sure you're underneath a good Ascencion spot.

Inside the ruins, you'll find a large stone slab with writing on it. Take a picture of this slab with your Camera. To get out of the ring ruins, just use Ascend again.
Return to the ground with this picture and present it to Tauro. The conversation that follows will provide us with our next destination: the Zonai Ruins in Faron.
Investigating The Zonai Ruins

First, head to the Popla Foothills Skyview Tower. Calip will be nearby in a tent; talk to him. He'll tell you where Tauro is - Dracozu Lake, which is just to the southeast.

Head to the lake, specifically the part that looks like a dragon's jaw on the map. You'll find a small camp here, with Tauro's notebook. Reading this explains that Tauro is exploring the nearby cave, which you'll find just to the east. Enter the cave and talk to Tauro.
The conversation will reveal your next objective: to obtain the three pieces of a certain armor set, wear them all, and then provide an offering of a Zonai Charge at an altar.
How To Get The Charged Armor Set

The three pieces of the Charged Armor set are hidden in small caves along the Dracozu River.
Armor Piece | Description | Coordinates |
|---|---|---|
Charged Shirt | In a chest inside the same cave that you found Tauro in. | 1005, -2538, 0013 |
Charged Trousers | Head south from the first cave to find this one lit by a lamp. Break through the rocks in the doorway to get this chest. | 0952, -2705, 0012 |
Charged Headdress | Continue heading downriver until you reach another entrance lit by a lamp. Slash through the roots in the doorway this time. | 0984, -2827, 0012 |


Once you've collected all three armor pieces, put them on and head further downstream. Eventually, you'll reach the end of the river - the dragon's 'tail' - and you'll spy a fourth and final cave with an entrance lit by a lamp.
Enter it, climb up to the altar where you'd expect a chest to be, and with the Charged Armor equipped, place a Zonai Charge on the altar as you would if you were using a Device Dispenser.
Once you've completed this task successfully, a cutscene will play out. This dispels the eternal storm that was roiling in the skies above Faron.
As you'd expect, your next goal is to explore the new ruins in the sky.
Exploring Thunderhead Isles

Return to the Popla Foothills Skyview Tower and launch yourself into the sky.

You'll now be able to glide to a series of sky islands to the southeast that, when viewed on a map, resembles a dragon's body much like Dracozu River.
Thunderhead Isles is plagued by an eternal thunderstorm, so consider leaving the Charged Armor set on to boost your power, and be sure to remove any metallic weapons and shields.


You'll need to progress through these islands using a mixture of Ascend and well-placed glides - get to the highest points you can, and glide from them to the next island.

When you reach a contraption connected to a launcher, you'll need to activate this with Riju's lightning arrow ability as you did in the Lightning Temple. If you're in need of arrows, the nearby wooden crates will provide plenty. Make sure you're standing on the launcher when activating it, as the activation is instant.
Eventually, you'll reach some minecart rails. There's no minecart here, though; just Ascend through the ceiling and glide over to the next island as usual. It's the island with the Flux Construct on it - defeat or ignore this enemy at your leisure. The chest attached to it contains an Old Map.


The next group of islands has a shrine within one of them. You'll be able to see a rail that travels underneath it - head to the following coordinates: 1128, -3342, 0763.
Attach a Fan to the nearby object made of two wooden boards, and use that as a makeshift vehicle for the rails. When underneath the island between the two ends of the rails, use Ascend.
This will give you access to Joku-usin Shrine. Whether you complete the shrine or not, Ascend through the ceiling and continue on towards the 'dragon's' head.


An easy way to get over the large gap between the previous island and the next is to use a Zonai Fan device, placed on the ground, to create an updraft that will let you glide on over. The nearby Device Dispenser has Fans.
On the next island, as before, ignore the rails and instead find the highest spot on the island. This will allow you to glide over easily, provided you also use Tulin's Gust ability to give you some oomph.
When you reach the end of Thunderhead Islands, you'll be at another long gap. Use a Fan to get over this one easily. On this island, there's another launcher activated by lightning. Either wait for the next strike or use Riju's ability to skip the waiting.
On this final island, open the chest to get some Shock Emitters, Ascend through the ceiling, and then dive off the edge to the east to reach Dragonhead Island.
How To Complete Dragonhead Island

The first thing to do here is to go activate the shrine at the southern tip of the island: Joku-u Shrine - which is a Rauru's Blessing shrine that rewards you with a Diamond in addition to the usual Light of Blessing.

After completing the shrine, head to the north of the shrine by slashing through the roots here. In front of you is a very large door, very similar to the one from the beginning of the game that you needed extra health to open.
Just like before, hold A when interacting with the door to open it. You will need ten hearts altogether to get through this door. Interact with the Zonai Device in the next room and you'll have completed this main quest, immediately beginning the next one: Guidance From Ages Past.