Quick Links
As you could discover in its predecessor, The Legend of Zelda: Tears of the Kingdom has a cache of memories for you to uncover and learn the truth of the story's greater picture. Rather than searching for locations to take pictures of with your Sheikah Slate, however, you'll be traveling to strange, new locations known as geoglyphs.
These glyphs are the strange artworks depicted on the ground and on the side of mountains you've no doubt discovered on your own throughout your adventure. Within these glyphs are said to be Dragon's Tears. Locating them all will not only lead you to memories of the past; they'll lead you to hopes for your future...
Impa And The Dragon's Tears - Getting Started

To get started, you'll need to discover the quest by talking with Impa's assistant, Cado, at New Serenne Stable. If you've already visited the stable once before, there's a chance you can also find him at the end of Thims Bridge (Eldin Canyon side).
Either way, talking with Cado will add the quest to your directory and point you to Impa near New Serenne Stable.

She's located on a platform within sight of New Serenne Stable. Speak with her, and she'll tell you about her broken balloon.
All you must do is attach the broken part of the balloon on the ground nearby back on top of its base beside Impa. When it's secured, talk to her again.
Don't try lighting the fire before you talk to Impa. She'll yell at you for trying to leave her and put out the fire.

Step onto Impa's balloon after you're done speaking with her and light the fire. You can do this in many ways, but the easiest way is to use the nearby torch with the fire.
In the sky, you'll now get a very good look at the geoglyph. It's an image of Rauru, and you'll want to keep your eye on the tear-shaped image in place of his right eye.
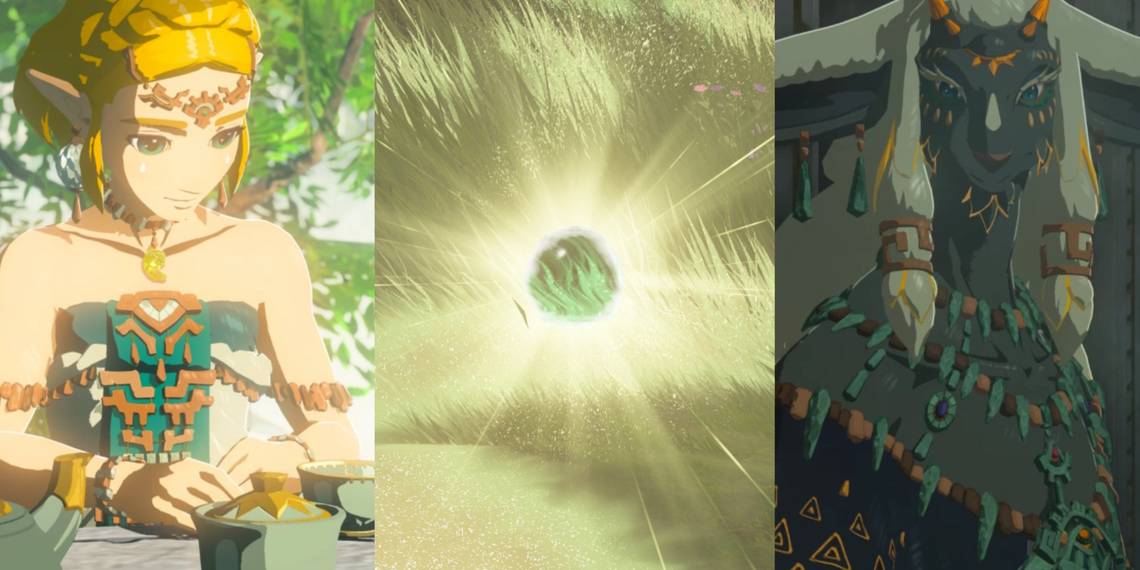
On all geoglyphs, you can always tell which tear is the correct one because it's the only tear shape that is completely shaded in. Incorrect tears will be hollow; correct tears will be green throughout.

When you're able, jump off the platform and glide toward that right eye. Upon landing, the tear will form into a small circular pool you can interact with.
This method will repeat itself in all geoglyphs to come. You'll need to locate the correct tear in the image and interact with the water that appears when you get close enough.
The pool will show you a vision of a time long past, and you'll add that memory to the compendium.
Once you return from your cutscene, Impa will tell you about the Dragon Tears and tell you about your next location.
Frontier Canyon - The Secret of the Forgotten Temple

Following the quest marker on your map, glide down into Frontier Canyon to the very bottom, where you'll spy an entrance into the Forgotten Temple. Cado is at the start of it with Impa's Balloon. Talk with him to learn that, to no one's surprise, Impa has gone on ahead.
Run ahead past the multiple monster camps until you reach the end of the chamber. Climb the wall to find a hole you can pass through into the next room.

Mayausiy Shrine is here, and you'll want to - at the very least - interact with it to mark it as a save point on your map. You'll likely want to visit this temple later, as it has an important map, story significance, and a small sidequest for the Goddess Statues.
Impa will be on the platform next to the shrine. Talk with her before progressing further into the temple past the doors and the fallen Goddess statue.

The chamber you see in the next room is not important right now, so run past it and into the room beyond.
Jump down into the area below to trigger a cutscene with Impa and Cado. You'll learn that this is a map of Hyrule and all the locations of the Dragon's Tears.

They are not numbered, and each Dragon Tear memory is fixed. This means that you can watch them out of order and become quite confused, or even have your story spoiled.
This guide orders them for you, and from here on out, Impa will leave you to it.
All Dragon Tears have a Korok also hidden within them (or close nearby). Make sure to check for rocks in each of the geoglyphs for an extra seed while adventuring.
All Memories And Dragon Tears In Order - Compendium Version
This table may contain spoilers. Read at your own risk.

Dragon Tear Number | Compendium Memory | Memory Name | Location |
|---|---|---|---|
1 | #3 | Where Am I? | New Serenne Stable |
2 | #4 | An Unfamiliar World | Hebra Mountain |
3 | #5 | Mineru's Counsel | Eldin Canyon - Trilby |
4 | #6 | The Gerudo Assault | West Necluda - Baltea Lake |
5 | #7 | A Show of Fealty | Gerudo Canyon |
6 | #8 | Zelda and Sonia | Hyrule Ridge - Illumeni Plateau |
7 | #9 | Sonia Is Caught by Treachery | Lurelin Village |
8 | #10 | Birth of the Demon King | Tabantha Tundra |
9 | #12 | The Sages' Vow | Lanayru Sea |
10 | #13 | A King's Duty | Lake Hylia |
11 | #15 | A Master Sword in Time | Great Hyrule Forest |
12 | #17 | Tears of the Dragon | Akkala Highlands - Rist Peninsula |
Heba Mountain Dragon Tear - #2

Not far from the Forgotten temple, the Heba Mountain Dragon Tear is etched into the side of the mountain not far from Rito Village. At its base is a monster encampment, but you can ignore that.
Fly from the Lindor's Brow Skyview Tower in Hyrule Ridge across the canyon toward where it can be seen at a great distance.
The tear is near the center of the geoglyph on a flat ledge you can comfortably stand on.
You will likely want Tulin for this and for all geoglyphs to come for ease of travel. This will make it possible to travel to most geoglyphs from a tower without much walking.
Eldin Canyon Tear - #3

The Eldin Canyon Tear is located on a flat piece of grassy land near the base of the mountains that prop Eldin Canyon's Skyview Tower up. Fly from that tower southeastward to find a geoglyph that appears to look like the Purah Pad.
The Dragon Tear will be located in the center tear on the bottom of the geoglyph (under the eye).
West Necluda Tear - #4

From the Sahasra Slope Skyview Tower, fly southwest across Nabi Lake to find the geoglyph on the grassy hills between the two major water sources in this region.
Climb up the hill toward the treeline to find the tear at the top of the hill and in a small grove surrounded by bushes. It's a bit tricky to find, but stick to the trees and you should find it in time.
Gerudo Canyon Tear - #5

This geoglyph can be reached by either the Gerudo Canyon or the Gerudo Highlands Skyview Tower. Choose one and glide over to the top of the rockface. You'll want to make sure you have at least:
- Two pieces of Cold Resistant armor
- One piece of Cold Resistant armor and one warming meal
Descend to the top portion of the geoglyph (the highest point in elevation) to find the tear near the center.
Hyrule Ridge Tear - #6

Accessible via either the Gerudo Highlands or Lindor's Brow Skyview Tower, this location is placed on top of a large plateau in the middle of nowhere. You likely won't have the stamina required at this point to reach the bluff, so you'll likely need to climb up onto the face.
This tear is tricky to find in the geoglyph, but it thankfully comes with a hint: Impa. Impa and Cado will be with their balloon nearby. They're not far from the tear and (from the perspective of the pictures - coming from Lindor's Brow), the tear will be positioned on the left side of the plateau.
Lurelin Village Tear - #7

Glide from the Sifumim Shrine near Lurelin Village (or the Rabella Wetlands Skyview Tower) past the village overtaken by pirate monsters. Ignore them all and head toward the far waterfront.
The geoglyph depicts an oddly skewed bird, and the tear sits where the eye rests. However, it can be very tricky to find from ground level, so it's best to use the water as a marker. Head toward the bay where the land begins to curve. The tear won't be far from there (coordinates: 3317, -3567, 0004).
Tabantha Tundra Tear - #8

From the Pikida Stonegrove Skyview Tower, glide east to where you'll spy this geoglyph from a very far distance. You can't miss it (even through the blizzard).
This geoglyph looks deceptively complicated, but the tear is thankfully easy to find from an aerial perspective. You can see it on the far left side of the geoglyph (indicated by the image's orange circle).
From a ground perspective, it will be very hard to find this tear because of the lack of landmarks, so it's recommended to head back toward the Skyview Tower and roam the far west side of this geoglyph around the midsection until you stumble upon it.
Lanayru Sea Tear - #9

There are a few possible good locations to glide from to reach this geoglyph, but the best ones are Ihen-a Shrine and Mount Lanayru Skyview Tower. Choose one and glide to the top of the peninsula jutting out into Lanayru Sea.
The geoglyph is on a hilly surface, and the tear is on the northern side. It's located just atop a rocky face and can be easy to miss thanks to its odd positioning. From the ground, head toward the highest point in elevation, and you'll find the tear.
Lake Hylia Tear - #10

This tear is accessible from either the Popla Hills Skyview Tower (east) or Kitawak Shrine (west). It's recommended to prefer the Popla Hills Skyview Tower to get a better view of the geoglyph.
Ride across Lake Hylia, ignoring the Flame Gleeok on the bridge, and spy the geoglyph carved into the far rockface.
The dragon tear is hidden very well in this geoglyph. It's positioned outside the main image and on the left hand-like depiction. It rests on the middle finger.
Great Hyrule Forest Tear - #11

You can reach this geoglyph via two methods:
- Glide from Thyphlo Ruins Skyview Tower eastward
- Climb north from the Sikukuu Shrine
Either way, this geoglyph depicts the Master Sword on a giant rock face slanted up toward the tip of the blade. It is at the tip that the tear resides.
Final Tear: Akkala Highlands Tear - #12

This tear is only accessible once you have gained all 11 other tears. Once the final tear of the main collection has been gathered, this tear will appear and be specially marked on your map.
It is positioned directly in the center of the spiraling peninsula to the east of Akkala. It is easily reached from the Ulri Mountain Skyview Tower. If you've already been to Gemimik Shrine, teleport there as the tear is directly outside it.
There are several monsters patrolling in this area (in the water and on the ground), so make your way through them if you're coming on foot.
This will be your final tear, and gathering it will grant you the ability to access a very special reward.
Climbing The Dragon
There are major plot spoilers from this point ahead.

Once the final Dragon Tear has been collected, you'll now be able to chase after Zelda.
You can get up to her by using rockets, machines, Recalling a fallen sky stone, or the nearby Akkala tower. Thankfully, she's rather slow, so employing any method you might use for another dragon will work with her.
She has no defenses to look out for, and you can land on any part of her back.

Collect any light scales along the way as you make your way up to her head. If you get blown off, you can use the updraft she causes around her to hop back on.
At her head is the Master Sword. To pull it out, you'll need a large amount of Stamina (at least a full extra circle worth), and using Stamina foods and elixirs will not work here, just as they didn't with the Master Sword and restoring health in Breath of the Wild.
Once you pull it out, you'll be able to finally use the fully powered Master Sword.